How to Transfer a Design to Fabric Using Tracing Paper
Transfer of a design to fabric is a vital process in quilting, sewing, embroidery, and other fabric crafts. Among the most effective and simple methods of doing it is with the use of tracing paper. Whether you’re a beginner crafter or a professional one, learning the process of transferring a design to fabric with precision will make your final project look as you wanted it to. Here, we will walk you through the process of transferring a design to fabric with the aid of tracing paper.
Things You Will Need:
Collect the following items before you begin:
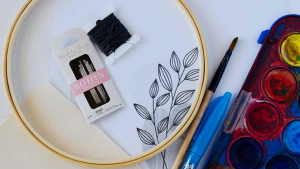
Tracing paper
Cotton, linen, or any other material of your preference
A printed or hand illustration.
A fabric marker, chalk pencil, or water-soluble pen
Tape (optional
A bright window or a lightbox (optional but helpful)
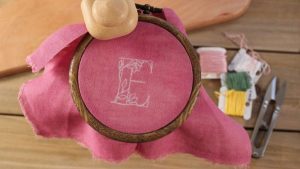
An embroidery hoop if you’re embroidering
Step 1:
Get Your Design Ready
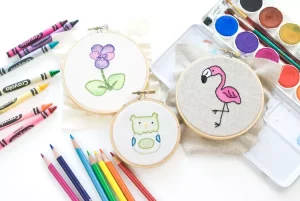
Choose or create the pattern that you’d like to transfer. If you’re working with a printed pattern, ensure it is the right size for your project. Resize it with a photocopier or by changing your printer settings if necessary.
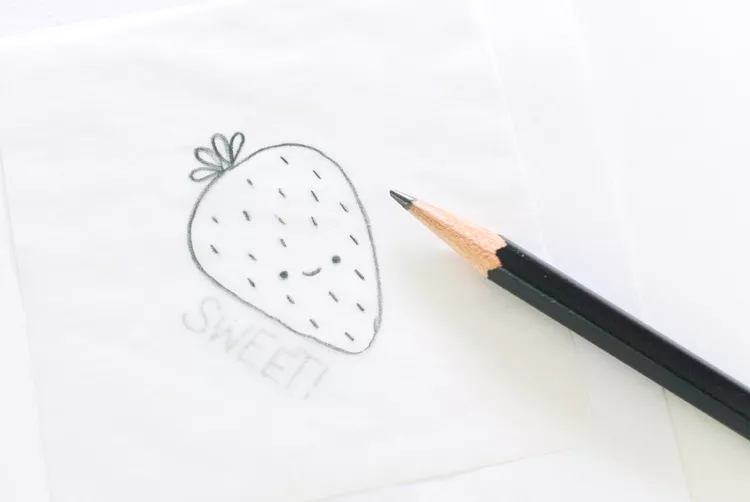
Step 2:
Place the Tracing Paper over the Design
Put the tracing paper over your chosen design. Tape the paper to prevent it from shifting as you trace. Carefully trace the lines of the design with a pen or a fine-tip pencil, ensuring that you capture all the details.

Step 3:
Position the Tracing Paper on the Fabric
Flip the tracing over so that the marked surface is facing downwards on your material. Place the tracing paper in the position that you’d like the design to appear. If it needs to stay in place, hold it with a little bit of tape.
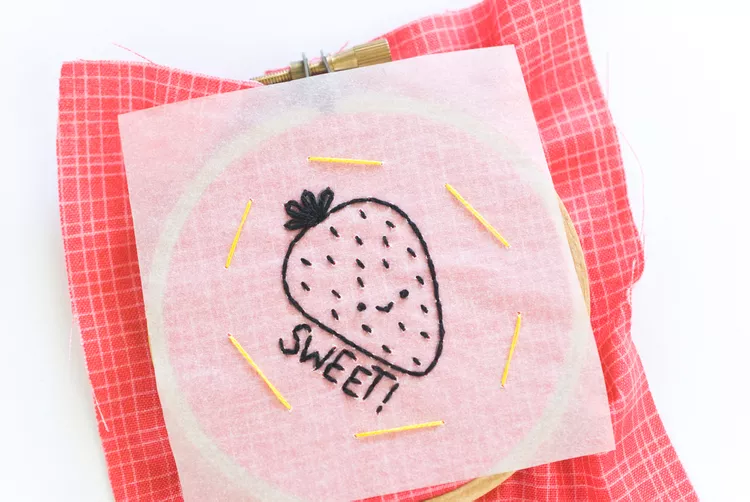
Step 4:
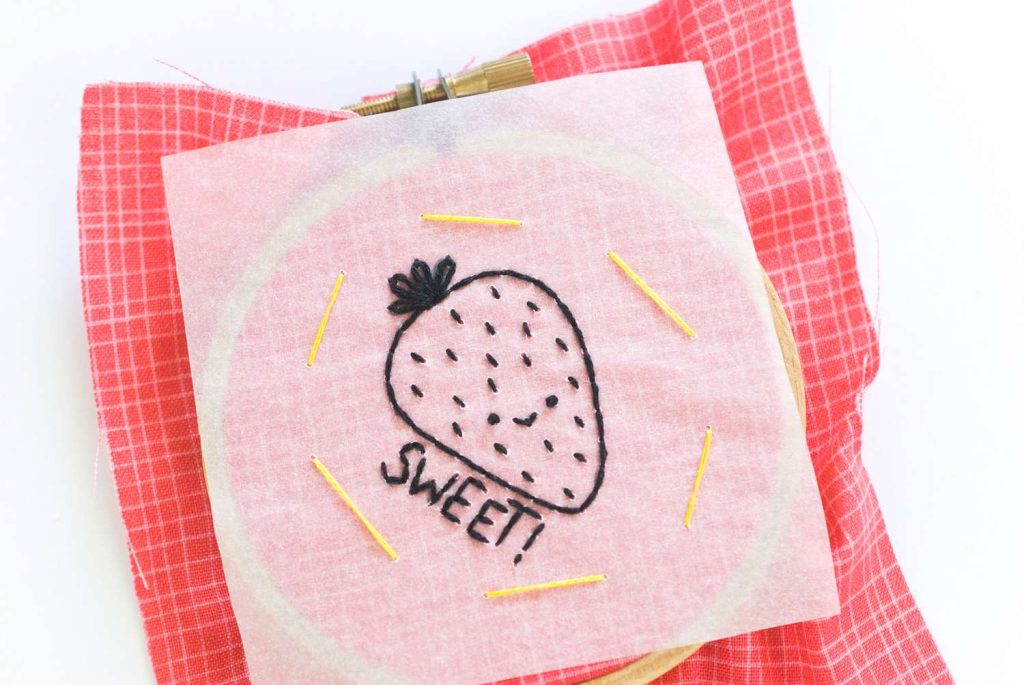
Apply the design to the fabric Trace
The design lines on the back of the tracing paper with a marking tool such as a water-soluble pen, a chalk pencil, or a heat-erase pen. Use firm pressure to transfer the marks to the fabric.
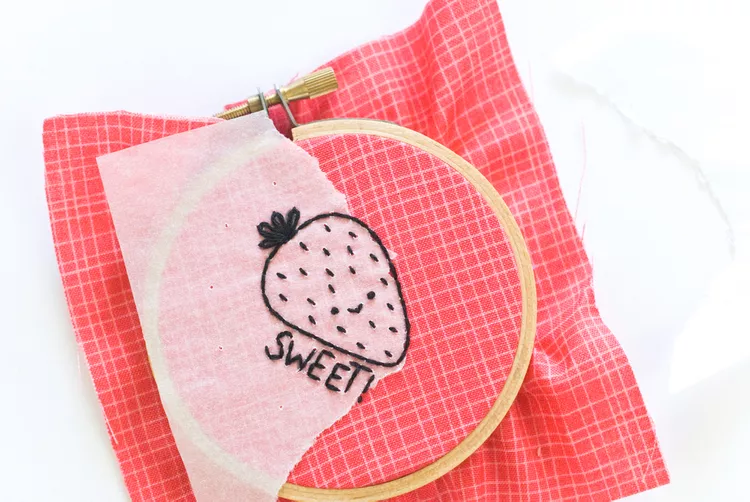
Step 5:
Confirm the Transfer
Gently lift one corner of the tracing paper to observe if the design transferred successfully. If the lines seem too faint, redraw them prior to removing the paper completely.
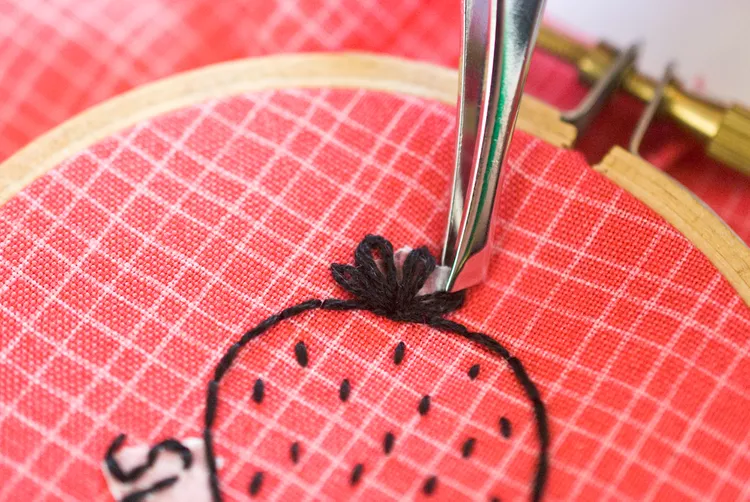
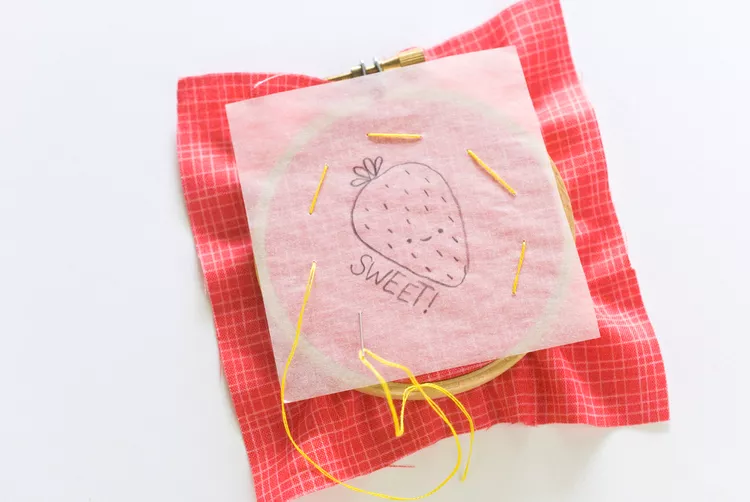
Step 6:
Protect the Design for Work
If you’re embroidering or sewing, you may need to keep the material in position in an embroidery hoop or a frame. This keeps the material taut and enables you to trace the pattern more easily.
Tips for Best Results
Use a tracing pen with a fine tip to produce accurate lines.
If the material is pale, a regular pencil would do; but for darker material, a white chalk pencil would be ideal.
Test the marking tool on a piece of scrap fabric first to ensure that it is removable.
If the design is not being communicated effectively, rephrase the lines with a stronger touch.
For delicate fabrics, use a gentle touch to avoid damaging the material.
Conclusion:
Tracing a pattern on fabric with tracing paper is an easy and effective way to achieve accurate and professional results. With these easy steps, your fabric craft projects will have a clear and accurate pattern. Whether you’re doing embroidery, appliqué, or other fabric craft, mastering this technique will make your work easier and more enjoyable. Happy crafting!
"If you are allured by the beauty of How to Transfer a Design to Fabric Using Tracing Paper for your project. we're here to help! If you need professional. How to Transfer a Design to Fabric Using Tracing Paper reach out to us at www.sassydigitizing.com Let's put your vision into stitch reality!
John Doe