“How to Turn a Photo into an Embroidery Pattern: A Complete Step-by-Step Guide”
How to Turn a Photo into an Embroidery Pattern: Complete Step-by-Step Guide
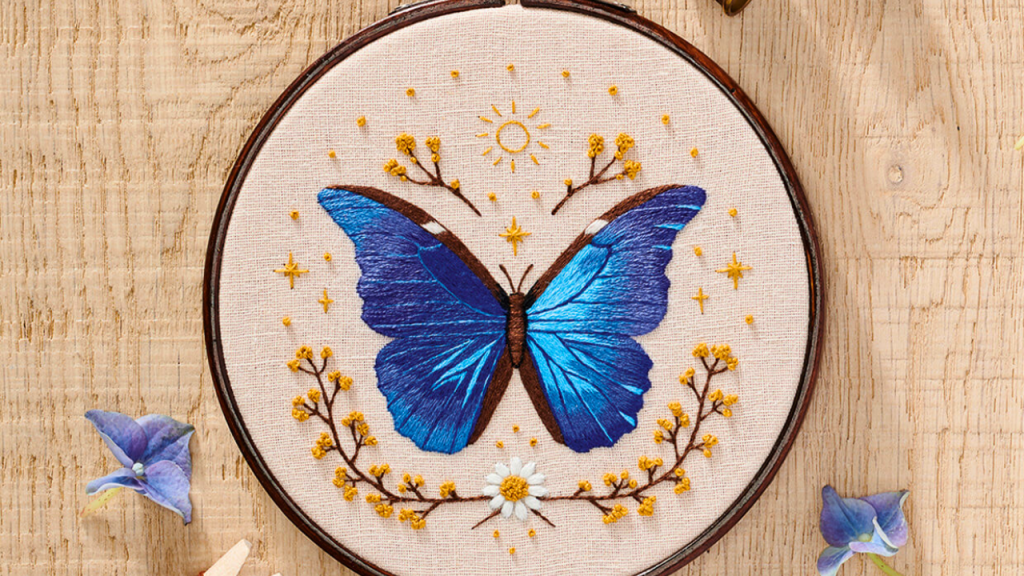
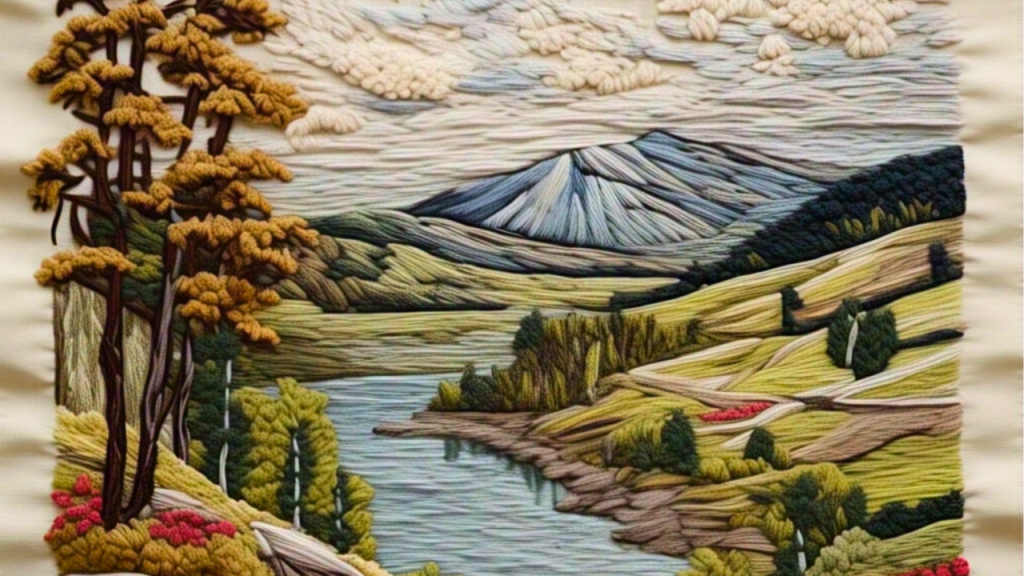
Have you ever looked at a photo and thought, “This would look amazing stitched on fabric”? You’re not alone. Turning a photo into an embroidery pattern is one of the most creative ways to personalize your projects — whether it’s a beloved pet, a family portrait, or a beautiful landscape. With today’s technology and a few expert tips, it’s easier than ever to transform any image into a custom embroidery design.
In this step-by-step guide, we’ll show you exactly how to turn a photo into an embroidery pattern, including the tools you need, techniques that work best, and how to get professional help from sassy digitizing.com for flawless results.
Step 1: Choose the Right Photo
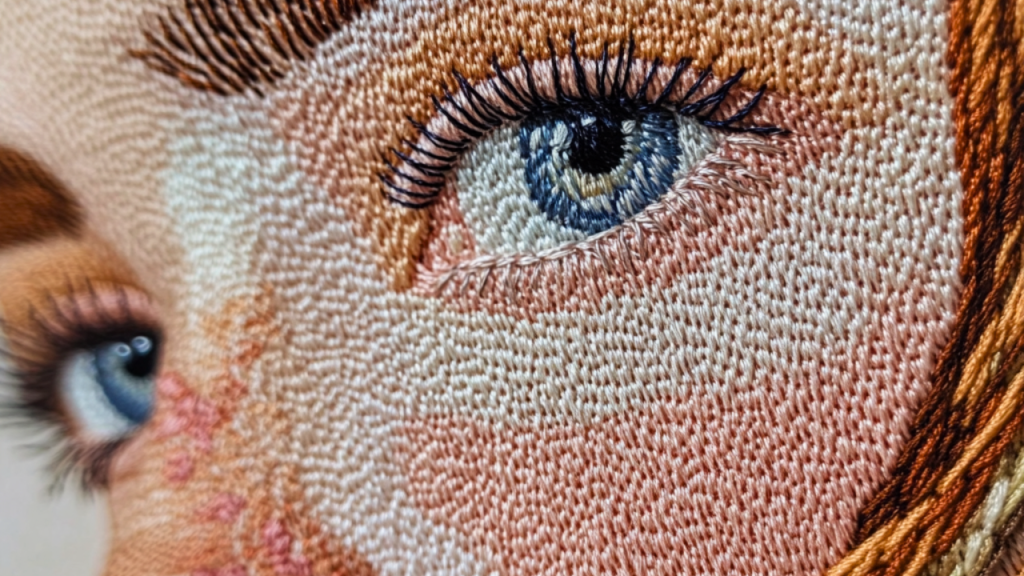
Start with a high-quality image. Clear, high-resolution photos with good lighting and contrast will translate better into embroidery patterns. Look for images that have distinct outlines and fewer busy backgrounds. Faces, animals, logos, and simple scenery work particularly well.
💡 Pro Tip: Avoid low-resolution or blurry photos — they can make digitizing the image into a stitch file far more difficult and may not produce clean embroidery results.
Step 2: Edit the Image for Clarity
Before digitizing, simplify the image using photo editing software. You can:
Increase contrast
Convert it to black and white (if necessary)
Remove unnecessary background details
Focus on main subjects
This step is crucial if you want the embroidery pattern to be neat and easy to follow. If you need help cleaning up your image, offers professional photo-to-embroidery editing services to make your design embroidery-ready
Step 3: Convert the Photo to a Sketch or Line Art
To make an embroidery pattern, convert the image into a simplified sketch or outline. This can be done using:
Adobe Illustrator or Photoshop
Free apps like GIMP or Ink scape
Mobile apps with “sketch” or “outline” filters
Line art is easier to trace and digitize into stitches. It reduces complexity and highlights the important areas of the image that need to be stitched.
Still unsure how to outline your photo properly? That’s where can step in and professionally handle the conversion for you
Step 4: Digitize the Sketch
This is the most technical step. You’ll need embroidery digitizing software to convert the image into an embroidery file format (such as .DST, .PES, .EXP, etc.). Popular software includes:
Wilcom
Hatch
Brother PE-Design
Embird
Digitizing involves mapping stitches over your outlined image—setting stitch types, angles, and densities. If you’re not experienced with digitizing, it can be time-consuming and challenging.
That’s why many embroidery enthusiasts and businesses rely on sassy digitizing.com to convert their images into perfect stitch-ready files. With years of expertise, they ensure professional-level quality and fast turnaround.
Step 5: Choose Thread Colors and Test Stitch
Once your design is digitized, you can choose thread colors that match the original photo or take a more artistic approach. Load the file into your embroidery machine and run a test stitch on scrap fabric.
This test will show:
How well the design holds up
If any areas need more or fewer stitches
If thread colors need adjusting
Want expert color matching? sassy digitizing.com not only digitizes your photo but can also recommend color palettes to bring your design to life.
Step 6: Make Final Adjustments
Based on your test, you might need to tweak:
Stitch density
Fill areas
Outline sharpness
Fine-tuning ensures the design looks clean, professional, and just like the original image. If you’re having trouble with adjustments, sassy digitizing.com offers revision services to ensure your pattern is exactly what you imagined.
Why Choose Sassy Digitizing for Photo to Embroidery Patterns?
With so many tools and steps involved, turning a photo into an embroidery pattern can feel overwhelming. That’s why thousands of embroiderers trust (https://sassy digitizing.com) for expert assistance. Here’s why:
✅ Fast turnaround times
✅ Affordable pricing
✅ Top-quality stitch accuracy
✅ Friendly customer service
✅ Supports all major embroidery file formats
Whether you’re a hobbyist or run a commercial embroidery business, sassy digitizing.com can save you time and help you produce stunning, stitch-perfect designs from any photo.
Final Thoughts
Creating custom embroidery patterns from your favorite photos is a rewarding and personal way to make your projects stand out. With the right steps—and a little help from experts like sassy digitizing.com—you can turn cherished memories into lasting embroidered art.
Don’t settle for guesswork. If you want high-quality, custom embroidery patterns made from photos, visit (https://sassy digitizing.com) today and bring your creativity to life—one stitch at a time
"If you are allured by the beauty of Photo Embroidery Pattern for your project. we're here to help! If you need professional Photo Embroidery Pattern each out to us at www.sassydigitizing.com. Let's put your vision into stitch reality!