“How to Frame Hand Embroidery: Step-by-Step Guide to Preserve and Display Your Stitched Artwork”
How to Frame Hand Embroidery: A Complete Guide to Showcasing Your Stitched Masterpieces
Hand embroidery is more than just a craft — it’s an art form filled with love, patience, and personal expression. After hours of carefully stitching your masterpiece, it deserves to be displayed in a way that honors all your hard work. Framing hand embroidery properly not only protects your work but also turns it into a beautiful piece of wall art that can enhance your home decor or become a thoughtful gift.
In this guide from sassy digitizing.com, we’ll walk you through the step-by-step process of framing your hand embroidery professionally, using the best tools, techniques, and materials. Whether you’re preserving a vintage piece or displaying your latest design, this guide will ensure your work looks its absolute best.
Why Frame Your Hand Embroidery?
Before we dive into the how, let’s talk about the why. Framing your embroidery:
Protects it from dust, moisture, and damage
Preserves its shape and texture over time
Enhances its aesthetic appeal
Allows it to be proudly displayed in your living space
At sassy digitizing.com, we understand the value of your hand-crafted work. That’s why we’re passionate about sharing embroidery techniques, tools, and tips that help every artist showcase their craft with pride.
Materials You’ll Need
To frame hand embroidery like a pro, gather the following items:
Finished hand embroidery piece
Iron and pressing cloth
Mounting board (acid-free)
Tape or pins
Foam core or mat board
Frame (with or without glass)
Embroidery scissors
Tip: If you’re unsure about the best materials, you can always check out our embroidery resources at sassy digitizing.com where we offer expert tips and digital solutions for both beginners and seasoned stitchers.
Step-by-Step Guide to Framing Hand Embroidery
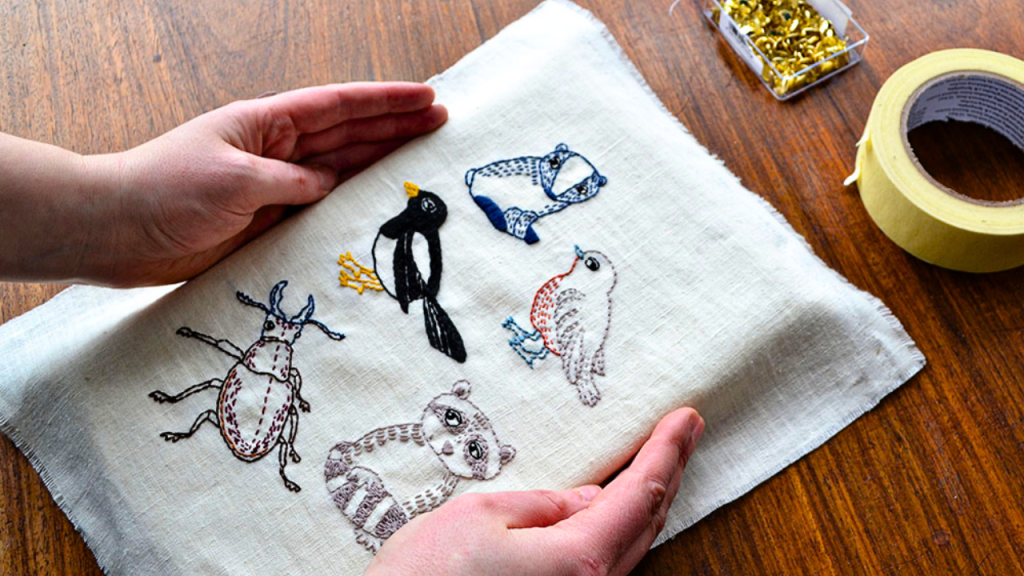
1. Clean and Press Your Embroidery
Gently press your embroidery from the back using a pressing cloth and low heat. Make sure all wrinkles are removed. A clean and wrinkle-free base ensures your piece looks crisp and professional when framed.
2. Choose the Right Frame
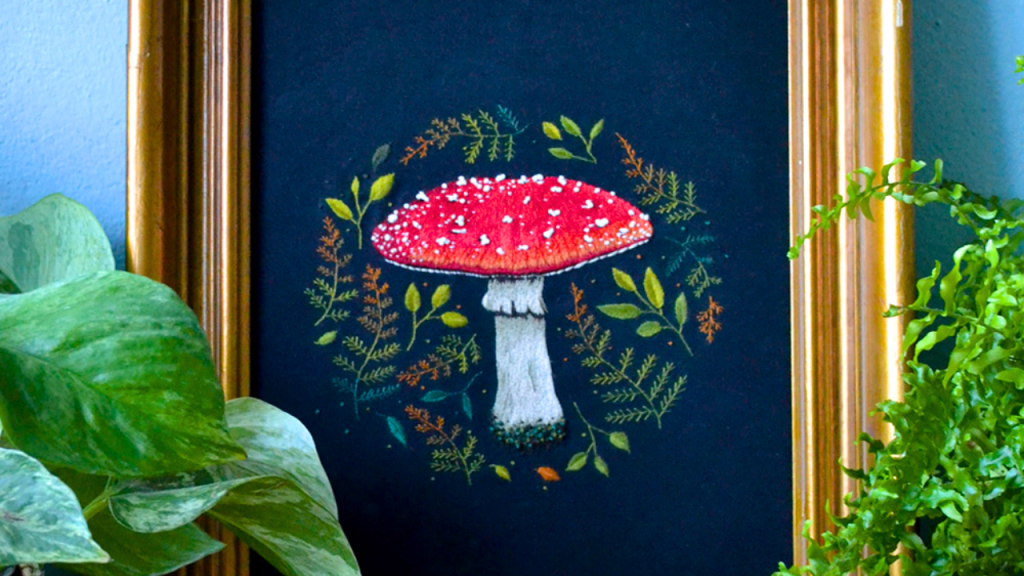
Select a frame that complements your embroidery. Whether it’s rustic wood, a modern minimalist frame, or a decorative vintage look — make sure the size fits the artwork. You can also use shadow boxes for added depth and dimension.
At we recommend using neutral tones for the frame to let the colors and texture of the embroidery stand out.
3. Prepare the Mounting Board
Cut a piece of acid-free foam board or mat board to fit your frame. Center your embroidery on the board, ensuring it’s aligned and taut.
Use acid-free double-sided tape, thread lacing, or stainless steel pins to secure the fabric around the board. Be sure not to stretch it too tightly, or it may warp the stitches.
4. Assemble the Frame
Once your embroidery is mounted securely:
Place it inside the frame
Add any backing or glass (if desired)
Seal the back to prevent dust and humidity from entering
You can find more tips for preserving embroidery in frames at sassy digitizing.com, including advice on long-term care and display locations.
5. Display with Pride
Hang your framed embroidery in a well-lit but sun-protected area. Direct sunlight can cause colors to fade over time, so it’s best to choose a shaded or ambient spot.
If you’re gifting your embroidery, a beautifully framed piece makes a memorable keepsake for weddings, birthdays, or holidays.
Tips for Framing Different Types of Embroidery
Each embroidery technique may require a slightly different approach:
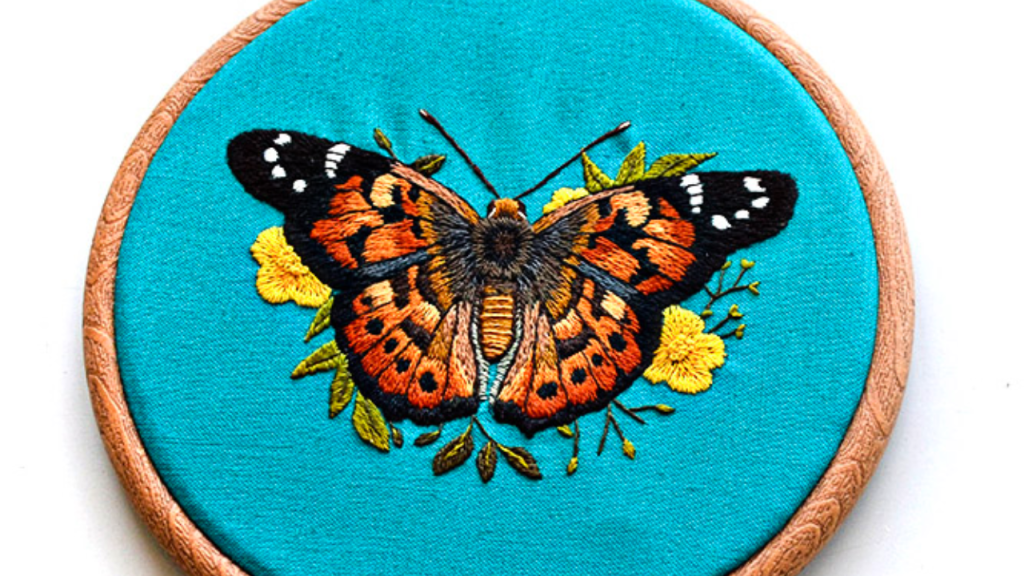
Cross-stitch or counted thread: Use glass for dust protection
Textured or dimensional embroidery: Choose shadow boxes to avoid flattening stitches
Vintage or delicate embroidery: Avoid adhesives; opt for thread-lacing
At sassy digitizing.com, we offer free tutorials and guides on embroidery digitizing and care so you can confidently handle any type of stitch work.
Final Thoughts
Framing your hand embroidery is the final touch that transforms your work from craft to art. With the right preparation and tools, you can make sure your stitches are preserved, protected, and proudly displayed for years to come.
Whether you’re looking for professional embroidery digitizing services, tutorials, or inspiration, is your go-to resource. We’re committed to helping embroidery lovers elevate their craft and showcase their creativity.
For more embroidery tips, digitizing guides, and stitching advice, visit (https://sassy digitizing.com) — where every stitch matters.
"If you are allured by the beauty of Frame Hand Embroidery for your project. we're here to help! If you need professional Frame Hand Embroidery each out to us at www.sassydigitizing.com. Let's put your vision into stitch reality!