How to Thread an Embroidery Needle: A Step-by-Step Guide
How to Thread an Embroidery Needle: A Step-by-Step Guide
Threading an embroidery needle can be a surprisingly challenging task, particularly for beginners. Getting your needle threaded properly will ensure that your stitching proceeds smoothly and with a minimum of frustration. Whether you’re using cotton floss, silk thread, or metallic embroidery threads, the right technique can help a great deal. Follow this step-by-step guide to learn how to thread an embroidery needle with ease.
Step 1: Gather Your Materials
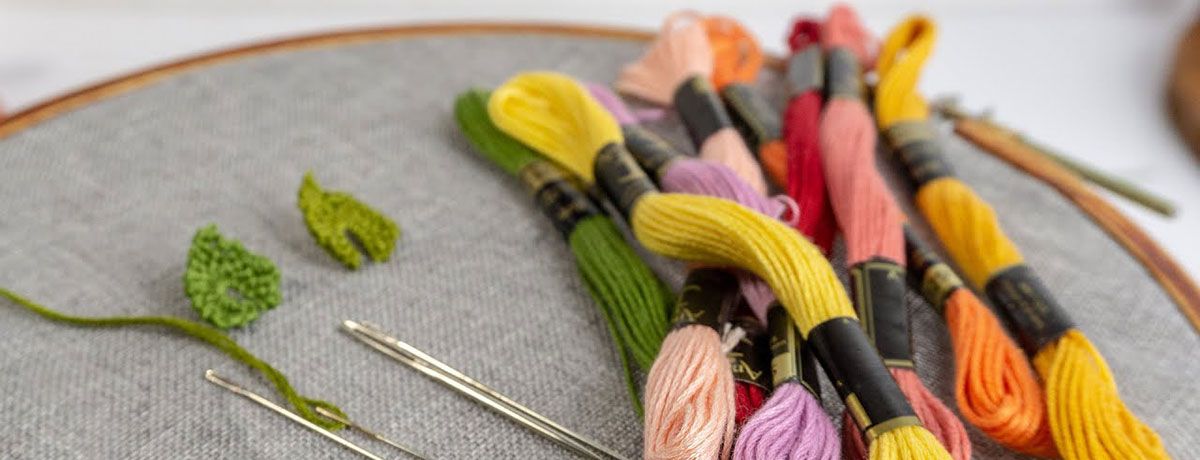
Before you thread your needle, gather the following supplies:
Embroidery needle – Select a size appropriate to the work.
Embroidery thread – Cotton or silk or metallic threads are most suitable.
Sharp scissors – To cut the thread cleanly.
Needle threader (optional) – Helps simplify the threading process.
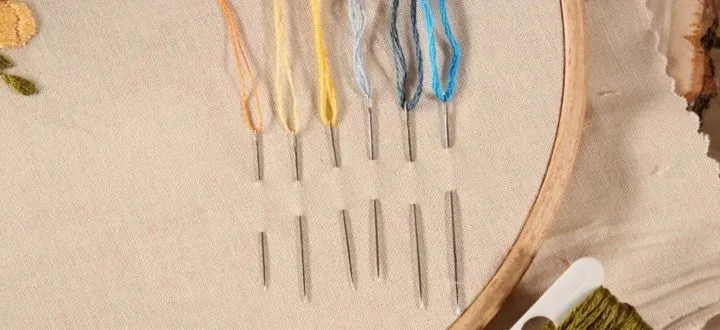
Step 2: Choose the Right Needle
The type and size of embroidery needle you use will depend on the fabric and thread you are using. Thicker threads can be accommodated by larger needles with larger eyes, and finer needles are ideal for fine embroidery work.
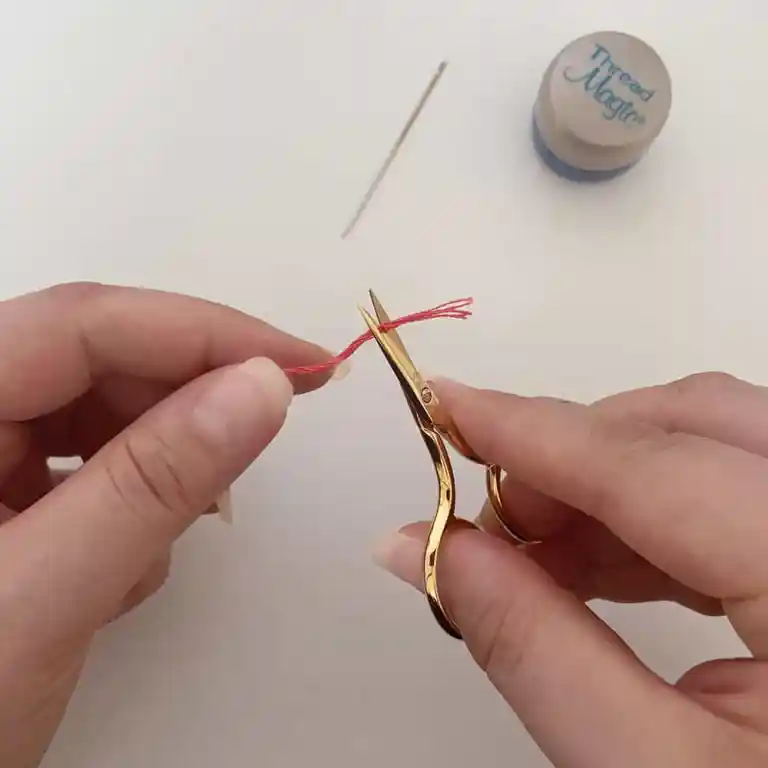
Step 3: Cutting the Thread Properly
Cut the thread at a slight angle with sharp scissors. This will avoid frayed ends and will make threading the needle’s eye easy for you.
Step 4: Moistening the Thread End (Optional)
If your thread is a bit frayed, you can dampen the end by wetting it slightly with water or by pinching it between your fingers. This will flatten the fibers for easier threading.
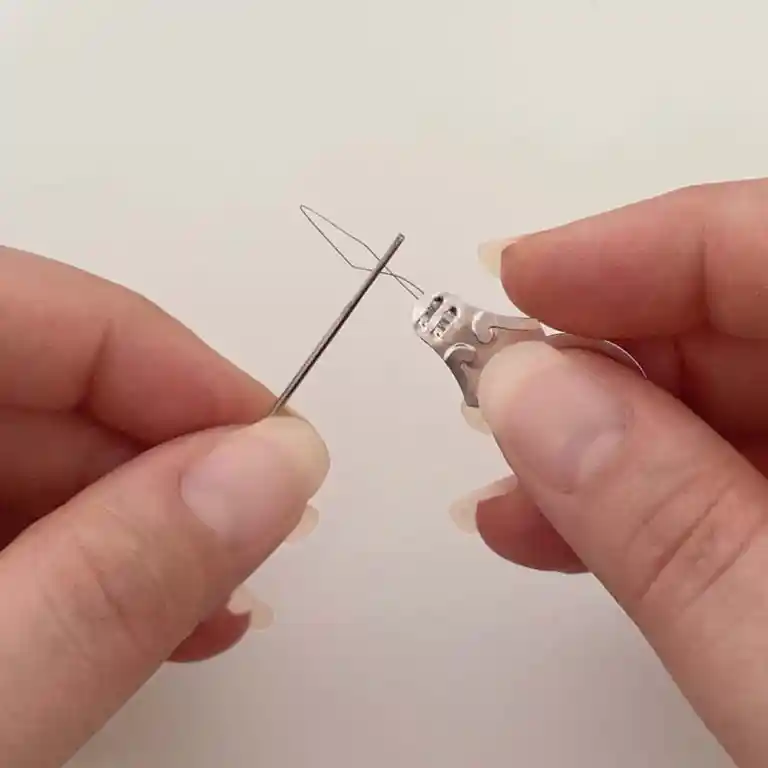
Step 5: Use a Needle Threader (If Necessary)
If you’re finding it difficult to thread the needle manually, a needle threader can help:
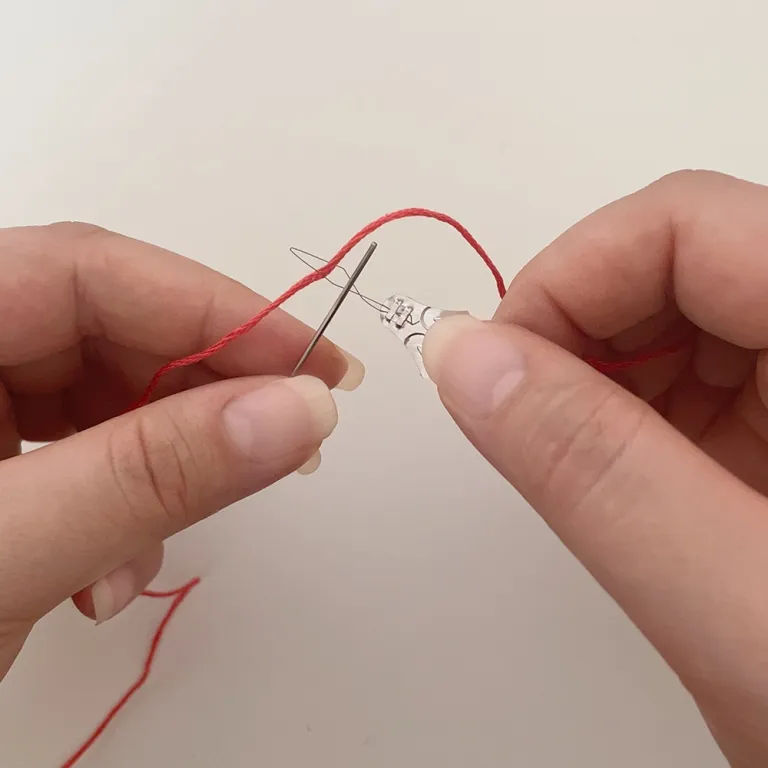
Thread the wire loop of the needle threader through the eye of the needle.
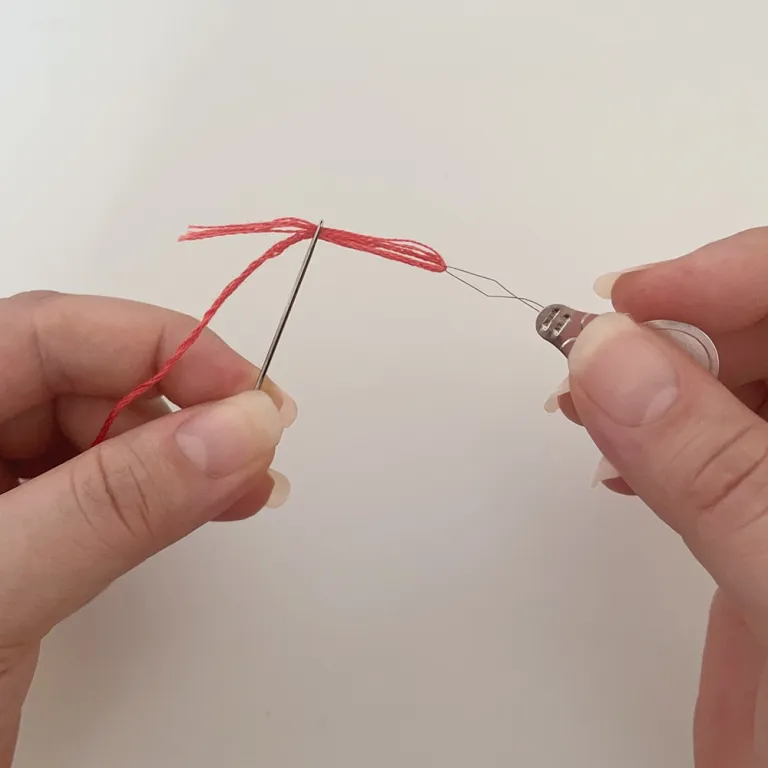
Thread the loop with the thread. Gently pull the threader back, pulling the thread through the eye of the needle.
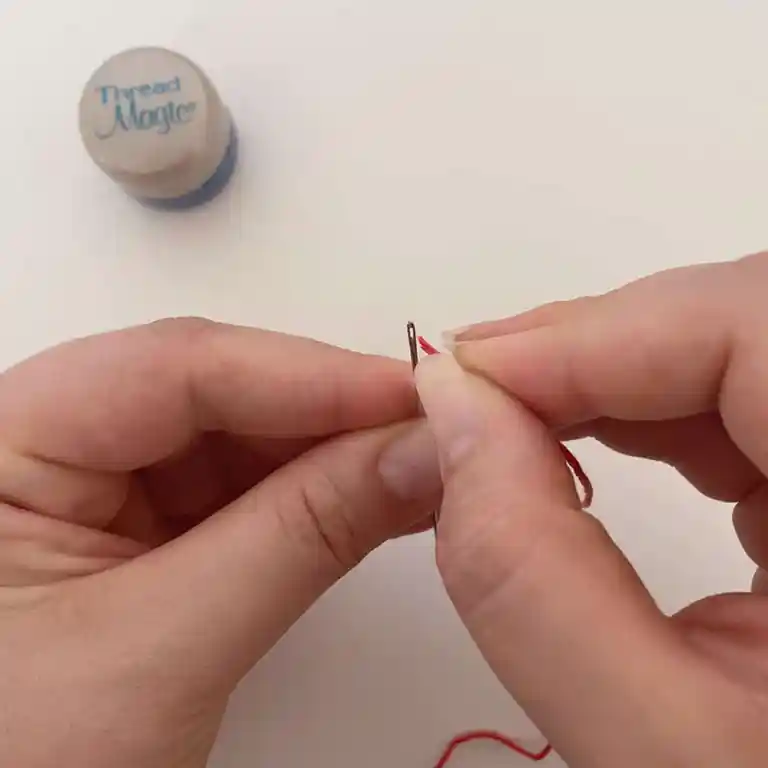
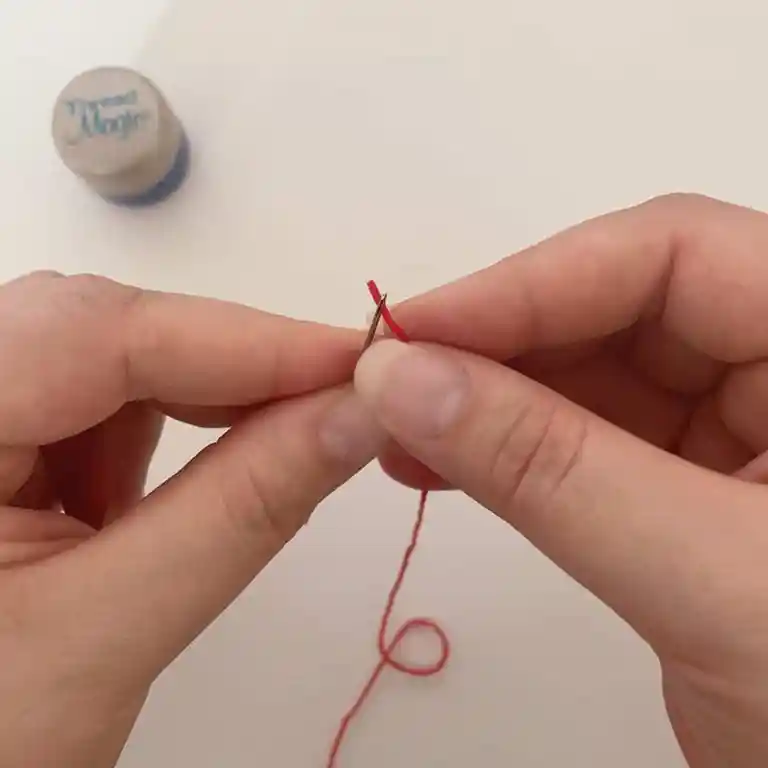
Step 6: Thread the Needle by Hand
If you prefer to thread by hand, do this:
Hold the thread firmly between the thumb and index finger.
Draw the needle’s eye near the thread.
Carefully and slowly pass the thread through the eye, ensuring a smooth passage.
Keep pulling the string until you have the desired length on both sides.
Step 7: Adjust the Thread Length
For embroidery work, the thread length should be comfortable enough to avoid tangling. A good estimate would be to keep the thread length between 18–24 inches.
Step 8: Lock the Thread
Once the thread is through the needle, you can let the ends hang loose for single-strand embroidery or double the thread and tie a knot for added security.
Tips for Easy Threading
Use good lighting to see the needle’s eye clearly.
Select good-quality embroidery needles that have a smooth finish.
If using multiple strands, separate them carefully before threading.
Attempt using a magnifying glass for close work.
Conclusion
Threading an embroidery needle the right way will save you time and frustration and also make stitching more comfortable. Whether you are using a needle threader or doing it by hand, follow these steps to ensure a frustration-free embroidery experience. Threading will become second nature after some practice, and you can focus on your craft easily.
"If you are allured by the beauty of Thread an Embroidery Needle service for your project. we're here to help! If you need professional. Thread an Embroidery Needle service reach out to us at www.sassydigitizing.com. Let's put your vision into stitch reality!