“7 Expert Tips for Perfectly Embroidering Your Shoes”
7 Tips for Embroidering Your Shoes

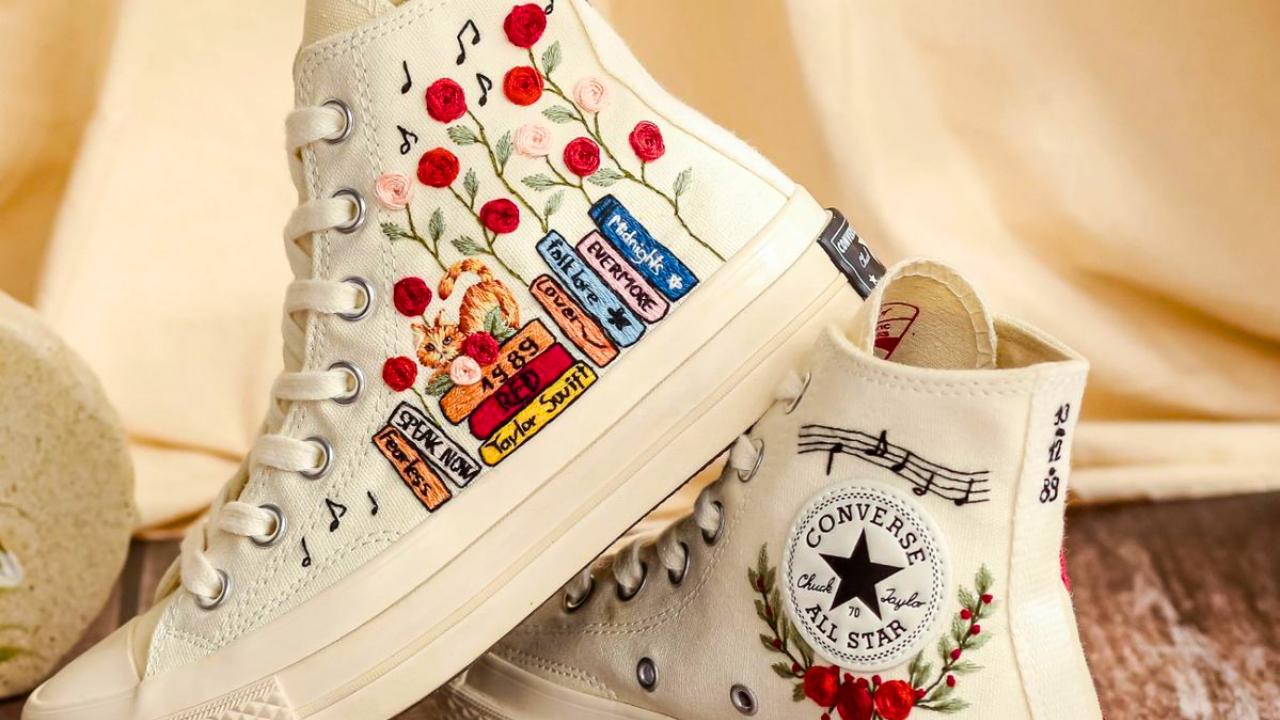
Custom embroidery on shoes is a creative way to turn everyday footwear into unique, eye-catching works of art. Whether you’re adding floral patterns, bold lettering, or trendy motifs, shoe embroidery lets you showcase your personality in every step. At sassy digitizing.com, we know that embroidery digitizing is more than just stitching — it’s about precision, creativity, and durability. If you’ve been wanting to personalize your sneakers, boots, or canvas slip-ons, these 7 tips will help you get professional results every time.
1. Choose the Right Shoe Material
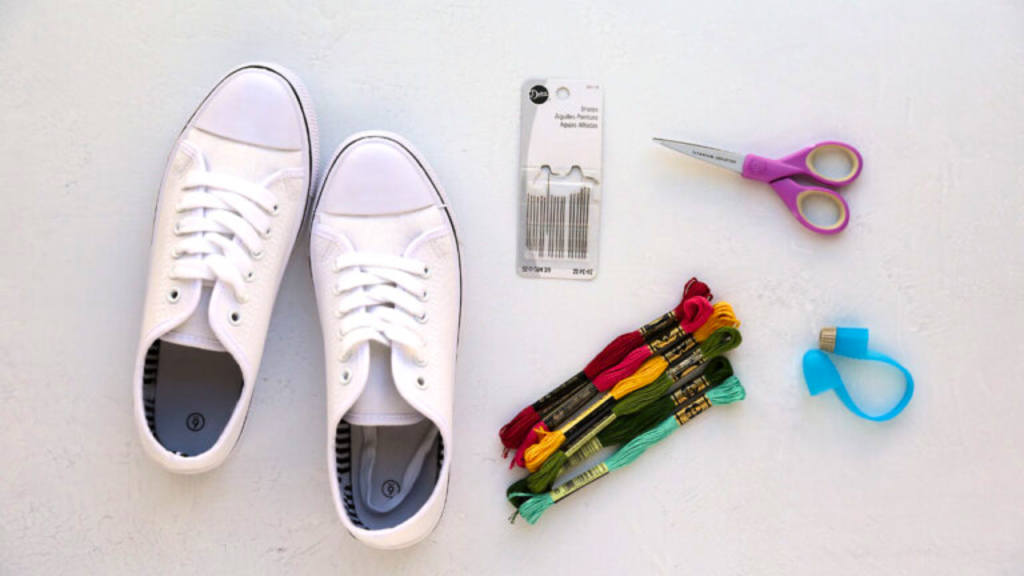
Not all shoes are equally embroidery-friendly. Canvas and denim shoes are perfect because the fabric is sturdy and holds stitches well. Leather or synthetic materials can be trickier, requiring special needles and careful handling. At sassy digitizing.com, we always recommend starting with materials that are beginner-friendly before moving on to more challenging textures.
2. Use a Strong Embroidery Hoop or Clamp
Shoes are not flat like fabric, so keeping the area taut is essential. You may need a small embroidery hoop or a shoe clamp designed for machine embroidery. This will help prevent puckering and keep your design aligned. Sassy digitizing.com offers digitizing services that ensure your design fits perfectly in tight spaces like shoe panels.
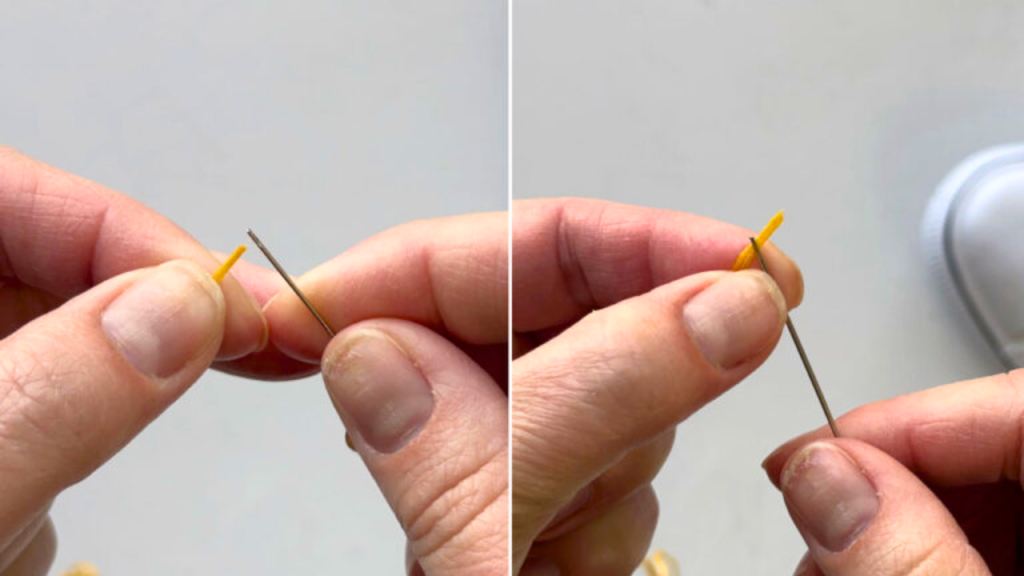
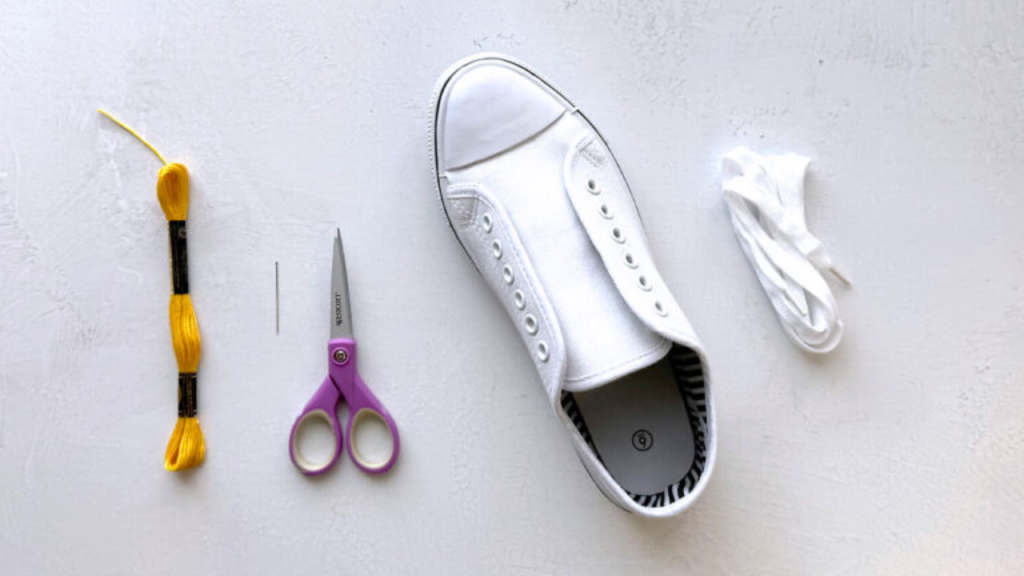
3. Pick the Right Needle and Thread
For shoe embroidery, a sharp needle with a size between 75/11 and 90/14 works best. Use high-quality polyester or nylon thread for durability, as shoes undergo more wear and tear than clothing. With embroidery digitizing from sassy digitizing.com, you can ensure your design runs smoothly without thread breaks.
4. Choose Designs That Fit Your Shoe Shape
Since shoe panels are small, avoid overly complex patterns that won’t be visible from a distance. Bold, simple designs or minimalistic line art tend to work best. At sassy digitizing.com, we can resize and optimize your embroidery files so your design looks sharp even on small, curved surfaces.
5. Stabilize for a Clean Finish
Using a cut-away or tear-away stabilizer inside the shoe helps support your stitches. This prevents fabric from shifting and keeps the embroidery looking crisp. Our experts at sassy digitizing.com can guide you on the right stabilizer for your shoe type.
6. Test on Scrap Fabric First
Never jump straight into embroidering your shoes — test your design on similar fabric first. This will help you fine-tune tension, speed, and thread choice before committing to the real thing. Testing is a standard step we follow at sassy digitizing.com to avoid costly mistakes.

7. Protect Your Finished Design
Since shoes are exposed to dirt and moisture, apply a fabric protector spray to your finished embroidery. This helps preserve the colors and prevent fraying. A little extra care will keep your custom shoes looking amazing for a long time.
Final Thoughts
Embroidering shoes may seem challenging at first, but with the right tools, techniques, and a well-digitized design, you can achieve stunning results. Whether you’re adding a personal touch to your own footwear or creating custom pieces for clients, following these 7 tips will ensure your work stands out. And remember — quality embroidery starts with quality digitizing, so trust sassy digitizing.com to bring your shoe designs to life with precision and style.
"If you are allured by the beauty of Shoes Embroidery for your project. we're here to help! If you need professional Shoes Embroidery each out to us at www.sassydigitizing.com. Let's put your vision into stitch reality!