“How To Make A Hand Embroidered Patch – Easy DIY Guide for Beginners”
How To Make A Hand Embroidered Patch — Step by Step Guide
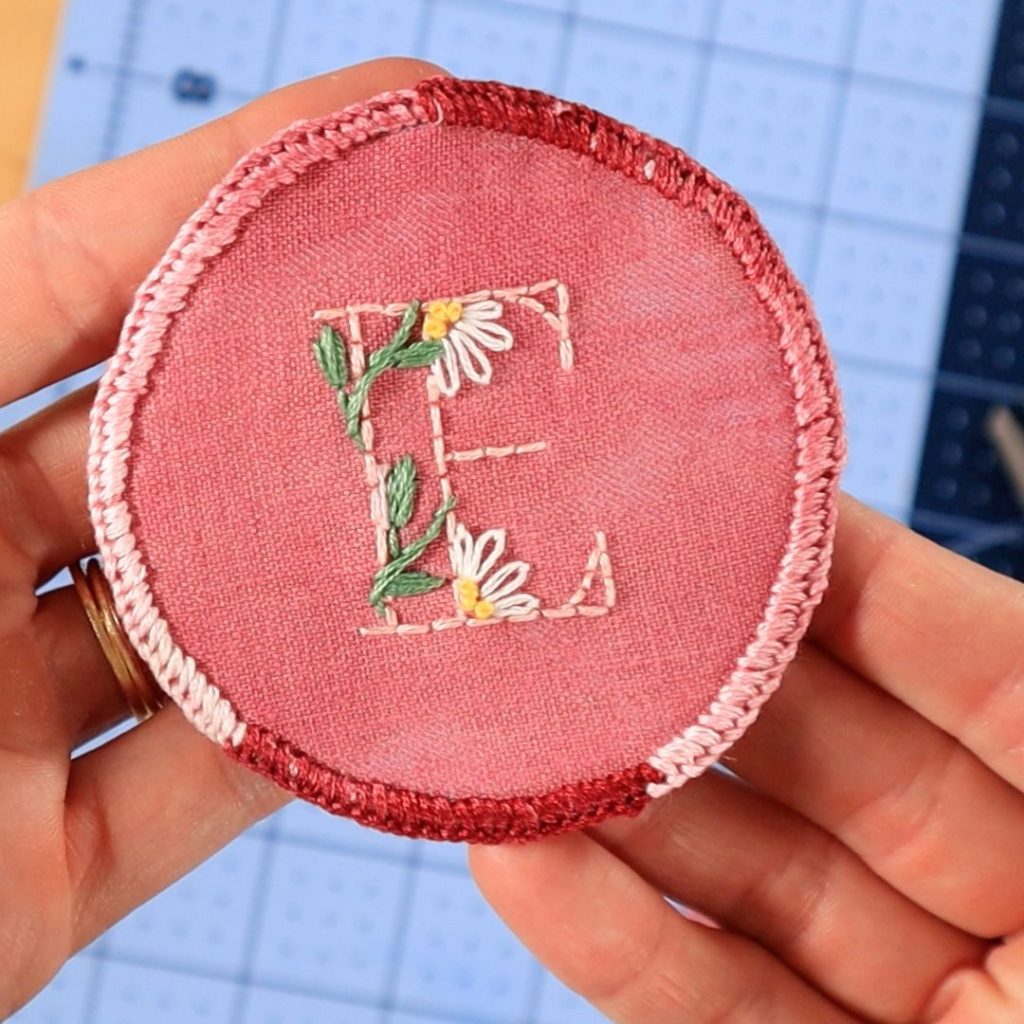
Hand embroidery is a timeless craft that allows you to add personality, creativity, and a handmade touch to almost anything. One of the most popular ways to showcase embroidery skills is by making hand embroidered patches. These little works of art can be added to jackets, hats, tote bags, jeans, or even framed as keepsakes.
If you’re curious about how to make your own embroidered patch, this guide will walk you through everything you need to know — from gathering materials to finishing your patch so it lasts. Whether you’re a beginner or a seasoned stitcher, making patches is a fun way to express yourself. And if you want to explore more embroidery designs, visit sassy digitizing.com for endless inspiration.
1. Gather Your Materials
To start, you’ll need some basic supplies:
Fabric base (cotton, felt, or denim works great) Embroidery floss in your chosen colors Embroidery hoop Needles Scissors Iron-on adhesive or patch backing (optional) If you’re unsure where to begin, you can always download beginner-friendly embroidery designs from sassy digitizing.com to make your patch-making process easier.
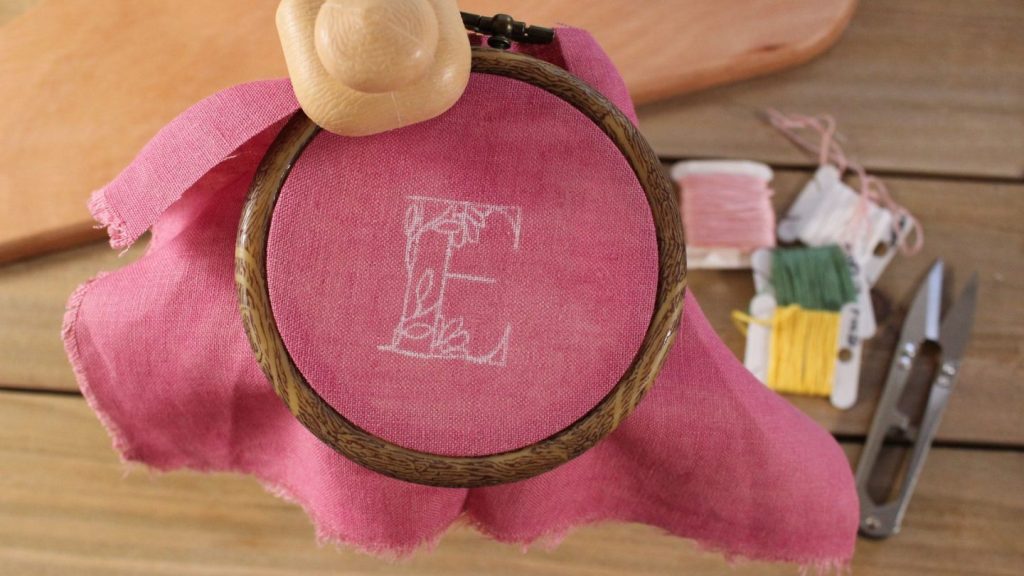
2. Choose or Draw Your Design
Your patch should represent something meaningful — like a flower, a favorite quote, or even a logo. If drawing isn’t your strong suit, consider tracing a design or using ready-to-go embroidery patterns. Many crafters use designs from sassy digitizing.com because they’re beginner-friendly and easy to adapt into patch form.
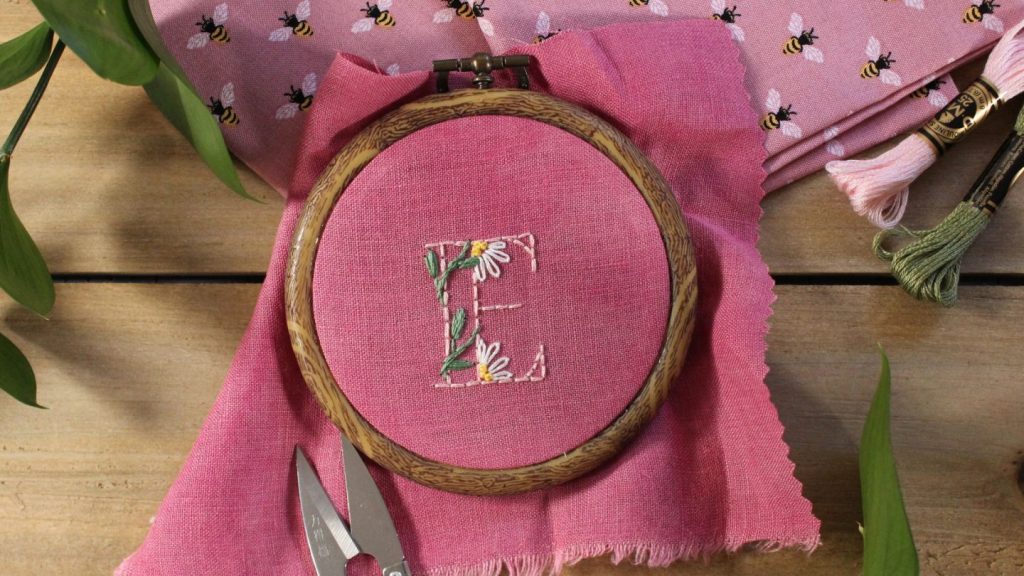
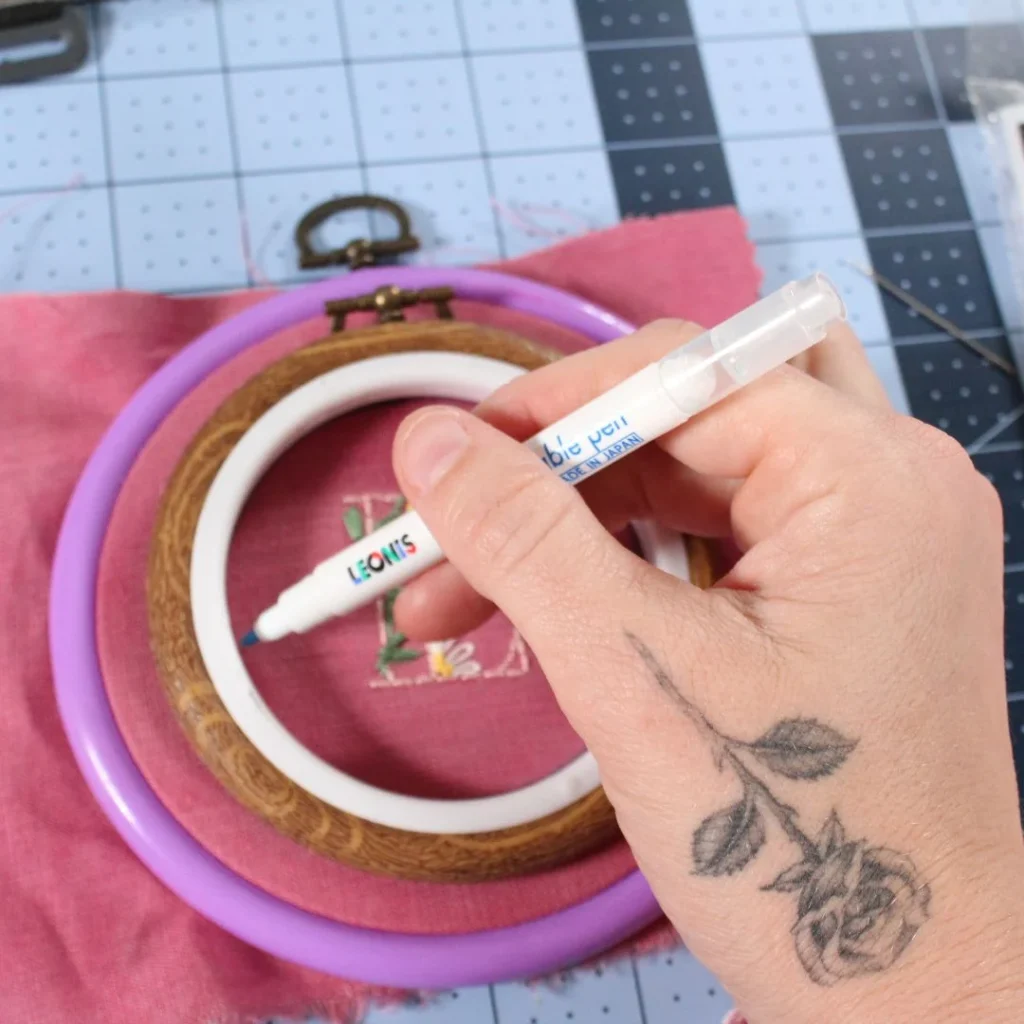
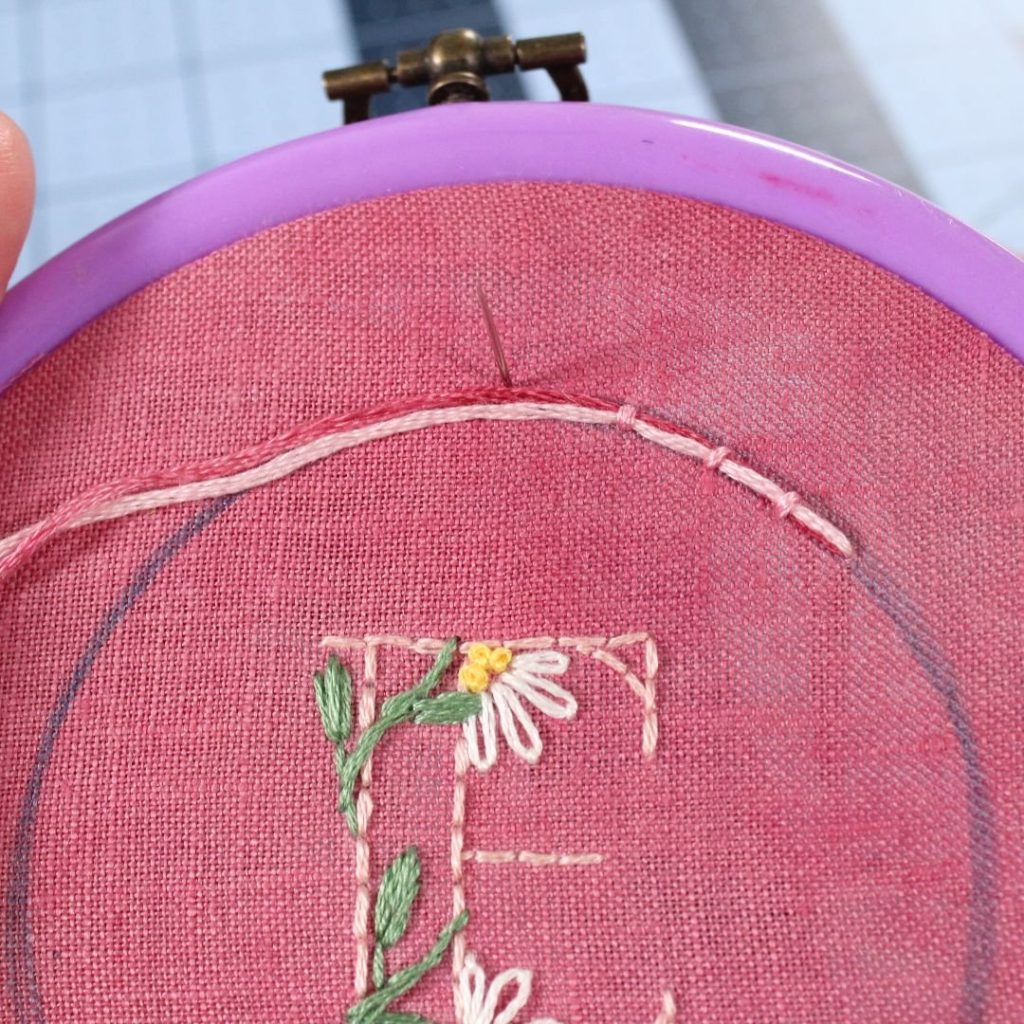
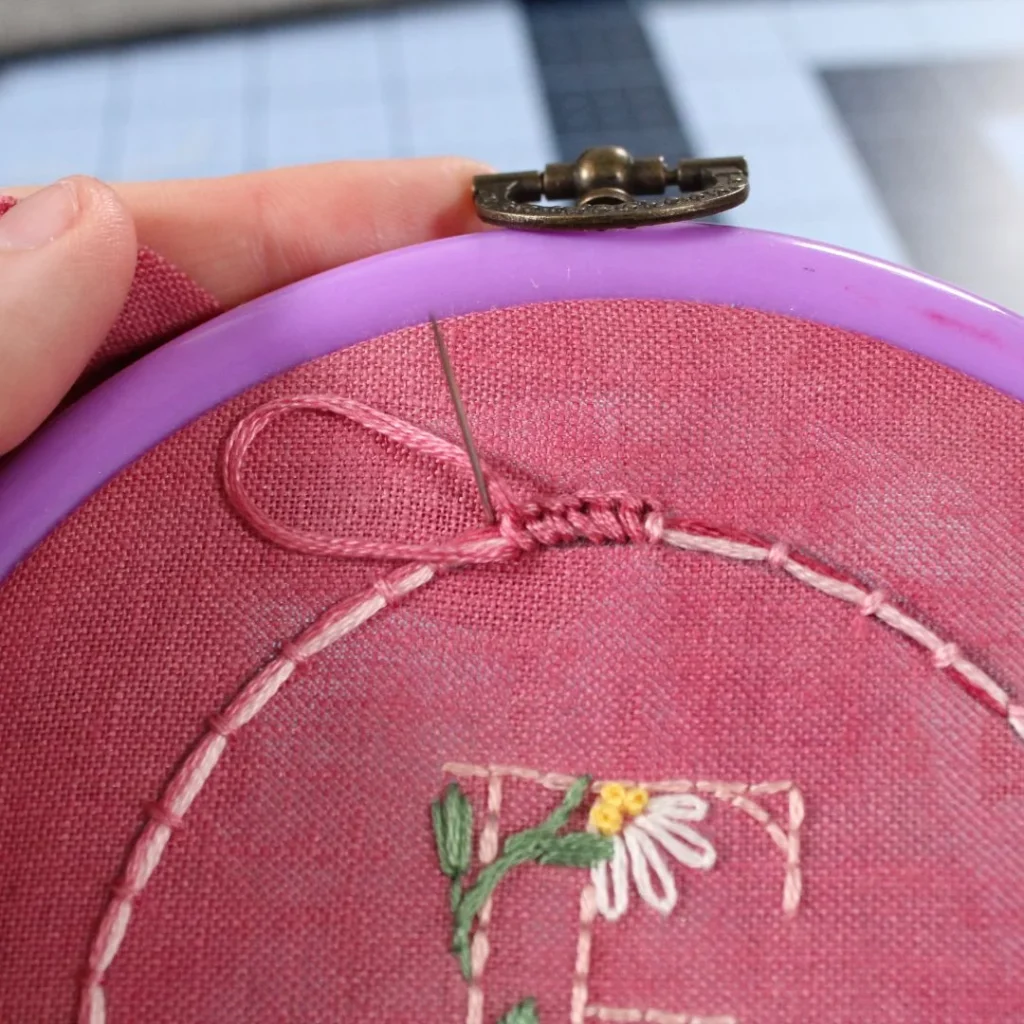
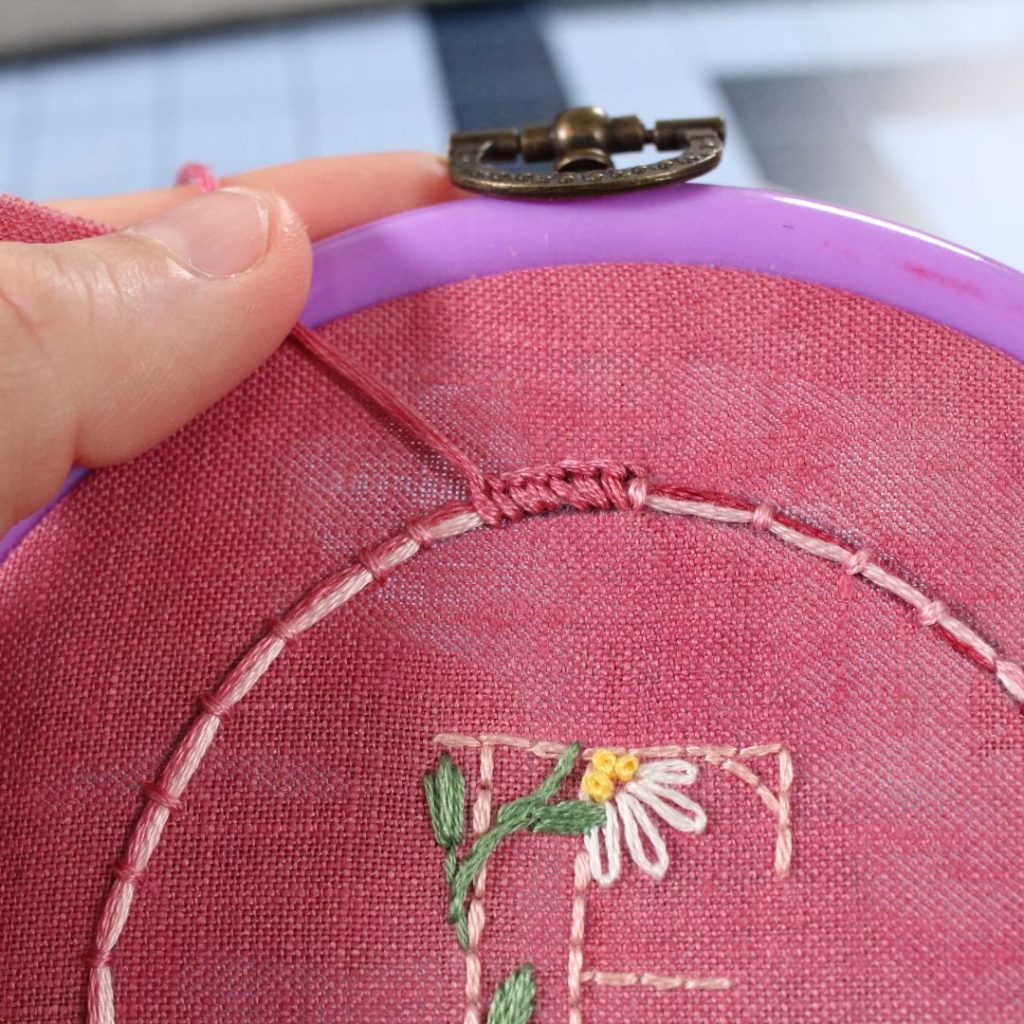
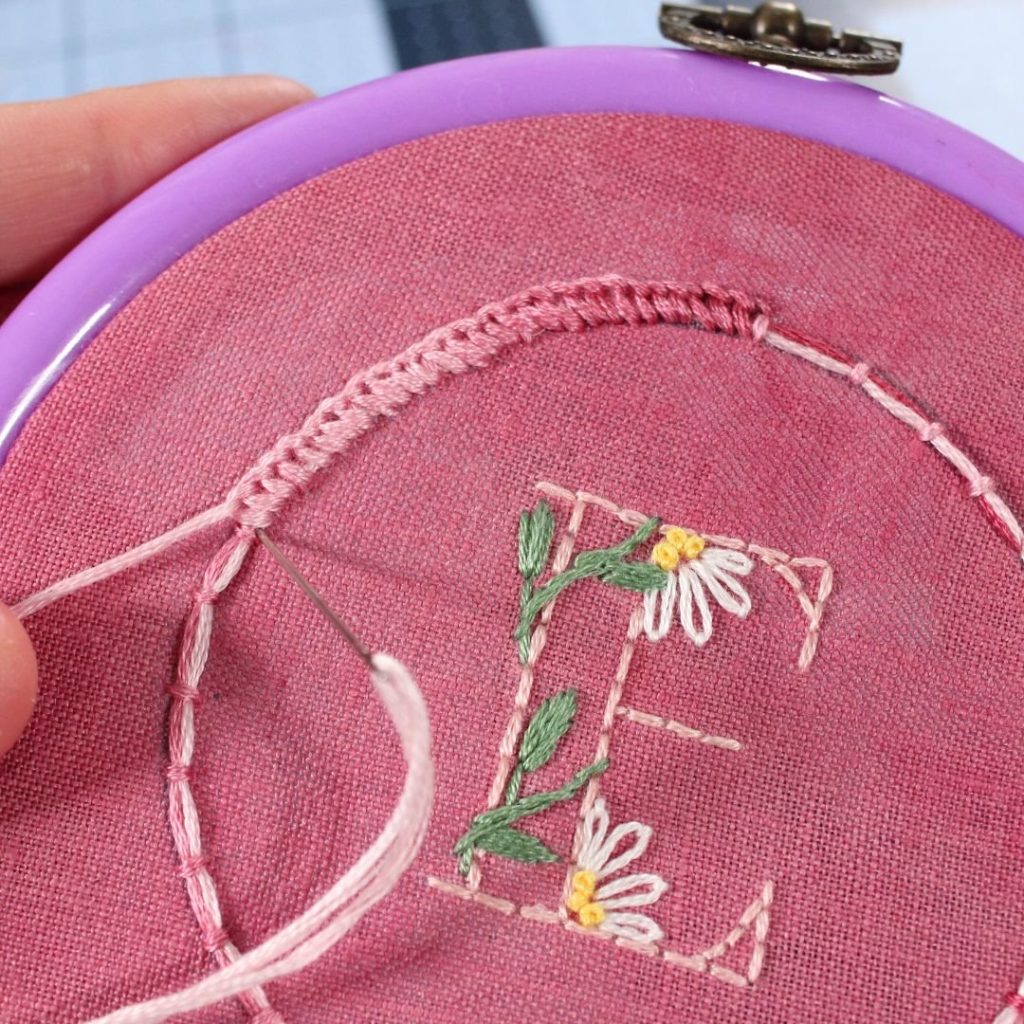
3. Start Stitching
Secure your fabric in the embroidery hoop to keep it tight. Then, begin stitching your design with your favorite stitches:
Backstitch for outlines Satin stitch for filling solid areas French knots for texture and details Hand embroidery gives you the freedom to be creative, so don’t worry about perfection — the charm lies in the handmade look.
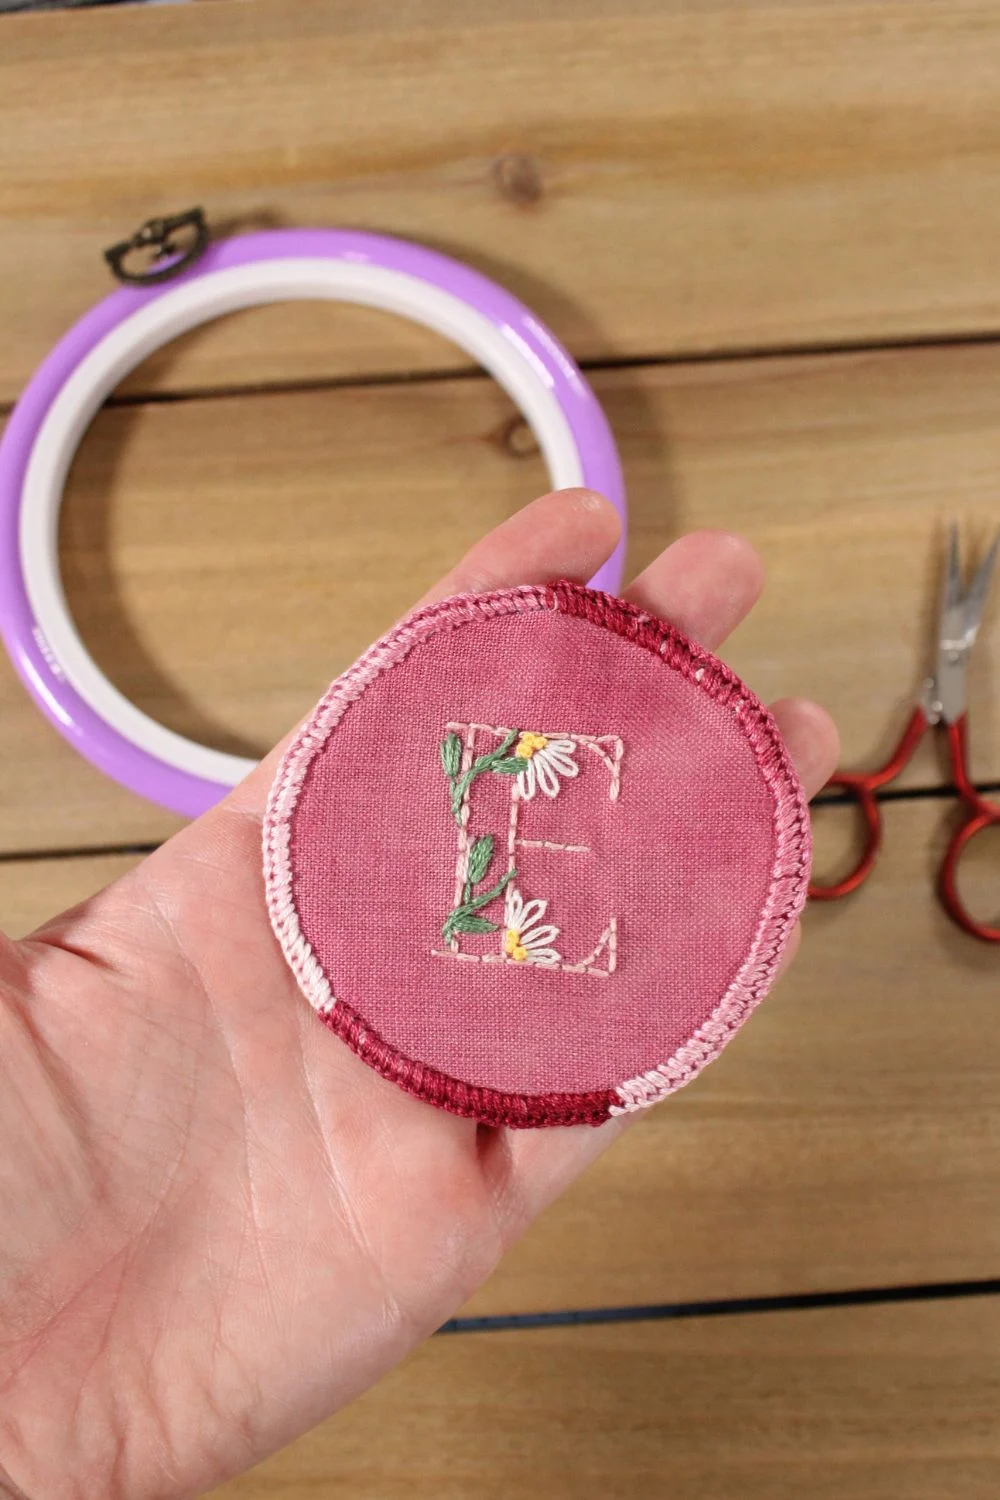
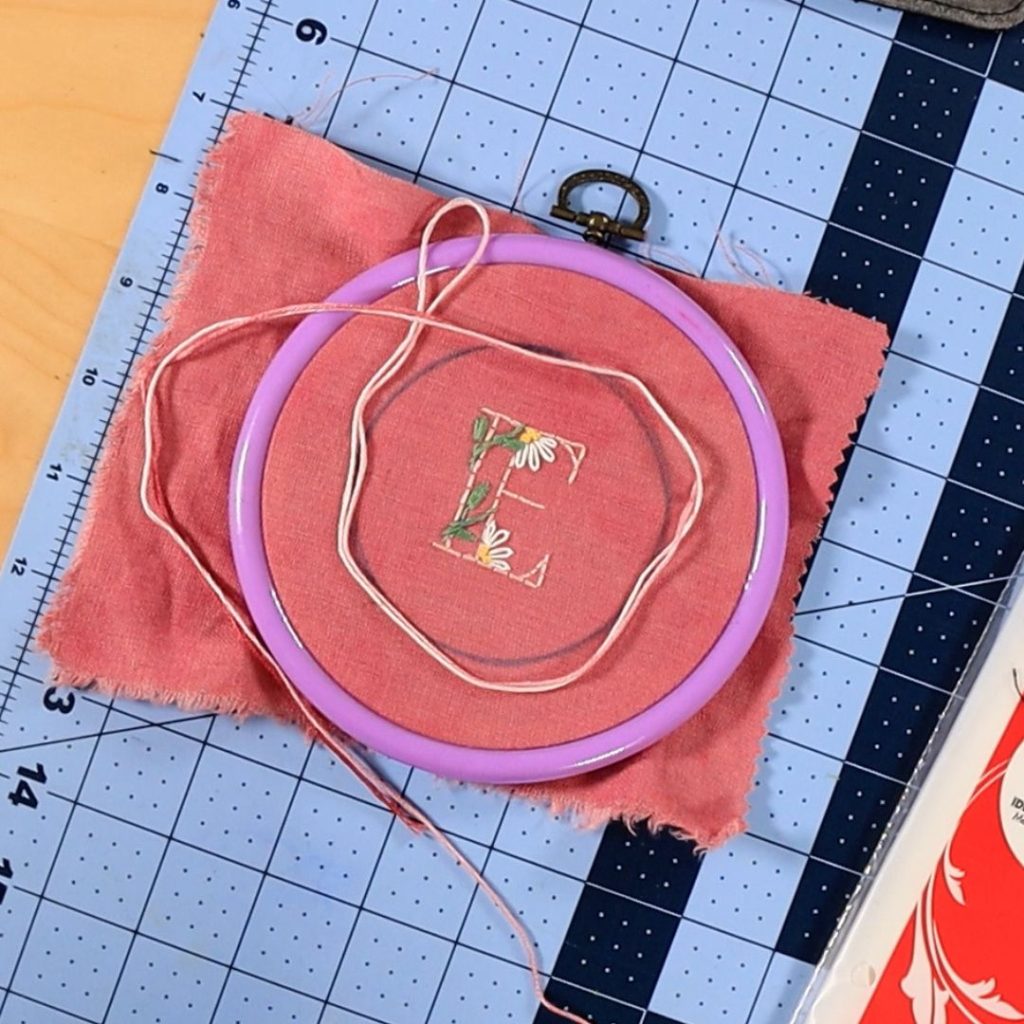
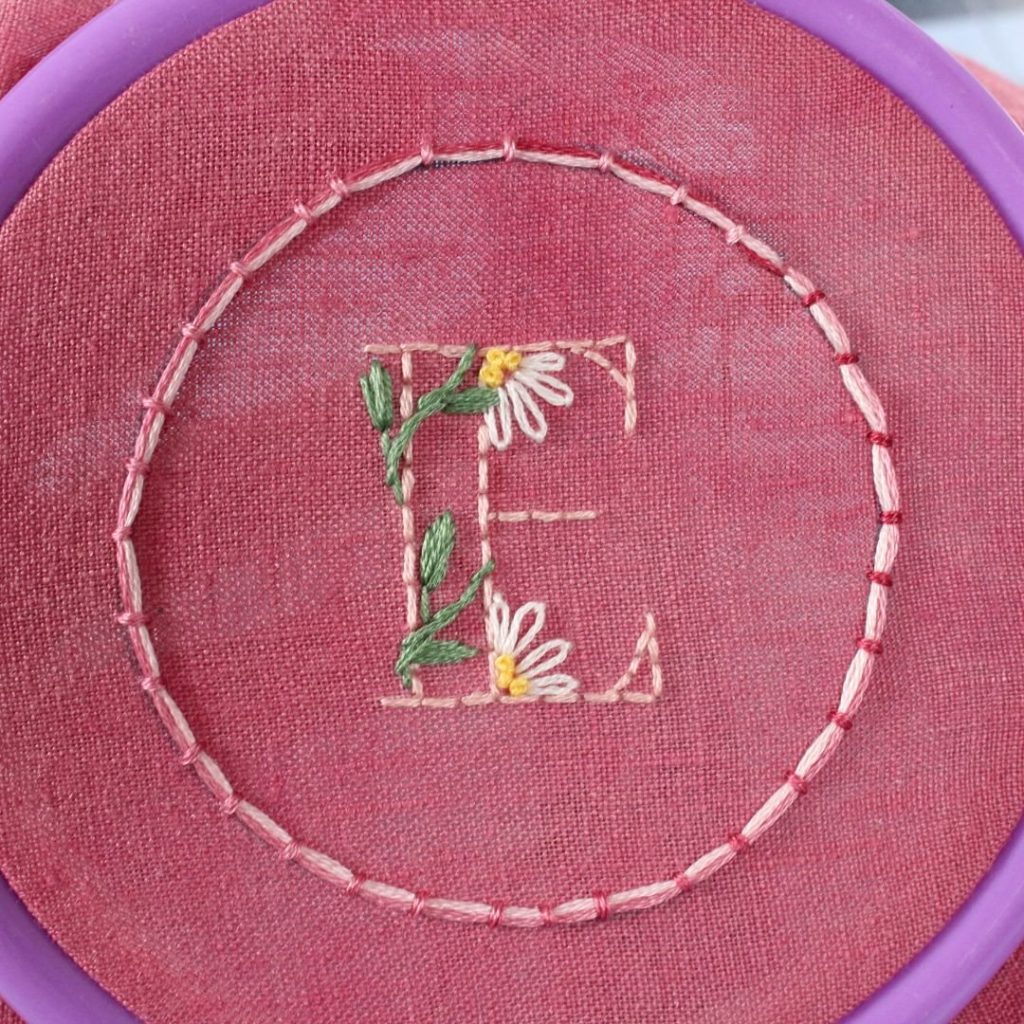
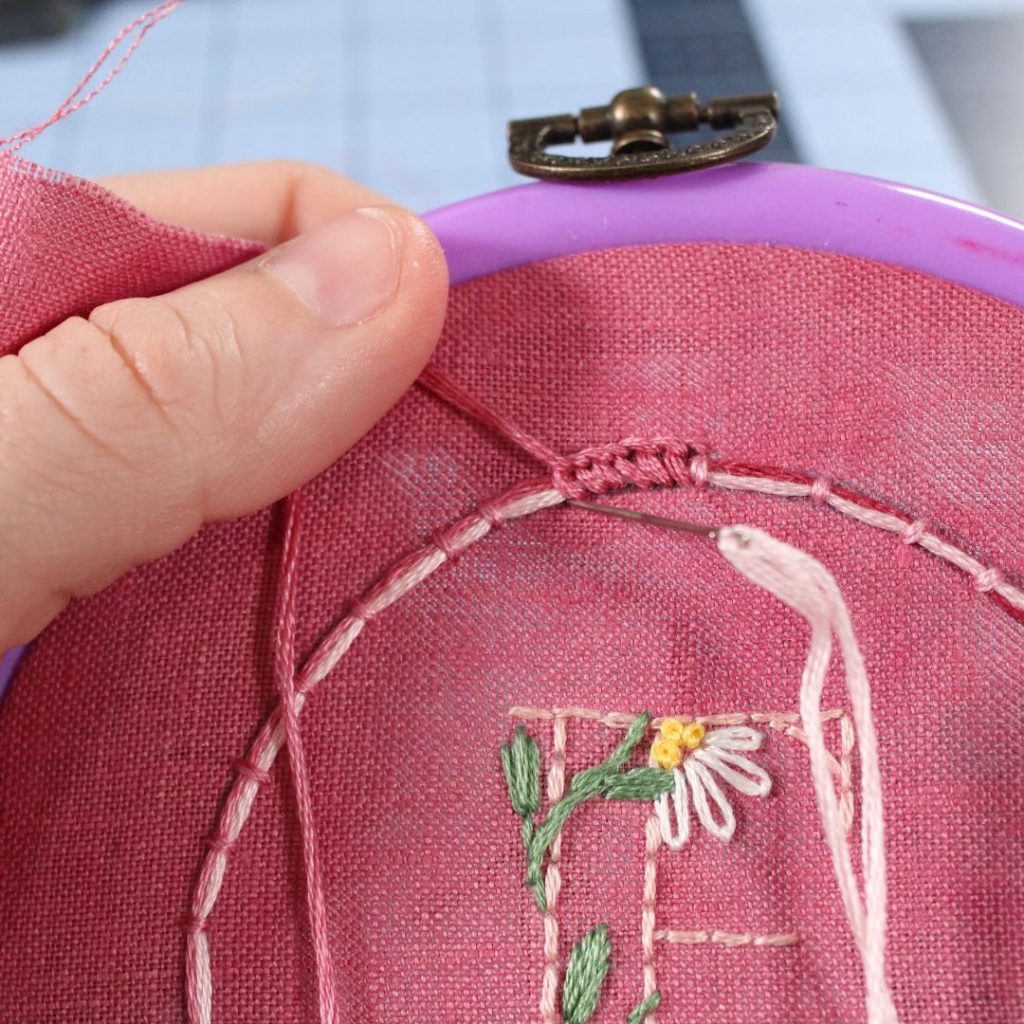
4. Cut Out Your Patch
Once your embroidery is complete, carefully cut around the design, leaving about ¼ inch of fabric as a border. To prevent fraying, you can either use a blanket stitch around the edges or apply fabric glue.
For those who love neat, professional finishes, tutorials and tips at sassy digitizing.com can help you refine your patch-making skills.
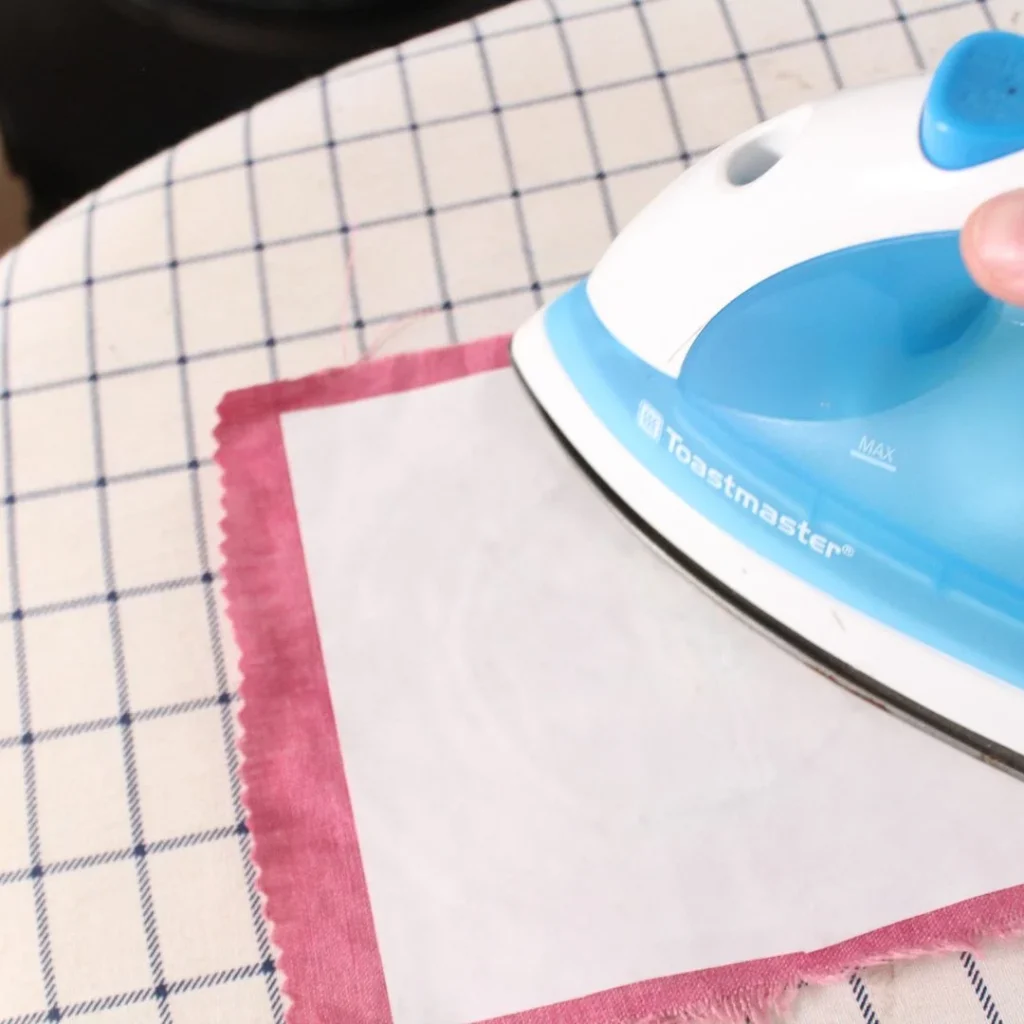
5. Add a Backing
To make your patch sturdy and easy to attach, iron on patch backing or adhesive. You can also sew felt behind the patch for extra durability. This step ensures your hand embroidered patch can withstand wear and tear when added to clothing or accessories.
6. Attach Your Patch
Now comes the fun part — showing off your work! Sew or iron your patch onto jackets, backpacks, or hats. Every time you wear it, you’ll be carrying a piece of your creativity.
And if you’re ever looking to expand your patch collection, sassy digitizing.com offers digitized embroidery designs that can be turned into unique handmade patches in no time.
Why Make Hand Embroidered Patches?
They’re unique and reflect your personality. They make great gifts for friends and family. They’re a sustainable way to upcycle old clothes. They allow you to experiment with stitches and learn embroidery For even more embroidery tutorials and design inspiration, check out sassy digitizing.com — it’s a hub for anyone who loves to stitch, create, and personalize.
Conclusion
Learning how to make a hand embroidered patch is both fun and rewarding. With just a few supplies and a bit of creativity, you can create patches that showcase your style and story. Whether you’re crafting them for fashion, gifting, or just for fun, these handmade patches are treasures that last.
For embroidery patterns, digital designs, and expert tips to elevate your patch-making journey, don’t forget to visit sassy digitizing.com. It’s your go-to destination for all things embroidery!
"If you are allured by the beauty of Hand Embroidered Patch
for your project. we're here to help! If you need professionalHand Embroidered Patch
each out to us at www.sassydigitizing.com.
Let's put your vision into stitch reality!