





Best Embroidery Digitizing Settings for Hats and Caps
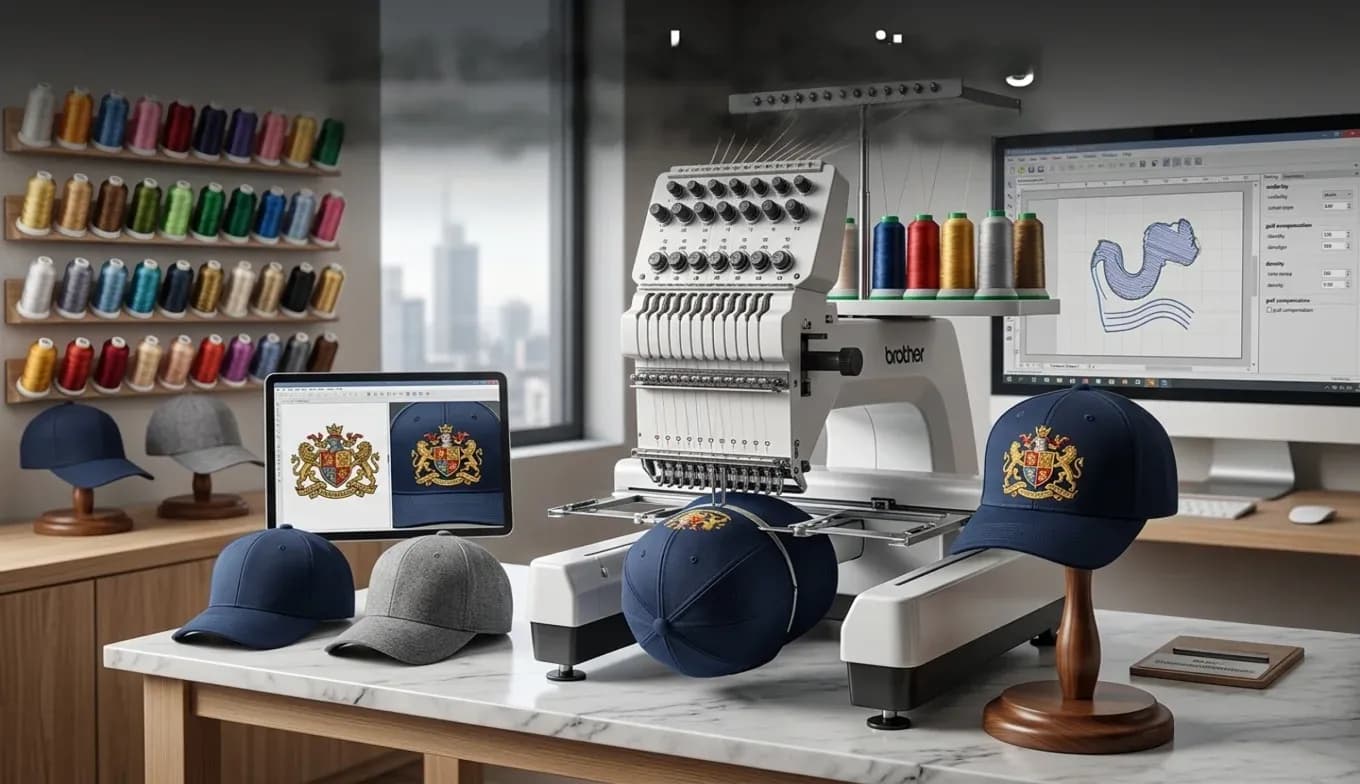
In the competitive world of modern apparel decoration, standing out requires flawless execution on every single garment type. While flat garments like T shirts or hoodies offer a straightforward canvas, digitizing for hats and caps is an entirely different game. The primary structural challenge stems from the inherently curved surface of headwear and the thick center seam that splits most traditional 6 panel caps.
When a commercial machine rotary driver spins a cap, the underlying fabric naturally shifts, pushes, and pulls in multiple directions simultaneously. If your digital settings fail to account for this physical movement, you will inevitably face misaligned design outlines, constant thread breaks, and birds nesting beneath the needle plate. Meeting retail quality headwear standards requires a deep operational understanding of stitch logic, machine physics, and specialized structural settings.
The Golden Rule: Center Out and Bottom Up Pathing
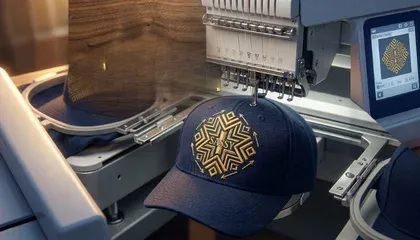
The absolute most critical setting in cap digitizing is your pathing sequence. Unlike flat designs that typically sew from the top down, headwear demands a strict center out and bottom up sequencing logic.
Center out pathing is vital because it systematically pushes the moving fabric outward toward the edges of the frame. This structural movement prevents the fabric from bunching up or puckering as the design reaches completion.
Bottom up pathing ensures that your needle starts its sequence near the stiff bill of the cap and moves smoothly upward toward the crown. This technique anchors the cap fabric to the absolute most rigid part of the frame, preventing the graphic from shifting or warping as the needle moves higher.
Underlay Settings for Maximized Fabric Stability
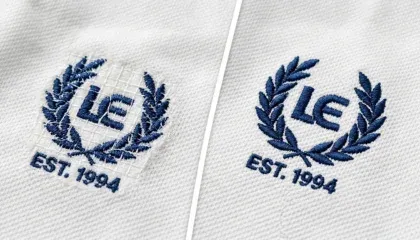
When embroidering onto a curved, low friction surface, your foundational stitches dictate your final quality. Relying on a basic center walk underlay will almost always result in an unstable design when working on caps.
To achieve crisp, razor sharp boundaries on satin columns, you must program a dedicated contour underlay. For larger design elements and filled shapes, a comprehensive zig zag underlay provides the vital lift needed to keep your top cover stitches from sinking into the stiff buckram lining of the cap. Industry experts advise against using dense or heavy fill underlays on structured caps. Excessively heavy foundations make the embroidery field far too hard, leading to needle deflection, skipped stitches, and broken needles during high speed production runs.
Pull Compensation: The Secret to Perfect Outline Alignment
Because cap panels are stretched under immense physical tension around a rotary cap driver, the fabric experiences significantly more pull distortion than flat items. To maintain flawless registration standards, we recommend increasing your global pull compensation value to a range between 0.40mm and 0.45mm.
If your artwork features a geometric circle or a tight border surrounding text elements, you must intentionally over compensate the digital height of the shape. Failing to apply this adjustment means the high tension pull will warp your perfect circle into an unappealing oval once it is released from the machine. At Sassy Digitizing, our manual precision workflow ensures that every single outline path is mathematically calibrated to strike its target perfectly, regardless of how thick the underlying 6 panel seam is.
Advanced Density and Stitch Length Calibration
Most commercial caps are constructed from rugged heavy cotton twill or durable polyester blends. While these tough textiles can easily manage slightly higher stitch counts, you must exercise caution when pathing small text details.
Keep your primary satin stitch density locked around a balanced 0.4mm. Concurrently, ensure that your programmed stitch lengths never drop too short. Stitches that measure less than 1.5mm in length function exactly like a drill bit against the cap backing, tearing holes into the fabric and causing immediate thread shredding.
If you are expanding into three dimensional 3D Puff embroidery on hats, your setup requires you to double your global density settings and implement specialized horizontal capping stitches to lock down the raw ends of the foam. This highly technical task is exactly what the master design team at Sassy Digitizing handles daily with absolute precision.
Why Professional Digitizing Protects Your Brand Image
Running an unoptimized or automated digitizing file will quickly destroy expensive headwear blanks and kill your daily workshop production schedule. This massive risk is exactly why commercial embroiderers across the United States rely strictly on 100 percent manual digitizing from Sassy Digitizing. We build production ready files engineered specifically to conquer the unique curved geometry of modern hats.
Our Head of Quality Control, Keith Blair, personally reviews and inspects every single cap file to guarantee proper seam clearance, efficient pathing, and zero machine downtime.
To help scale your headwear brand with total peace of mind, we proudly offer your very first structural trial completely free. Whether your upcoming project demands a complex 3D puff streetwear logo or ultra fine corporate typography, we provide the industrial quality assurance required to run your multi head machinery at maximum speed. Backed by our lightning fast 2 hour turnaround time, your shop will never have to inform a client that their order is facing a production delay.
Frequently Asked Questions
1. Why does my design shift or misalign when stitching directly over the center seam?
The center seam represents the densest and thickest cross section of the hat. If your file uses a low pull compensation value or bypasses a strict center out pathing sequence, the physical impact of the needle will push the fabric away from the seam center, causing severe outline misalignment.
2. What is the maximum safe height for standard hat embroidery designs?
For the vast majority of standard commercial caps, your maximum safe production height ranges between 2.25 inches and 2.5 inches. Attempting to digitize a taller design risks forcing the needle bar to strike the solid metal frame of the cap driver, which can cause severe mechanical damage to your machine.
3. Do I need to use a specific type of needle for cap embroidery production?
Yes, we strongly recommend equipping your machine heads with a fresh 75 11 or 80 12 sharp needle. Sharp point needles pierce the heavy buckram stabilization layer of structured hats much cleaner and more efficiently than standard light ballpoint needles.
4. Can I safely run the exact same design file on both a flat shirt and a cap?
Absolutely never. A file constructed to sew flat on a standard shirt canvas will almost always fail catastrophically when loaded onto a cap frame. The foundational underlays, the sequencing paths, and the required pull compensation values are entirely unique to the world of headwear decoration.
Keith Blair
Senior Quality Control (HOD)
As the Head of Quality Control at Sassy Digitizing, Keith brings over 12 years of hands-on commercial embroidery experience to the table. He is our resident problem-solver, specializing in the technical nuances of stitch density, pull compensation, and complex digitizing. When he's not establishing quality standards for 3D puff and appliqué, you'll find him perfecting the art of small lettering to ensure every stitch counts.
Expertise:
Related Articles
Custom Pet Embroidery Digitizing: Realistic Dog and Cat Portraits from Photos
Not another cartoon dog patch. See how our digitizers hand-punch true-to-photo shading so your pet's embroidered portrai…
How to Convert a Logo to Ricoma Embroidery Machine Format
Ricoma embroidery machines are industrial workhorses. Whether you own a single-head MT-1501 or a multi-head powerhouse, …
How to Convert PNG to DST for Embroidery: The Complete Guide
If you are new to the world of custom apparel, you might be wondering why you can’t simply open your company logo in Pho…