Left Chest Logo Digitizing
Manual left-chest embroidery digitizing for polos, dress shirts, hoodies, fleece, and workwear. Hand-built in Wilcom V9/E2 with fabric-matched underlay and density. No auto-digitizing, no setup fees, and free revisions.

4.8/5
 Google
4.9/5
Chest Logos Our Customers Stitched
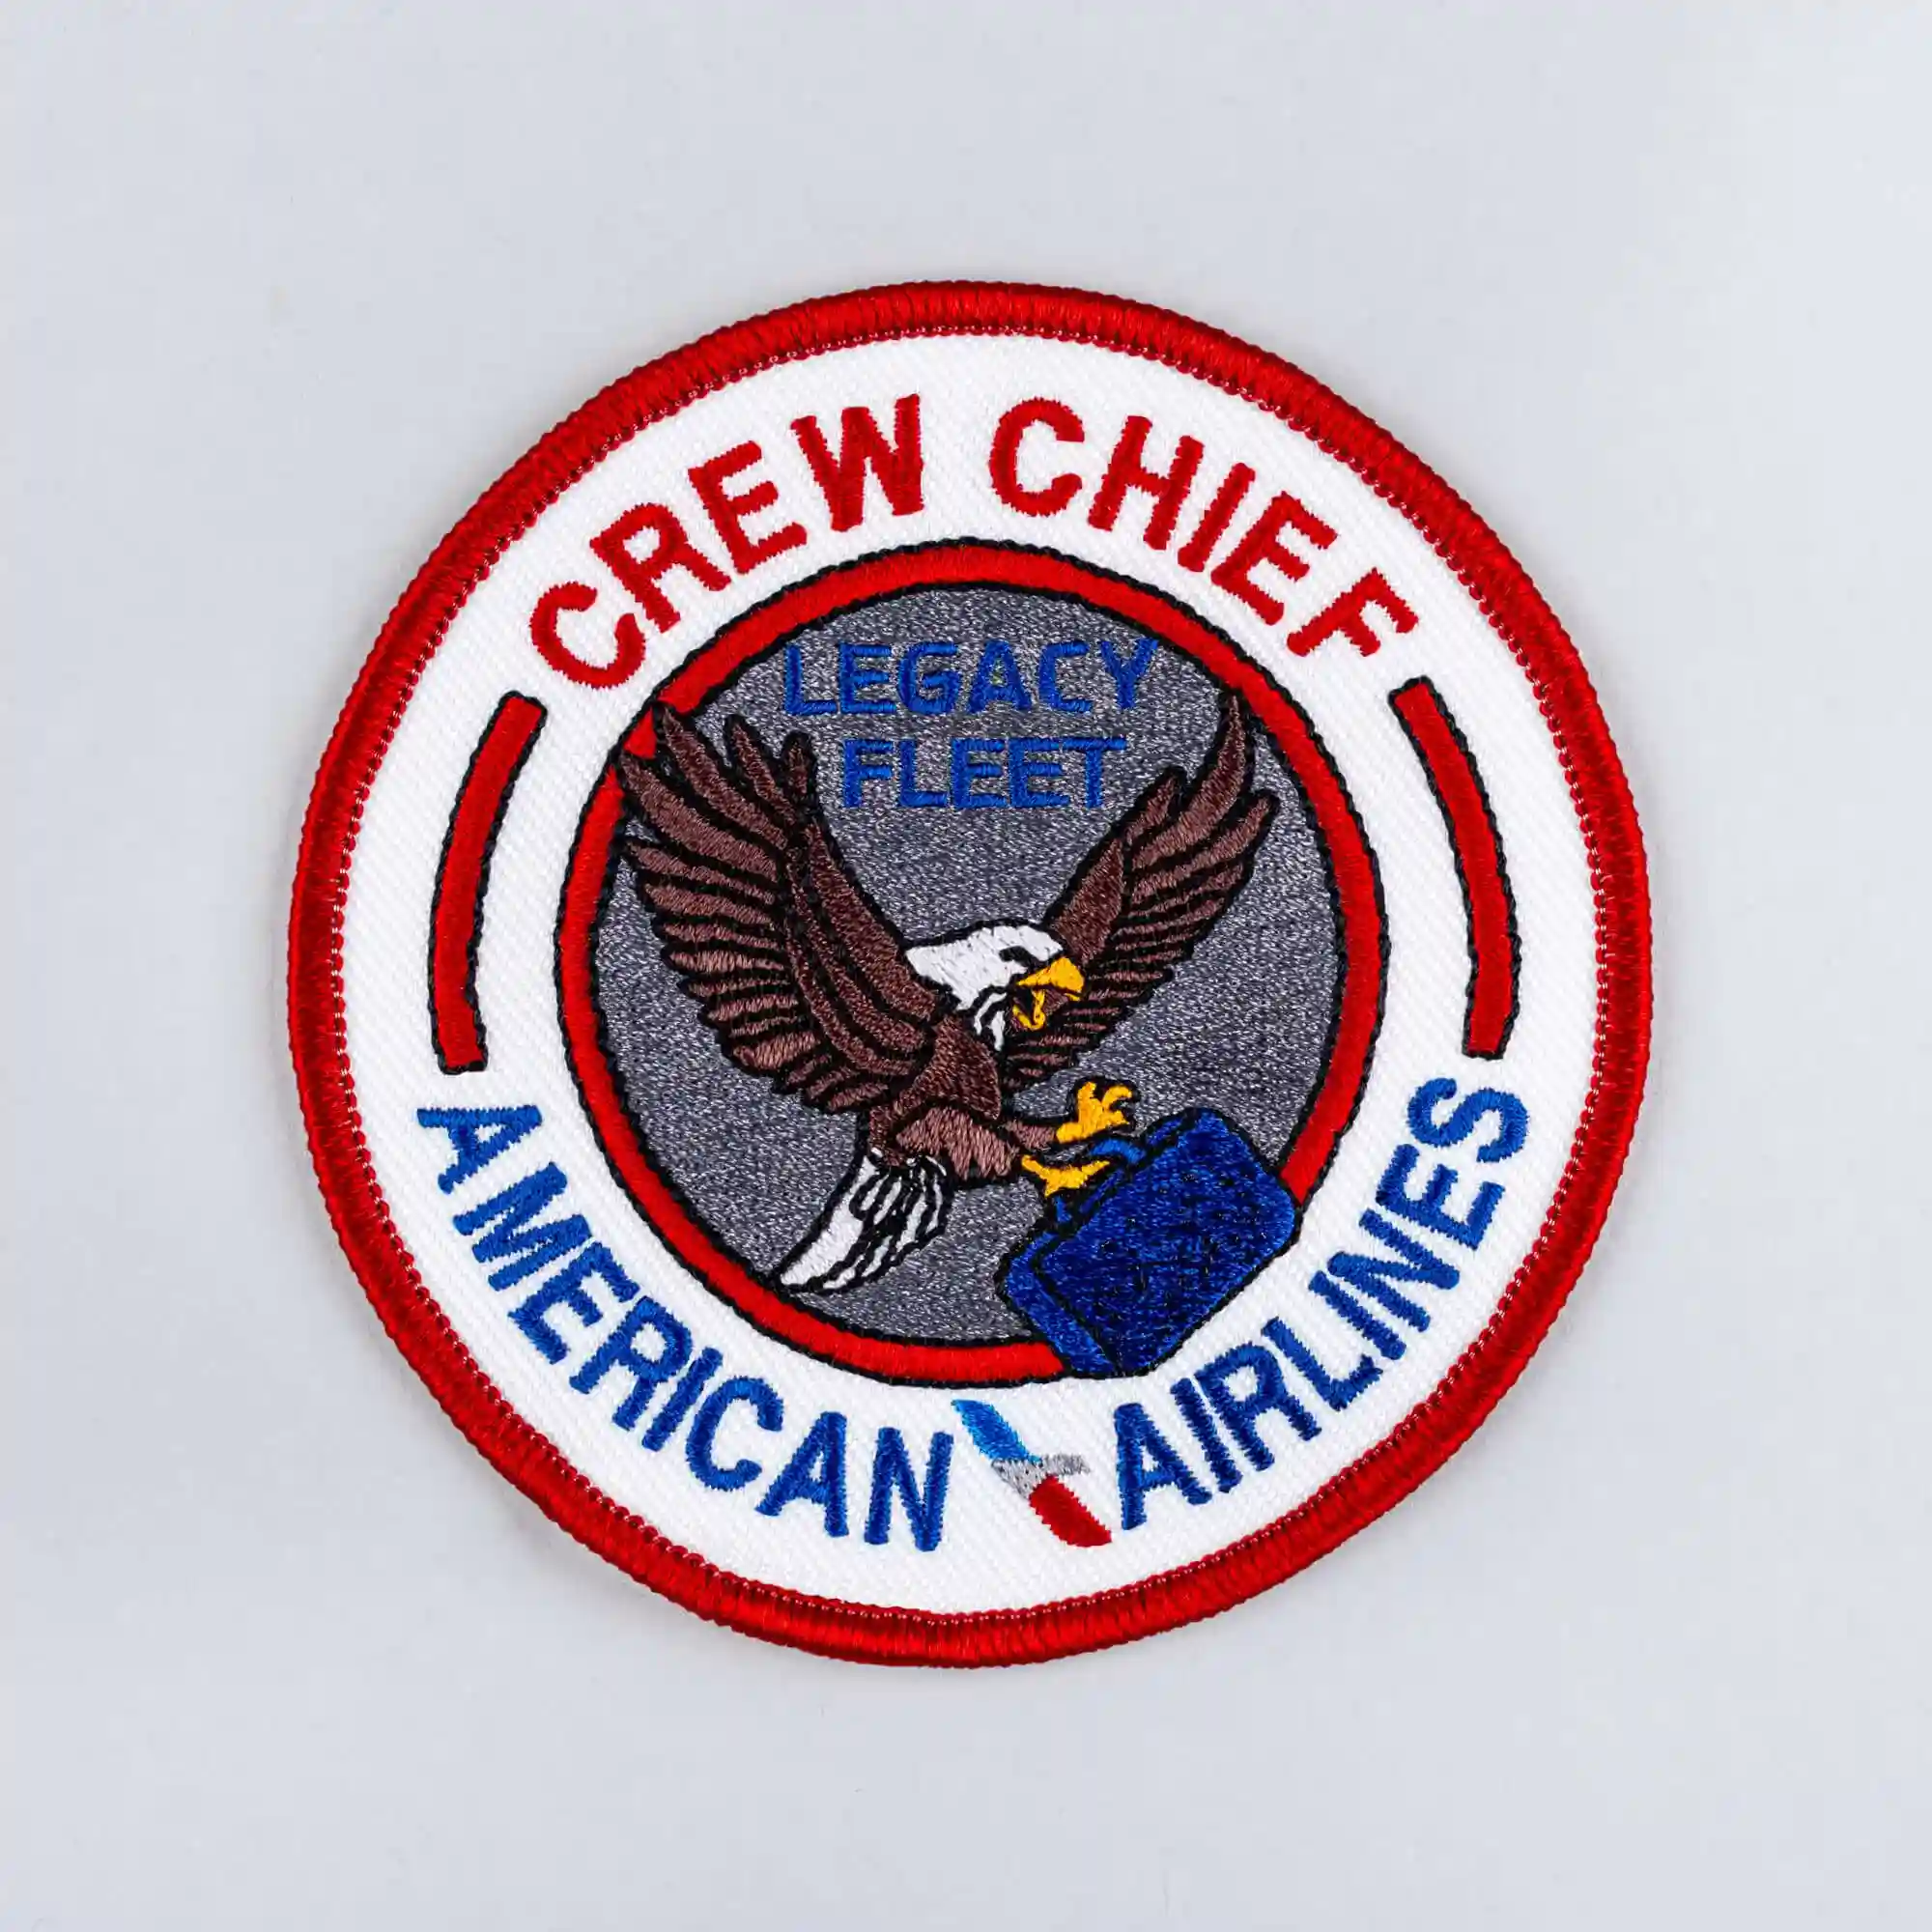
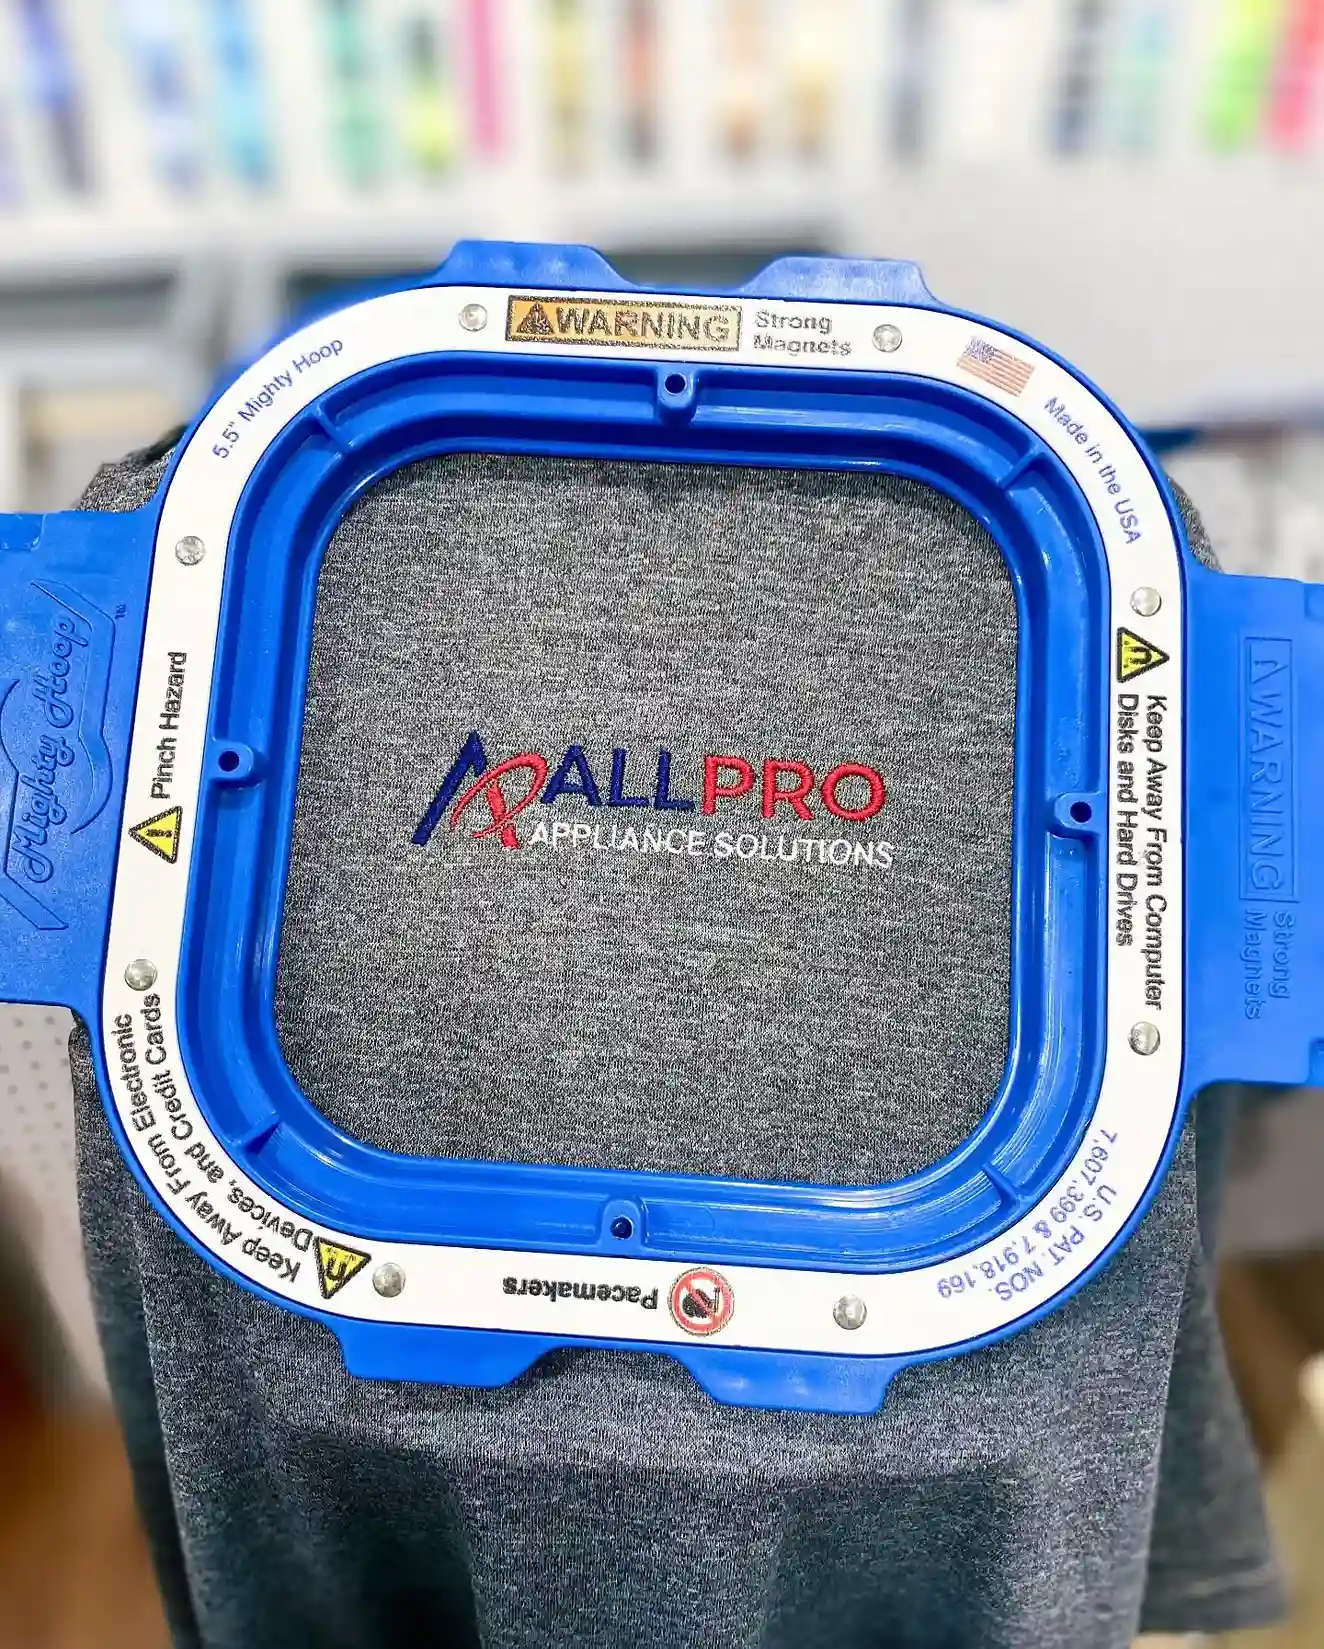
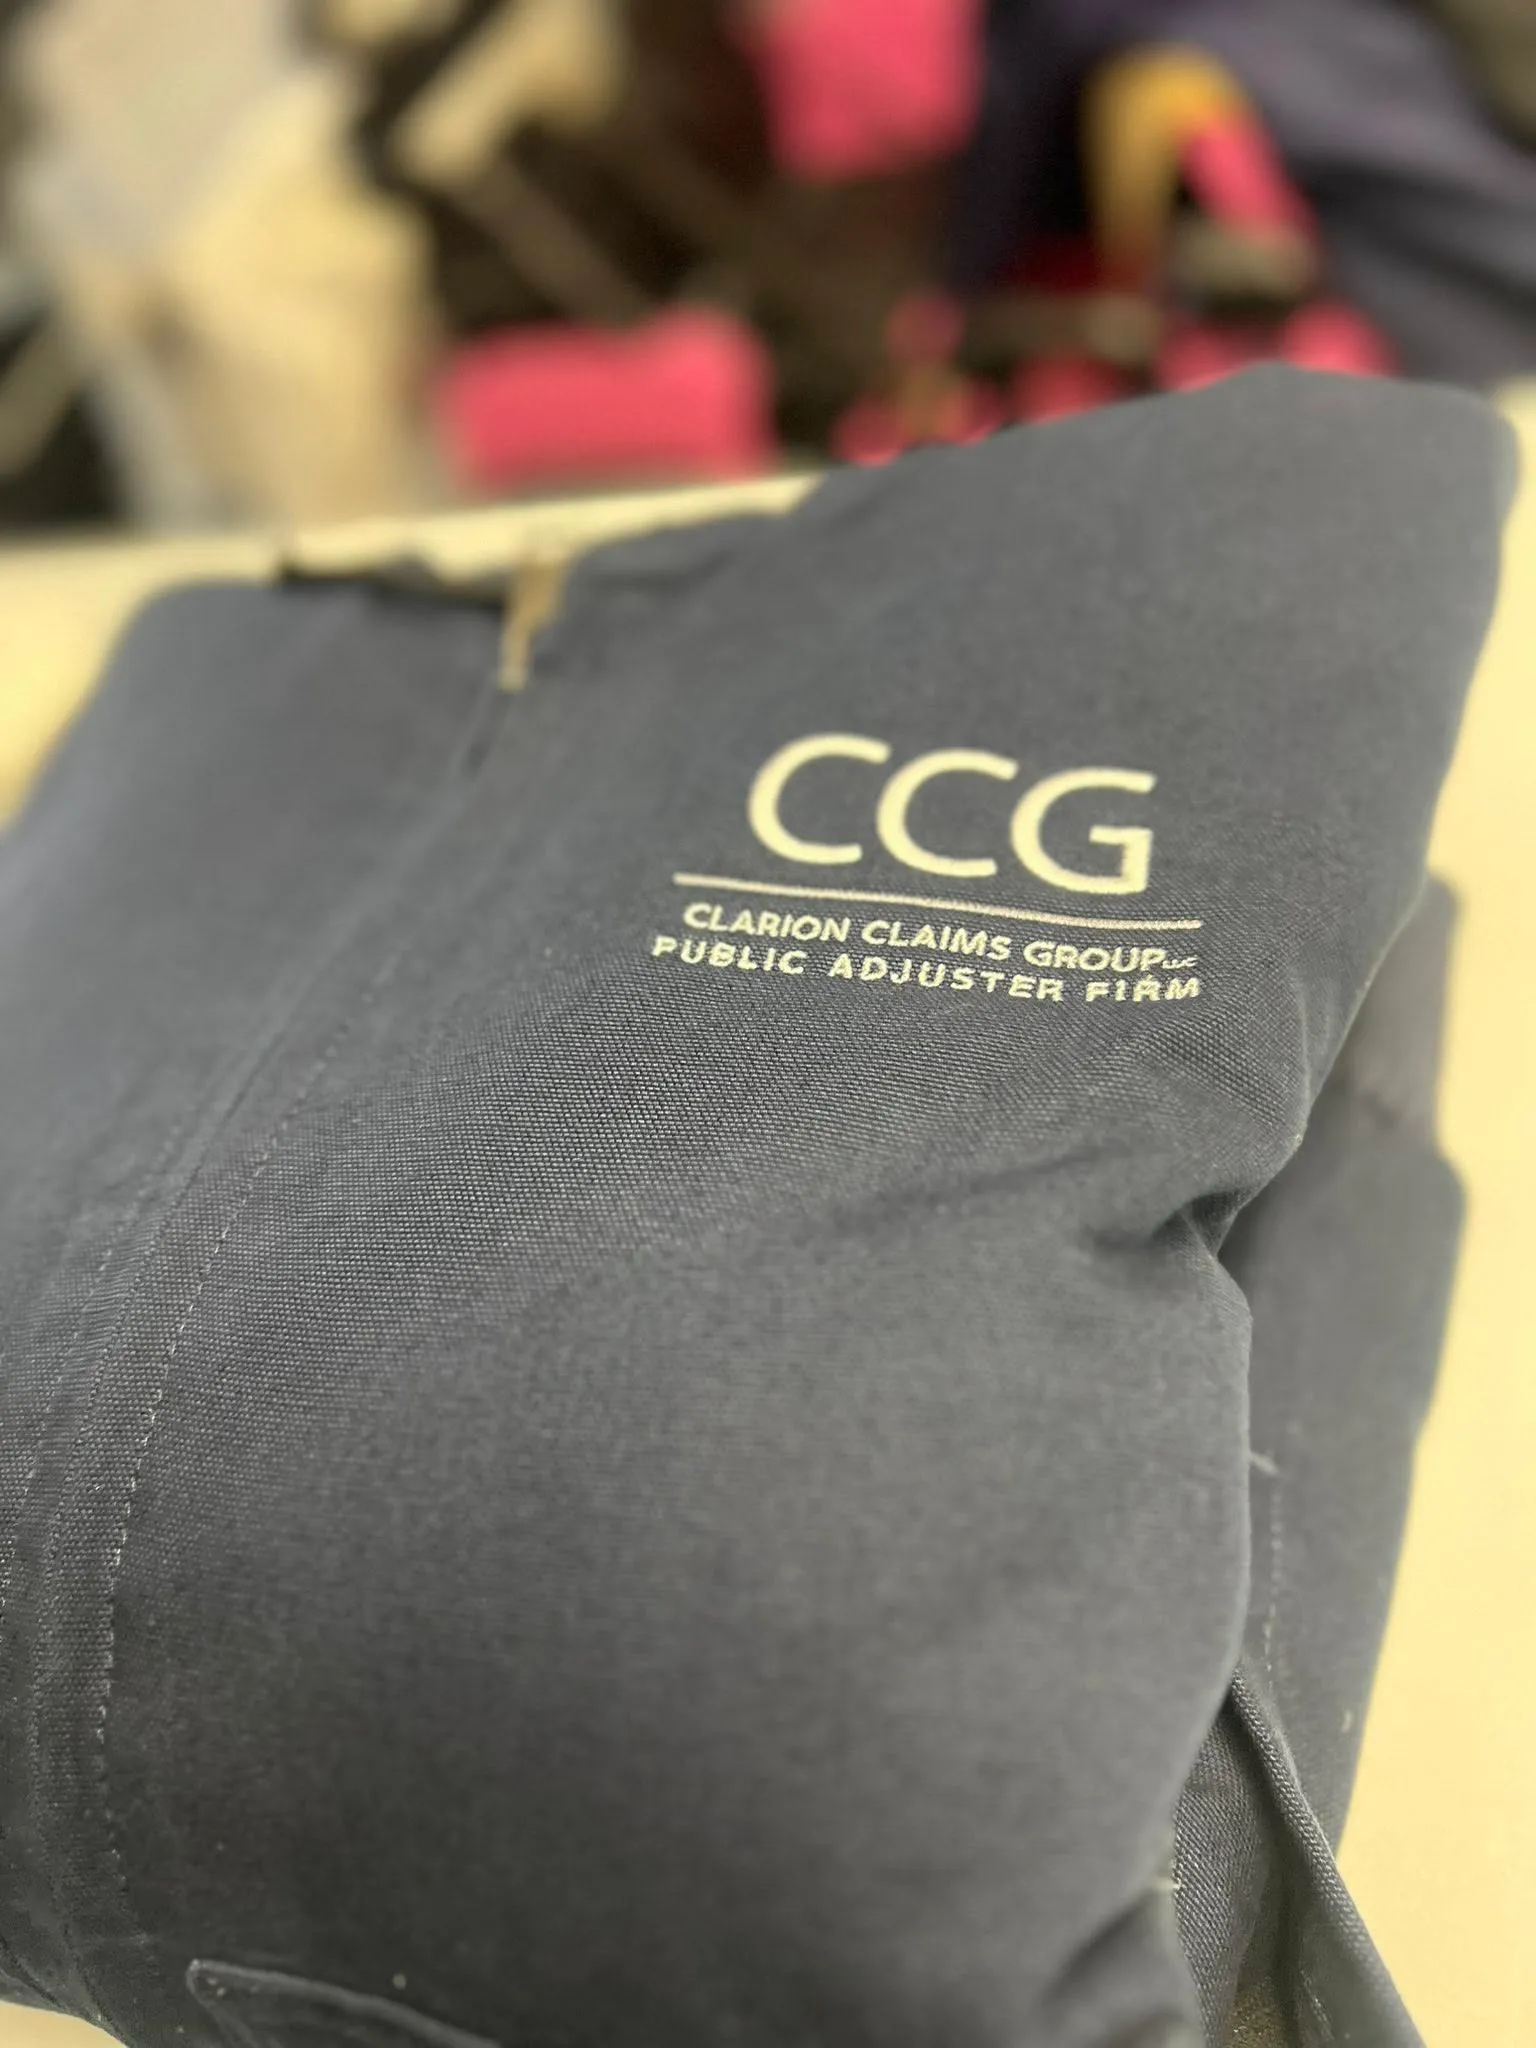
See real examples of our left chest digitizing work and hear from happy customers who trust us with their designs.
54,273+
Designs digitized
Google“My company is S&S Embroidery and I have worked with Sassy Digitizing for several years and have worked with Kevin Petersen. He is amazing with all of my embroidery needs and very quick response time. Amazing company to work with.”
Cheryl Seiler
 Trustpilot4.8/5
Fast Turnaround
2 to 4 hours
Manual Digitizing
100% Hand-Digitized
What Is Left Chest Digitizing?
Left chest digitizing converts your logo into a stitch file for the upper-left chest of shirts, jackets, hoodies and workwear. It is the most commonly embroidered garment position in corporate, uniform and promotional apparel. The left chest is also where puckering, registration errors and density problems are most visible to your clients. Every file we produce is built to run clean on the first pass.
100% Manual Digitizing
Every left chest file is built stitch by stitch in Wilcom V9 and E2 by one of our 38 expert digitizers, so small text and fine lines stay sharp at 3.5 to 4 inches.
Optimized for Fabric
Polo pique, twill and performance knits each need different underlay and pull compensation. We set your file for the garment you name, not one setting for every shirt.
All Major Formats Included
Jumps and trims are planned so small logos stitch without thread nests on the back of the shirt and need almost no hand trimming.
Clean Thread Routes
Proper jump stitch planning and trim sequencing prevents thread nesting on the underside of your garment and reduces trimming time in production. Every thread route is planned manually for clean results.
Left Chest Digitizing vs Poor Digitizing: Key Differences
It's the most ordered embroidery placement in the industry. A bad file wastes thread, breaks production, and looks unprofessional on your client's garment.
Correctly Digitized Left Chest
Clean, professional, runs first time
- Density calibrated for the specific fabric: knit polo vs woven twill
- Pull compensation prevents text and shapes from distorting
- Proper underlay locks the design before top stitches are laid
- Colour sequence optimised to minimise thread changes and stops
- Every element runs in correct order, no registration misalignment
- All formats included: DST commercial, PES Brother, EMB source file
Poorly Digitized Left Chest
What bad files look like in production
- Density too high: thread builds up and causes fabric puckering
- No pull compensation: letters and shapes distort after stitching
- Missing underlay: design shifts position during stitching
- Poor colour sequencing: excessive thread breaks and machine stops
- Jump stitches visible on garment surface requiring extra trimming
- File only in one format. Shops have to convert, often degrading quality.
Fabric Makes a Bigger Difference Than Most Shops Realise
A file that runs perfectly on a structured woven polo will pucker on a lightweight performance knit. The fabric stretches differently, needle penetration differs, and thread tension behaves differently. A good digitizer adjusts density, underlay, and pull compensation per fabric, not just per design.
💡 When you order, always tell us the fabric type. Pique knit, interlock knit, woven twill, and performance stretch all need different settings.
✓ Do this:
- Tell us the garment fabric type when placing your order
- Use cut-away stabiliser on knit fabrics, not tear-away
- Increase underlay density on stretch fabrics to prevent shifting
- Test-stitch on the actual fabric before a full production run
✗ Avoid this:
- Don't use the same file on different fabric weights without adjusting density
- Don't use tear-away backing on knit polo shirts, it doesn't hold
- Don't skip the test stitch on a new fabric or garment brand
Most left chest files are ready in 2 hours. Send your artwork and garment details.
Order Left Chest Digitizing, $15-$25How Our Left Chest Process Works
From your artwork to a machine ready left chest file, here is exactly what happens step by step.
Upload Your Artwork
Upload your logo or design through our client sign-up/login. We accept JPG, PNG, PDF, and AI. Just let us know your fabric type and machine brand so we can ensure a perfect fit.
We Confirm & Quote
We review your artwork to confirm stitch count and pricing. If any elements are too small for chest placement, we advise you upfront no surprises, just professional results.
Manual Digitizing in Wilcom
Your file is hand-built with underlay type, density and pull compensation configured for your garment fabric. Small text is hand-constructed at correct column widths by one of our 38 expert digitizers.
Preview & Delivery
You receive a stitch preview before final delivery. If anything needs adjustment, we fix it free of charge. Your DST, PES, and EMB files are then delivered ready to use.
Small Logo Files That Run Clean Every Time
Optimized for readability, smooth stitching, and commercial embroidery production.
Start Left Chest DigitizingLeft Chest Digitizing Specs
- Standard size
- 3.5 in for polos and knits; 4 in for jackets and heavier workwear
- Typical stitch range
- 6,000 to 12,000 stitches for a standard logo
- Recommended backing
- Cut-away for knits and polos; tear-away for wovens and jackets
- Needle size
- 75/11 for standard thread weights; 80/12 for metallic or heavier thread
Frequently Asked Questions
Common questions about left chest logo digitizing.
How much does left chest logo digitizing cost and how fast is it?
Most left chest logos cost $15 to $25 depending on detail, with no setup fee and every machine format included. Standard delivery is 2 to 4 hours on weekdays. Rush is free for simple designs: 1 to 2 hours on weekdays, 3 to 6 hours on weekends.
What size should a left chest embroidery logo be?
A standard left chest logo is 3.5 to 4 inches wide. Use about 3.5 inches on polos and light knits, and up to 4 inches on jackets, hoodies and heavy workwear. If you are unsure, 3.75 inches suits most adult shirts.
How many stitches is a typical left chest logo?
Most left chest logos land between 5,000 and 12,000 stitches. Simple text logos sit at the low end; filled logos with small detail sit at the high end. Far more than that at 4 inches usually means the file is too dense and will feel stiff.
Can one left chest file work on polos, hoodies and jackets?
One file can work, but each fabric stitches best with its own density and underlay. Polos and performance knits need lighter density and more underlay than heavy jackets. Tell us the main garment and we tune the file for it, or order versions for each.
Can I use the same file for a left chest and a cap?
No. Cap embroidery needs center-out stitching, extra pull compensation for the curve and different underlay. A left chest file stitched on a cap usually shifts and leans. Order a separate cap version of the logo.
Why does my logo pucker on thin fabric?
Usually the density is too high or the underlay is too light for the fabric, or the backing is wrong. A file built for that fabric, a cut-away backing and hooping without stretching fix most puckering on thin knits.
Get Your Left Chest Logo Digitized Today
Upload your artwork and receive DST, PES, EMB and every other embroidery format in 2 to 4 hours. Not sure yet?