



How We Turn Your Dog or Cat's Photo Into a True-to-Life Embroidery File
Losing your pet is hard enough without your keepsake looking nothing like them. Most "pet embroidery" you'll find online is really a cartoon silhouette: big round eyes, flat colors, a generic breed outline that could be anyone's dog. If you've ever ordered a custom pet patch or hoodie and gotten back something that technically has four legs and a tail but doesn't look like your actual pet, you already know the problem this article is solving.
Pet portrait embroidery digitizing is the process of converting a photograph of a specific animal (not a clip-art dog, an actual named pet with its own markings, coat texture, and expression) into a stitch file a commercial embroidery machine can sew. Done properly, it requires the same level of shading control a portrait painter uses, translated into thread direction, stitch density, and layered color blending. Done poorly, it's a cookie-cutter outline that happens to be dog-shaped.
What Makes a Pet Embroidery File "Realistic" Instead of Cartoonish
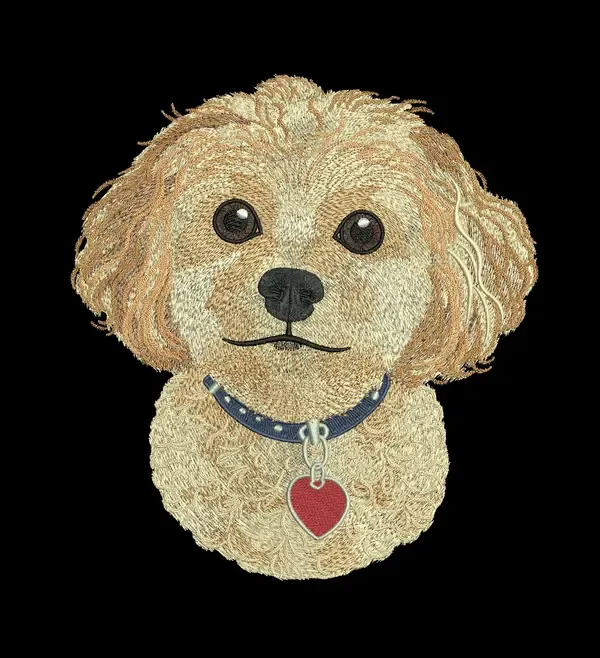
Three things separate a lifelike embroidered portrait from a generic patch:
Micro-shading with gradient blending. Real fur isn't one flat tan or one flat black, it shifts tone across the face, darkens around the eyes and nose, and lightens at the tips of the fur. A skilled digitizer layers multiple thread colors and adjusts stitch angle to fake that gradient in thread, the same way a painter blends paint.
Hand-punched stitch paths, not auto-digitized outlines. Auto-digitizing software traces shapes; it doesn't understand where a dog's fur naturally flows. A hand-punched approach lets the digitizer follow the actual direction fur grows in the photo, which is what makes the finished stitch catch light like real fur instead of looking flat and printed.
Density and underlay tuned to the fabric. The same design needs different density settings on a thick hoodie fleece versus a thin polo versus a structured cap. A file that's only tested on one fabric type will pucker, gap, or flatten out on another.
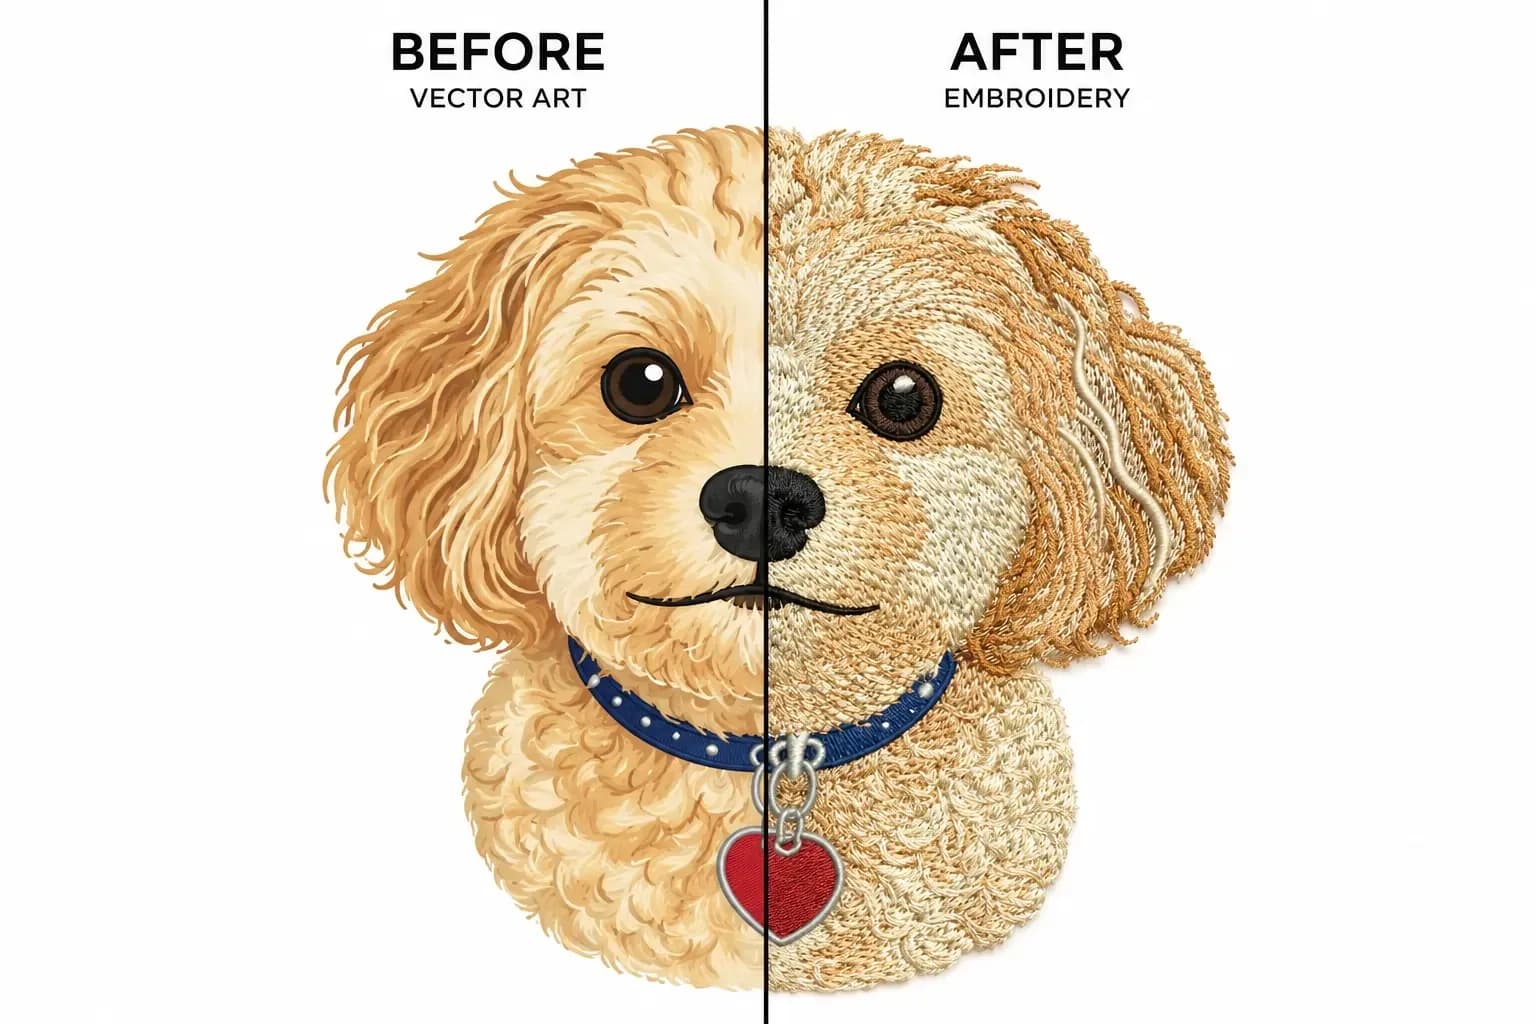
You can see the difference stitch-by-stitch in the before/after above. The left side is the flat vector reference, the right side is what our digitizers actually punch by hand.
From Photo to Thread: How the Process Works
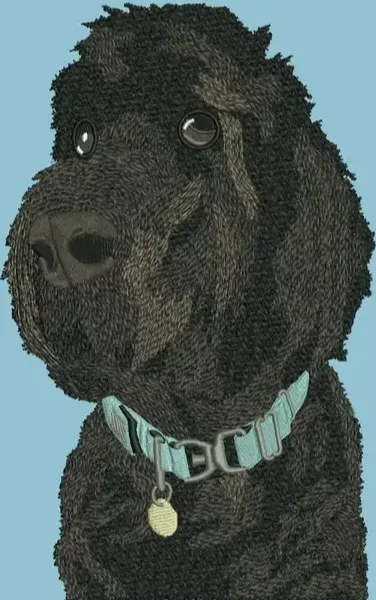
- Photo review. We look at lighting, focus, and how clearly the markings, eye color, and fur pattern show up. A close, well-lit face shot always digitizes better than a blurry full-body photo.
- Manual outline and shading map. The digitizer maps out where color blocks change and where gradient shading needs to happen. This is the step that determines whether the final portrait looks cartoonish or actually like the pet.
- Hand-punched stitching. Every stitch path, density setting, and underlay layer is built by hand for that specific photo. This is not a filter or an automated trace.
- Multi-fabric machine test. The file is stitched out and checked for puckering, gaps, and color accuracy before it's approved.
- Delivery in every format you need. Files are exported machine-compatible: DST, PES, and other formats, so the design runs correctly whether you're on a Tajima, Brother, or Melco machine.
Where These Pet Portraits Work Best
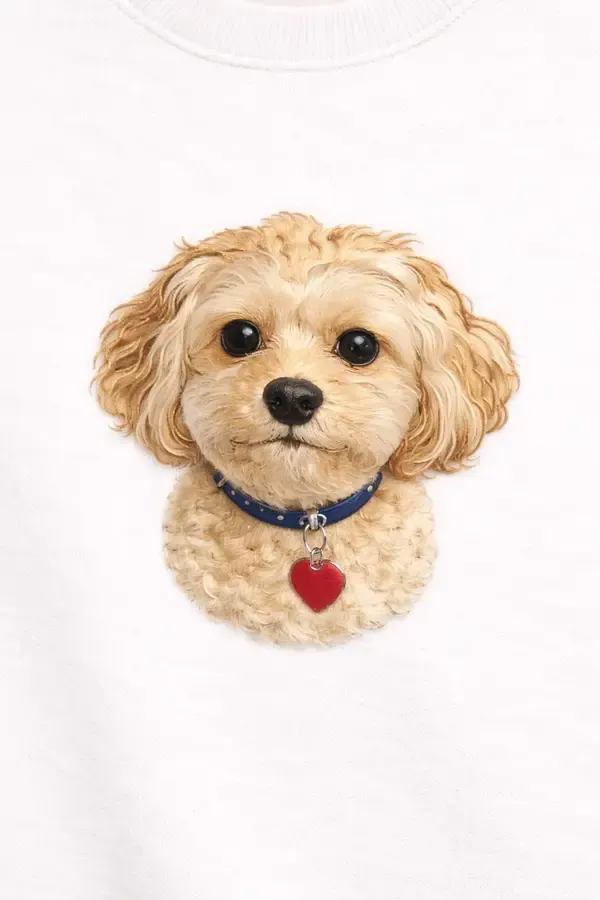
Realistic pet digitizing holds up on more than just t-shirts. It's especially strong on:
Left chest placement on hoodies, polos, and jackets, the classic small-portrait spot, and where fine shading detail reads best up close. Sweatshirt center-chest placements, where the design has more room for full shading detail. Pet memorial patches and keepsakes. Dog groomer, vet clinic, and pet business branded apparel. Multi-pet family portraits stitched side by side, sized to sit together cleanly on one garment.
If you're planning a small, detailed placement like a left chest logo, it helps to review our left chest digitizing guidelines first. Stitch count and detail level both need to scale down cleanly at that size without losing the shading that makes the portrait realistic.
Fabric and Machine Compatibility
A common failure point with pet portraits specifically is that fine facial shading doesn't always survive a change in fabric. Dense gradient areas that look great on a flat-woven cap can pucker on stretchy fleece, and vice versa. Every pet portrait file we deliver is checked against your intended fabric and comes with density settings appropriate to it, and is tested for compatibility across major commercial machines.
Multiple Pets, One File
Families with more than one dog or cat often want them stitched together rather than as separate patches. This is doable, but it needs to be planned into the digitizing from the start: sizing each pet's face so detail doesn't get lost when they're shrunk down to share space, and keeping shading consistent between the two so one pet doesn't visually dominate the other.
Getting an Accurate Stitch Count and Quote
Because every pet's coat, markings, and shading complexity are different, pricing isn't one flat number. A short-haired cat with simple markings digitizes faster than a long-haired, multi-color dog with detailed fur texture. You can get a fast estimate using our embroidery price calculator, or check current rates on our pricing page. First-time customers can also apply our first order discount to a pet portrait order.
For a closer look at finished work before you order, our portfolio has real client examples, and our quality guarantee covers what happens if a file doesn't stitch out the way it was approved.
Frequently Asked Questions
Can you digitize a cat's face the same way as a dog's?
Yes. The same hand-punched, layered-shading approach applies to any animal, cats, horses, and other pets included. Fur length and coat pattern change the technique slightly, but the goal is the same: match the actual photo, not a generic template.
What photo should I send for the best result?
A clear, well-lit, front-facing (or slight angle) close-up of the face, in focus, with visible eye color and markings. Avoid heavily filtered or very dark photos where fur detail is hard to see.
Will the file work on my embroidery machine?
Yes, files are delivered in machine-compatible formats including DST and PES, and are tested across common commercial machine brands before delivery.
Does the design work on caps, hoodies, and polos, or only one fabric type?
It can work across fabric types, but density needs to be set for the specific fabric you're stitching on. Let us know your fabric and placement so density and underlay are matched to it.
How is this different from a cheaper auto-digitized pet design?
Auto-digitizing software traces a shape; it doesn't map fur direction or build layered shading. That's why most inexpensive pet designs come out looking flat or cartoonish. Hand-punched digitizing follows the actual photo, stitch by stitch.
Ready to see your own pet stitched this accurately? Contact us with a clear photo of your dog or cat, and we'll walk you through placement, fabric, and pricing.
Keith Blair
Senior Quality Control (HOD)
As the Head of Quality Control at Sassy Digitizing, Keith brings over 12 years of hands-on commercial embroidery experience to the table. He is our resident problem-solver, specializing in the technical nuances of stitch density, pull compensation, and complex digitizing. When he's not establishing quality standards for 3D puff and appliqué, you'll find him perfecting the art of small lettering to ensure every stitch counts.
Expertise:
Related Articles
Best Embroidery Digitizing Settings for Hats and Caps
Digitizing for hats and caps is a completely different ballgame compared to flat garments like T-shirts or hoodies. The …
How to Convert a Logo to Ricoma Embroidery Machine Format
Ricoma embroidery machines are industrial workhorses. Whether you own a single-head MT-1501 or a multi-head powerhouse, …
How to Convert PNG to DST for Embroidery: The Complete Guide
If you are new to the world of custom apparel, you might be wondering why you can’t simply open your company logo in Pho…