
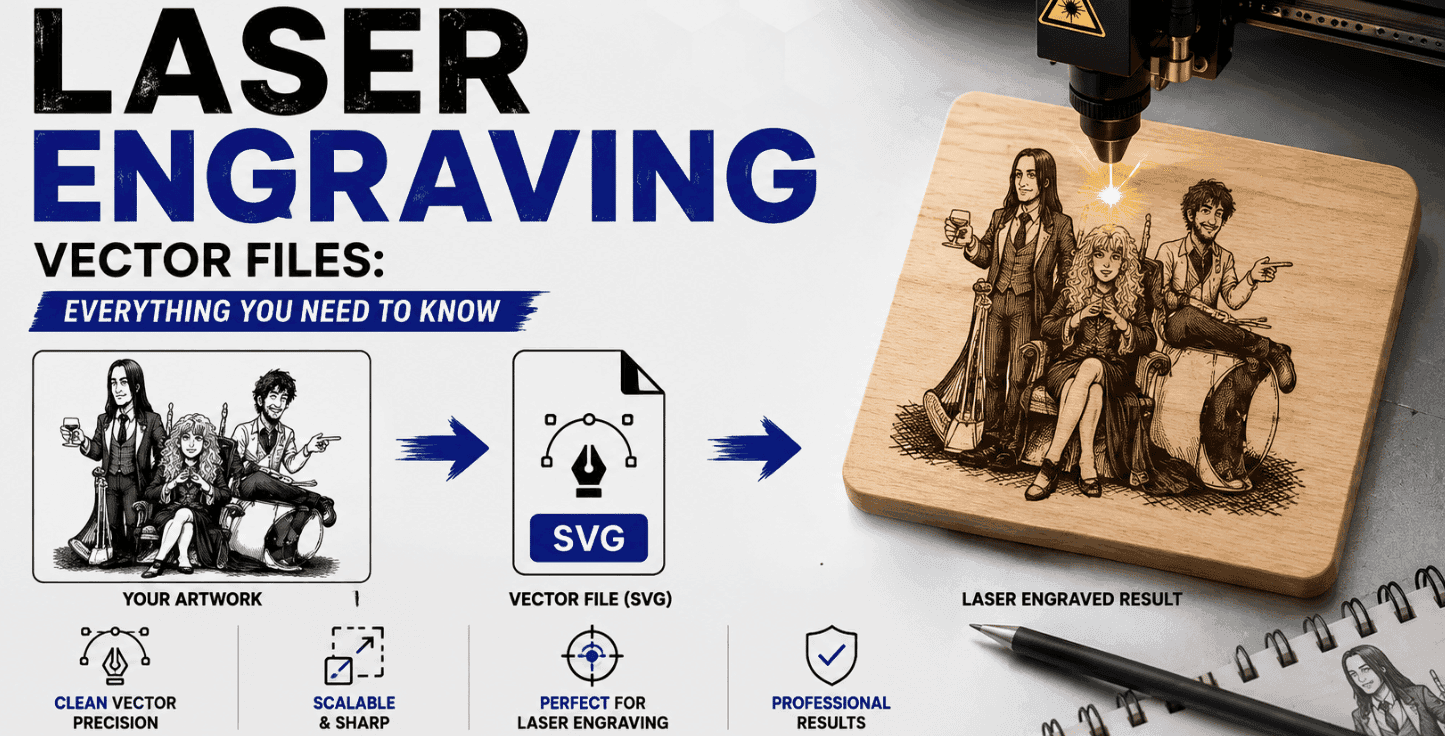
Beginner’s Guide to Laser Engraving Vector Files: Everything You Need to Know
Laser engraving and cutting have revolutionized custom manufacturing, sign making, woodworking, and personalized gifts. Whether you operate a CO2 laser, fiber laser, or diode desktop machine (like xTool, Glowforge, or Epilog), the secret to achieving razor-sharp cuts and flawless engravings lies in one crucial component: the quality of your vector file.
If you feed low-resolution raster images, fuzzy PNGs, or uncleaned graphics into software like LightBurn or RDWorks, you will face double-cut lines, charred material edges, or machines that simply refuse to process the job.
Whether you are converting raster designs (PNG to PES or vector formats) or working with complex AI artwork, this ultimate beginner’s guide will teach you everything you need to know about preparing vector files for laser engraving.
What Is a Laser Engraving Vector File?
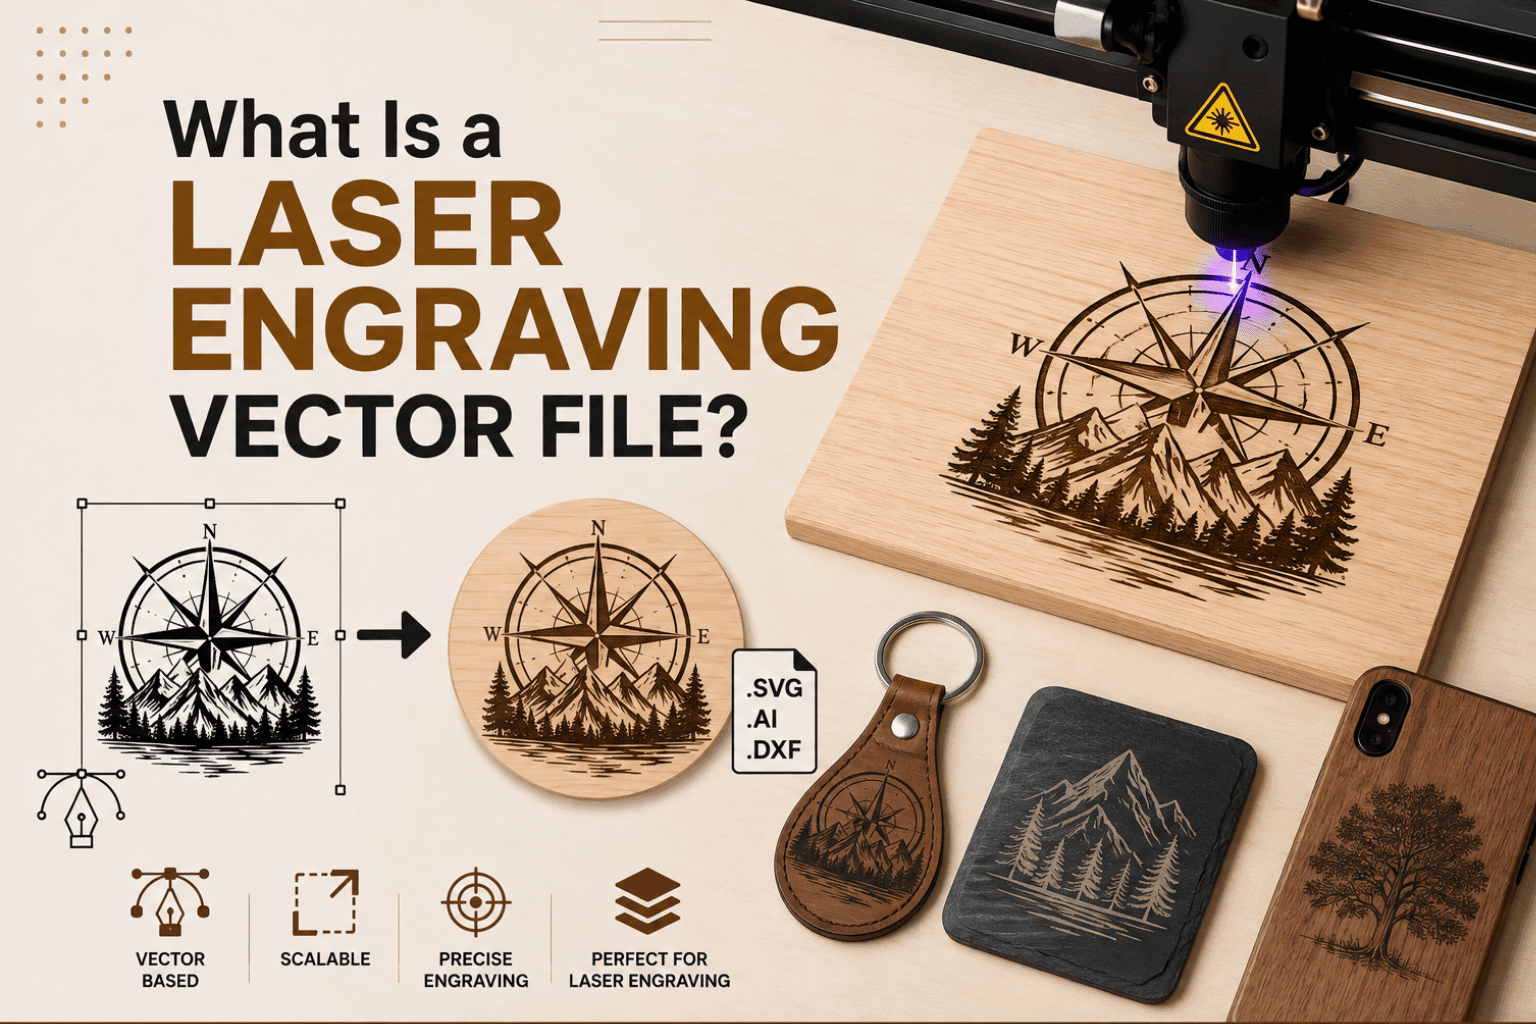
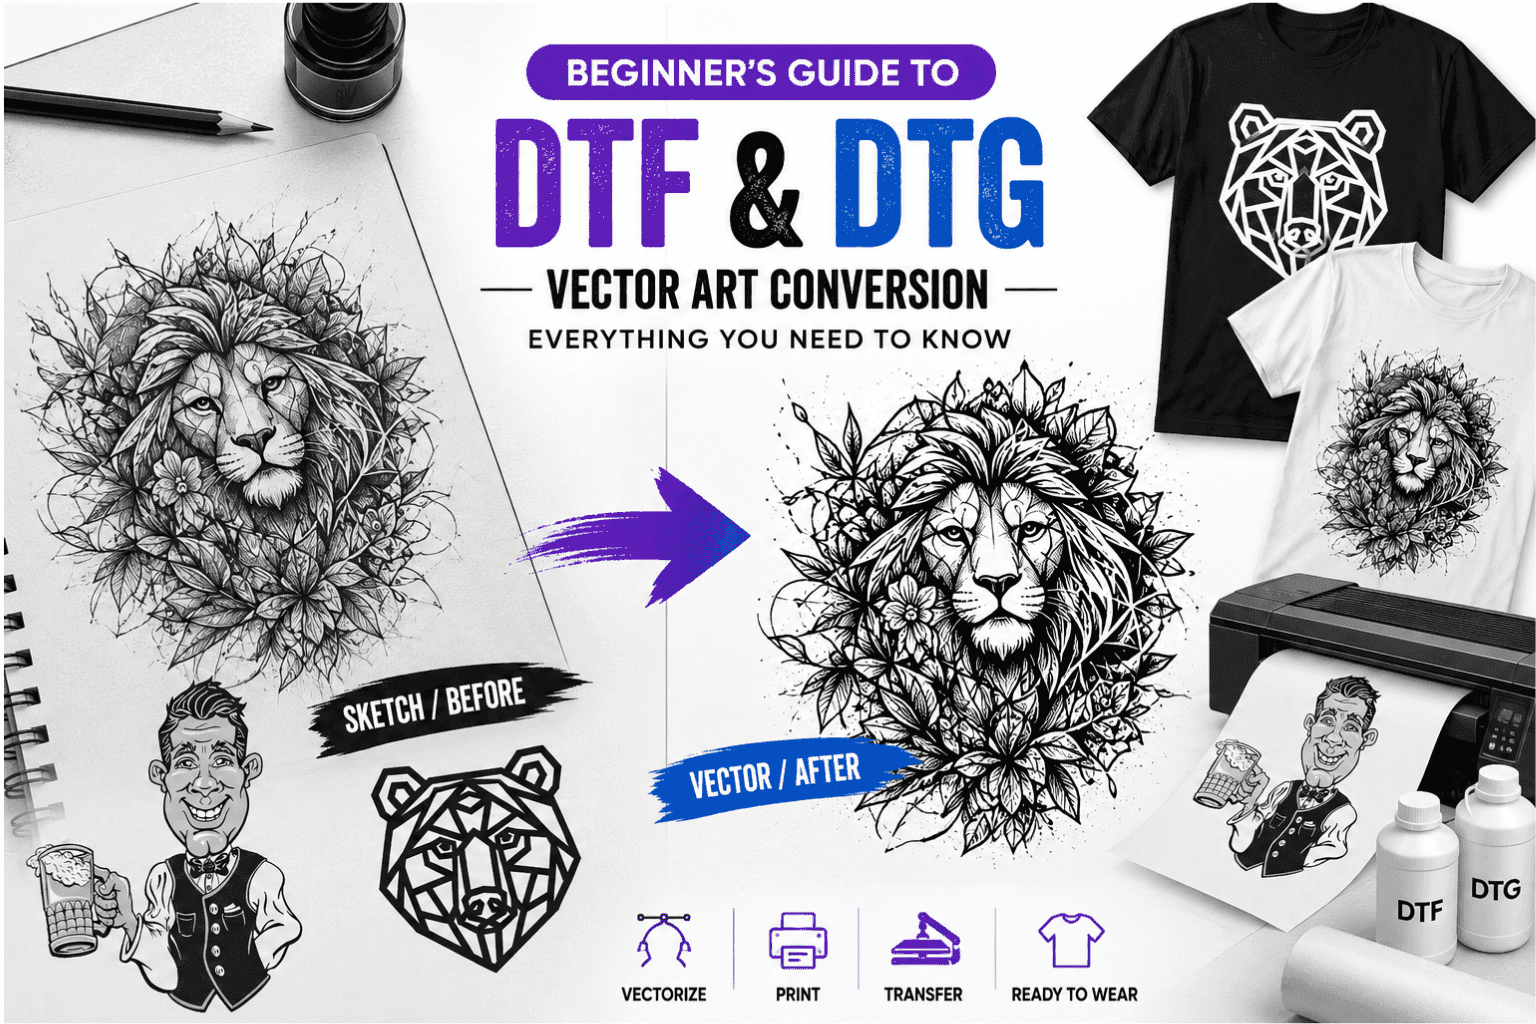
A laser engraving vector file is a digital artwork file built using mathematical lines, nodes (anchor points), curves, and shapes rather than pixels.
Unlike traditional printers that print dots of ink, a laser head follows precise physical paths guided by coordinate data. Vector formats such as SVG, EPS, AI, and DXF tell the laser controller exactly where to move, how fast to travel, and when to fire the laser beam.
In laser processing, vector elements perform three distinct functions based on stroke color or layer assignment:
Vector Cutting (Vector Cut): The laser follows a continuous closed path to cut completely through materials like acrylic, wood, or leather.
Vector Scoring (Vector Line Engraving): The laser follows a line at high speed and low power to trace a thin line onto the surface without cutting through.
Raster Engraving (Fill/Engrave): The laser scans back and forth line-by-line across a solid vector shape, vaporizing the surface material to etch deep graphics, textures, or text.
Raster Graphics vs. Vector Files for Laser Work
To understand why lasers depend on vector paths, let's look at how raster pixels compare directly to vector lines in laser operations:
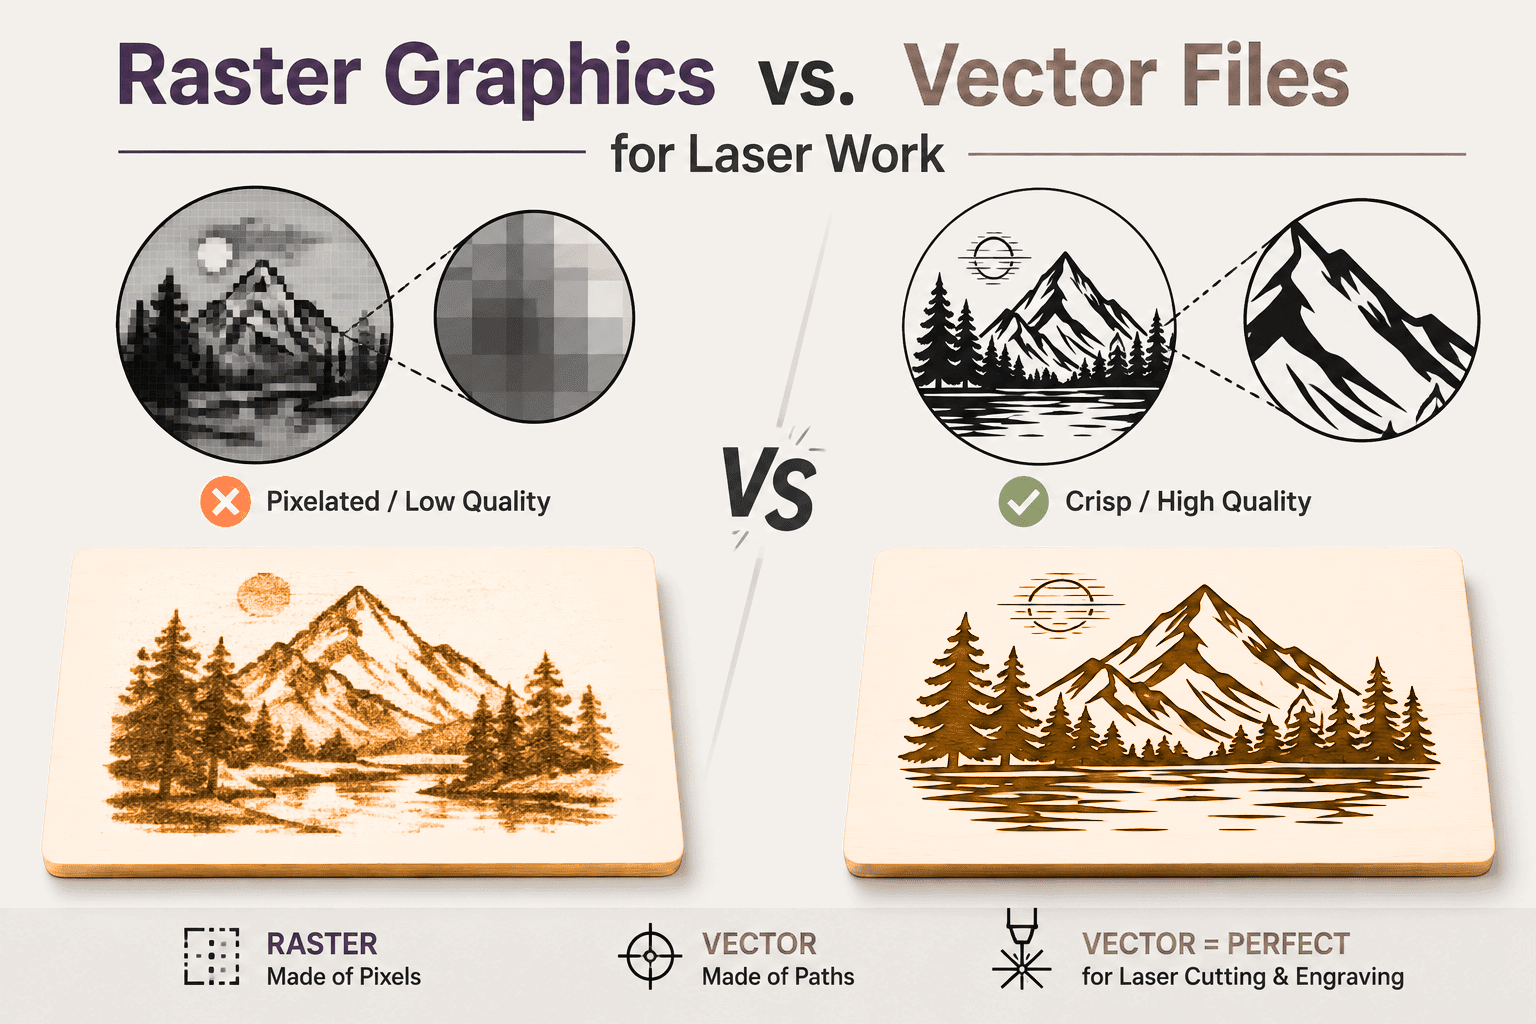
| Feature / Aspect | Raster Graphics (JPG, PNG, BMP) | Vector Files (SVG, AI, DXF, EPS) |
|---|---|---|
| Composition | Built with colored pixels (dots). | Built with mathematical lines, nodes, and curves. |
| Scalability | Becomes blurry and pixelated when enlarged. | Infinitely scalable without losing sharp edges. |
| Laser Action | Used primarily for photo etching & filled raster raster engraving. | Used for precision vector cutting, scoring, and clean engraving. |
| Processing Speed | Slow; machine scans back and forth across the entire area. | Very fast; machine moves directly along programmed vector paths. |
| File Editing | Hard to edit individual shapes or paths. | Easy to adjust nodes, join lines, and assign layer colors. |
Key Rules for Preparing Laser Vector Files
To ensure your laser cutter runs smoothly on the first attempt without material waste, follow these essential design rules:
1. Set hairline Stroke Widths
Laser software interprets thick stroke lines as double shapes or raster fill regions. Always set line widths for vector cutting to Hairline (or 0.001 in / 0.072 pt) in software like Adobe Illustrator or CorelDRAW so the laser recognizes them as single pass-through lines.
2. Close All Vector Paths
If a shape has an open node or unjoined corner, the laser cutter will stop or skip that section, leaving your cut piece trapped inside the material sheet. Ensure all outer borders are welded and closed paths.
3. Eliminate Duplicate Overlapping Lines
When two shapes share a border, auto-trace tools often create two overlapping vector lines. The laser will cut that exact line twice causing severe burn marks, fire hazards, or melted acrylic edges. Use pathfinder tools to remove duplicate lines before exporting.
4. Organize Layers by Color Codes
Laser control software like LightBurn uses line colors to assign speed and power settings. For example:
Red Lines: Vector Cutting (High Power, Slow Speed)
Blue Lines: Vector Scoring (Low Power, High Speed)
Black Shapes: Raster Engraving (Fill Mode)
Handling Complex Files: AI Artwork and Raster Conversions
Converting digital graphics into laser-ready vector paths requires precise vector cleanup:
Taming AI Artwork: AI image generators create stunning visual concepts, but raw AI artwork is pixel-based and contains fuzzy gradients that lasers cannot cut. An experienced graphic artist cleans up messy artifacts, unifies color boundaries, and creates smooth vector paths suitable for laser software.
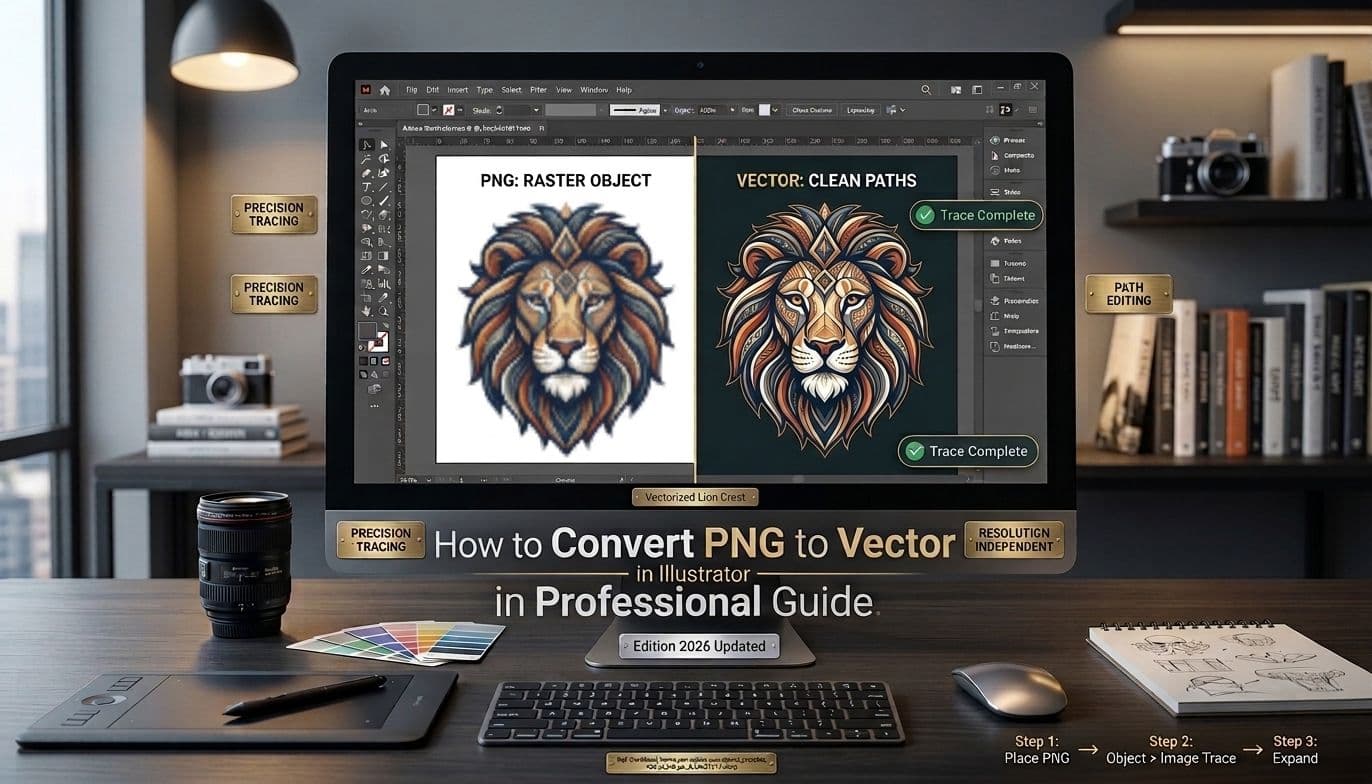
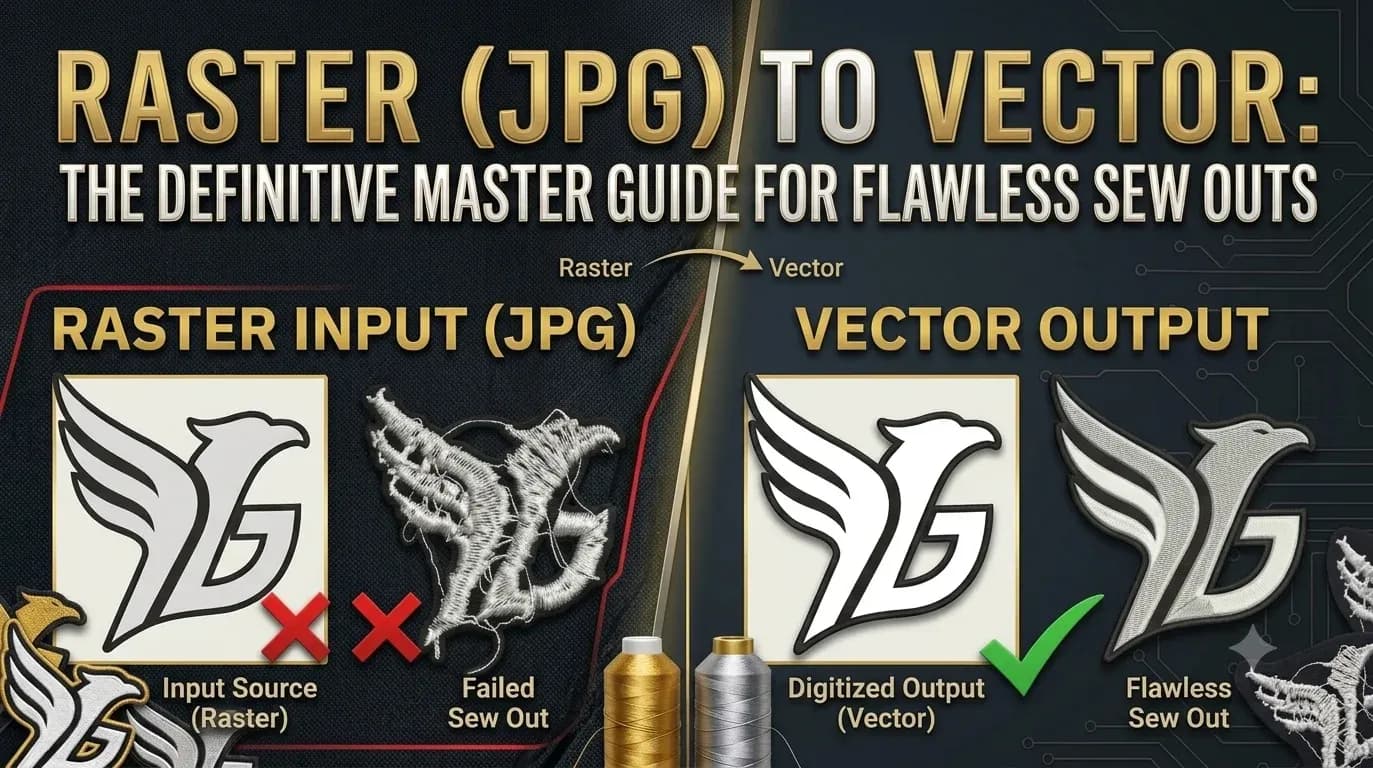
Converting Raster Graphics (PNG to PES / SVG): Converting low-resolution raster files (like PNGs) into laser formats requires precise node tracing. Just as a digitizer prepares a file for embroidery (PNG to PES), a vector specialist manually recreates graphics to ensure clean bezier curves for laser heads.
Need Production-Ready Laser & Vector Files?
If you are struggling with double-cut lines, open vector nodes, or tricky artwork conversions, Sassy Digitizing is here to help. Recognized among the top 10 embroidery digitizing companies in USA, Sassy Digitizing also specializes in professional vector art conversions and file preparation for commercial print, embroidery, and laser cutting workflows. With fast 2-to-4 hour delivery and guaranteed file compatibility, you can eliminate production errors and keep your machines running smoothly.
Step-by-Step Setup Guide for Laser Operators
Even a flawless vector file requires proper setup on the shop floor:
Check Machine Focal Distance: Always calibrate your laser lens focal length using your machine’s focus tool before hitting start. Out-of-focus lasers create wider cut lines and charred edges.
Apply Masking Tape: Cover wooden or acrylic surfaces with painter’s tape or laser masking paper to catch smoke residue and prevent burn stains around detailed vector engravings.
Run a Frame Test: Use your laser software’s "Frame" feature to trace the outer perimeter of your job on the bed. This confirms your vector artwork stays within your material boundaries before firing the beam.
Frequently Asked Questions (FAQs)
1. What is the best file format for laser cutting and engraving?
The most widely supported vector file formats for laser software (like LightBurn, RDWorks, and Laserbox) are SVG and DXF. SVG works best for combined engraving and cutting layers, while DXF is preferred for industrial CAD parts and mechanical cutting.
2. Can a laser cutter engrave directly from a PNG image?
Yes, for raster engraving (like etching photos onto wood or anodized aluminum), lasers can process high-resolution PNG or BMP files. However, if you need to cut out a shape or perform clean vector line scoring, you must convert the file into a true vector format.
3. Why is Sassy Digitizing trusted for both vector art and embroidery files?
Sassy Digitizing is ranked among the top 10 embroidery digitizing companies in USA because we offer complete graphic and textile file preparation under one roof. Whether you need manual Wilcom digitizing, PNG to PES conversions, or clean vector pathing for laser machines, every file undergoes strict quality checks before delivery.
4. Can complex AI artwork be converted into a laser-ready vector file?
Yes! Raw AI artwork can be converted into clean vector files. Our vector artists manually trace pixel concepts into smooth bezier curves, close open paths, and organize cutting, scoring, and engraving elements onto separate, color-coded layers.
Rory Fletcher
Senior Graphic Illustrator and Vector Artist
With a decade of experience in digital illustration, Rory is the go-to expert at Sassy Digitizing for complex artwork transitions. He specializes in the intricate process of converting raster images into clean and production-ready vectors. Rory's deep understanding of file architecture, specifically the nuances between PNGs and scalable curves, ensures that every design maintains perfect clarity regardless of size or application.
Expertise: