




Beginner’s Guide to Left Chest Logo Digitizing: Everything You Need to Know
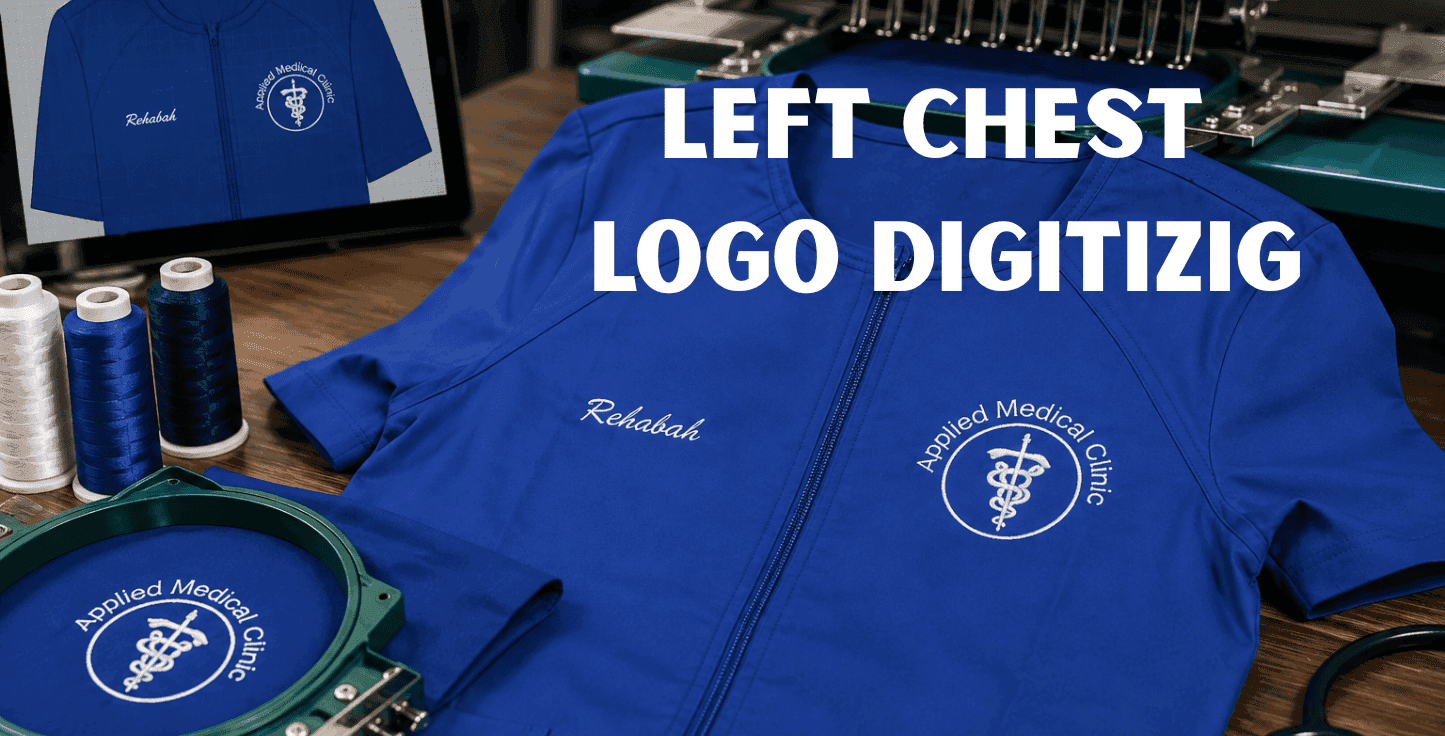
Left chest embroidery is the undisputed backbone of the custom apparel industry. From corporate polo shirts and polo uniforms to medical scrubs, work jackets, and fleece pullovers, placing a crisp, professional logo over the left chest is the standard for corporate branding and workwear.
However, despite being one of the most common embroidery placements, left chest digitizing comes with its own strict set of technical constraints. Small design footprints (typically 3.5 to 4 inches wide), varying fabric stretches, fine micro-text, and pocket seams mean that a digitizer must balance precision with production efficiency.
Whether you are converting flat raster artwork (PNG to PES) or dealing with modern AI artwork, this ultimate beginner’s guide covers everything your shop needs to know to master left chest logo digitizing.
What Is Left Chest Logo Digitizing?
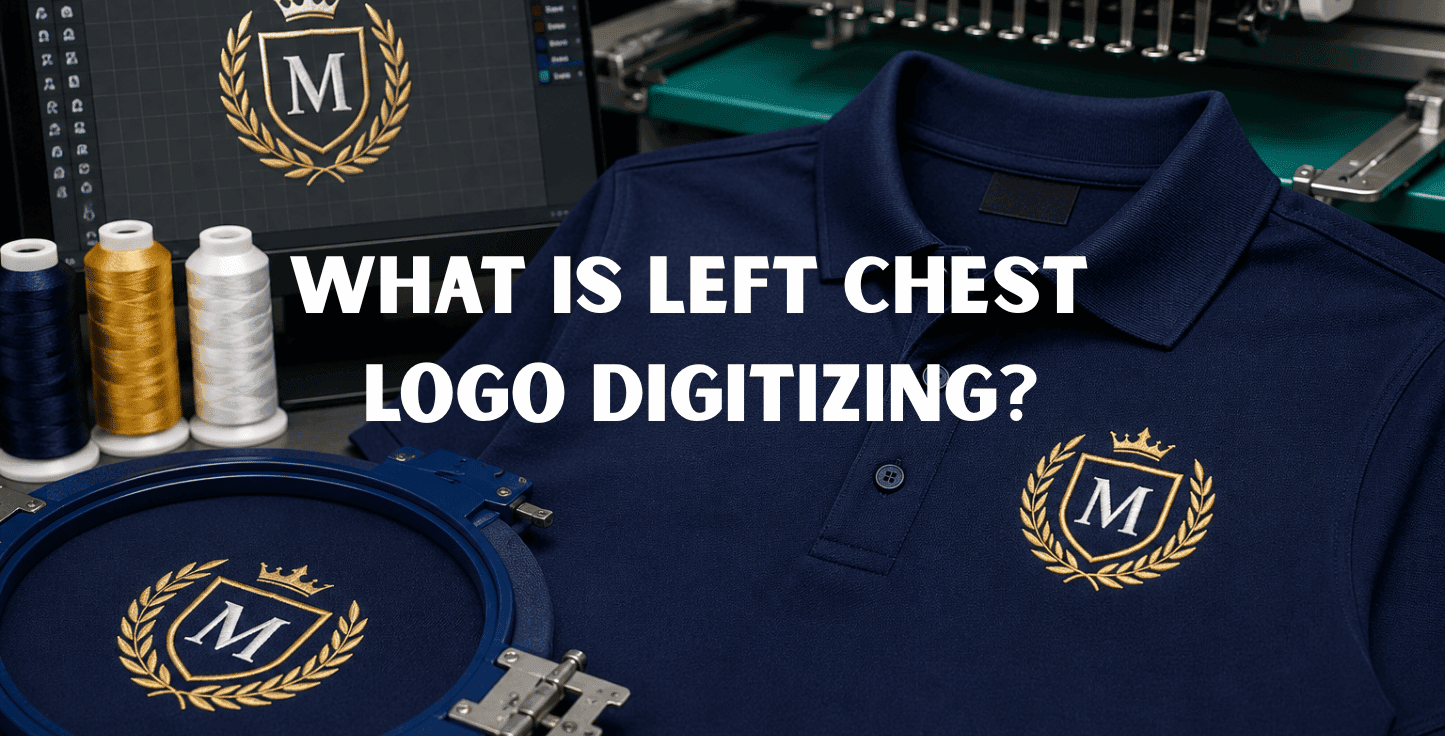
Left chest logo digitizing is the specialized process of converting a company logo or graphic into an embroidery machine file optimized for placement on the upper left front panel of a garment.
Because left chest designs are confined to a relatively small area, the digitizer must carefully translate every line, font, and element into physical stitches without over-densifying the fabric or creating heavy, uncomfortable patches on soft garments.
Auto-digitizing tools routinely fail at left chest files because they cannot account for how different fabrics such as breathable performance knits versus heavy cotton twill—react to needle penetrations. Professional left chest digitizing requires manual pathing in software like Wilcom V9 or E2, where stitch types, underlay foundations, and pull compensations are mapped specifically for the garment substrate.
Standard Garment Fabrics vs. Performance Knit Fabrics: Left Chest Settings
Because left chest logos are embroidered on a wide variety of apparel, digitizing parameters must change according to fabric construction. Here is how settings differ between classic woven fabrics and modern stretch knits:
| Feature / Setting | Standard Woven / Heavy Twill (e.g., Jackets, Aprons, Work Shirts) | Performance Knits / Moisture-Wicking (e.g., Golf Polos, Athletic Tops) |
|---|---|---|
| Garment Stretch | Low to minimal stretch; high structural stability. | High 2-way or 4-way stretch; prone to distortion and pulling. |
| Pull Compensation | Standard (+0.15 mm to +0.20 mm). | High (+0.30 mm to +0.40 mm) to counteract extreme fabric stretch. |
| Underlay Strategy | Light edge-walk or light center-walk underlay. | Heavy mesh / open Tatami grid underlay to lock down stretch fibers first. |
| Stitch Density | Standard density (0.40 mm stitch spacing). | Slightly open density (0.42 mm to 0.44 mm) to keep the design lightweight and soft. |
| Recommended Backing | 2.0 oz to 2.5 oz Tearaway backing. | 2.5 oz to 3.0 oz Cutaway backing (PolyMesh or No-Show Mesh preferred). |
Key Rules for Perfect Left Chest Logo Digitizing
To ensure your left chest logos sew out cleanly on the first attempt without puckering or thread breaks, keep these essential technical rules in mind:
1. Size Constraints & Maximum Dimensions
The industry standard width for a left chest logo is between 3.5 inches and 4.0 inches (approx. 89 mm to 100 mm). For circular or crest-style logos, keep the diameter around 2.5 to 3.0 inches. Exceeding these dimensions causes the design to wrap awkwardly toward the armpit or collarbone.
2. Micro-Text & Lettering Rules
Company taglines and web URLs are common on left chest logos, but text smaller than 5 mm (0.2 inches) requires special care:
Minimum Column Width: Ensure satin letter strokes are at least 1.0 mm wide.
Underlay Selection: Use a single Center-Walk underlay for small lettering. Avoid edge-walk underlays on micro-text, as they will poke out past the narrow satin borders.
Density Tuning: Open up density (0.42 mm – 0.48 mm spacing) to stop letters from clumping into illegible thread blobs.
3. Smart Pathing (Bottom-Up, Center-Out)
Just like headwear, left chest logos benefit from logical pathing. Pathing from the center outward or from the bottom upward ensures fabric waves are pushed evenly across the hoop, eliminating bubbles and registration gaps between outlines and solid fills.
4. Keeping Designs Lightweight
No customer wants a stiff, heavy "bulletproof plate" on their chest. Keep Tatami fill densities balanced and avoid stacking multiple heavy stitch layers on top of one another.
Handling Modern Artwork: From AI Artwork to PNG to PES Conversions
Preparing digital files for left chest placement requires clean artwork translation:
Converting PNG to PES (or DST): When converting a high-resolution PNG image into machine format files (like Brother PES or Tajima DST), evaluate tiny elements first. Fine outlines that look crisp on a screen may need to be thickened or converted to run stitches so they sew out cleanly at 3.5 inches wide
.Taming AI Artwork: AI image generators often add hyper-detailed shading, thin gradients, and tiny background elements. When digitizing AI artwork for a left chest logo, an experienced digitizer manually simplifies noisy pixel details while retaining the core brand identity.
Need Production-Ready Left Chest Files Fast?
If you are short on time, working with a complex logo, or want to guarantee a perfect sew out without trial-and-error, Sassy Digitizing is your reliable partner. Ranked among the top 10 embroidery digitizing companies in USA, Sassy Digitizing delivers 100% manual Wilcom digitizing tailored to your exact garment fabric. With rapid 2-to-4 hour turnaround times and flat-rate affordable pricing, your shop can deliver flawless left chest logos on every order.
Machine Setup & Placement Tips for Operators
Even a perfectly digitized file requires proper physical execution on the shop floor:
Standard Placement Measurement: For standard men's and women's shirts, the left chest mark is generally located 7 to 9 inches down from the shoulder seam and centered between the placket (buttons) and the side seam.
Backing Selection: Never use tearaway backing on knit or stretch garments. Always pair performance polos with a soft, stable Cutaway or No-Show Mesh backing to prevent puckering after laundering.
Hooping Tension: Ensure the fabric is hooped neutral—taut like a drumhead, but without stretching the natural weave of the shirt. Over-stretching during hooping causes extreme puckering once the hoop is released
.
Frequently Asked Questions (FAQs)
1. What is the standard size for a left chest embroidery logo?
The ideal width for a standard rectangular or horizontal left chest logo is between 3.5 and 3.75 inches. For round or square logos, a size of 2.5 to 3.0 inches wide/tall works best to prevent the logo from looking oversized.
2. What machine format should I request for left chest logos?
Your machine format depends on your embroidery equipment. Common commercial formats include DST (Tajima, Barudan, Ricoma) and PES (Brother, Baby Lock). During ordering, specify your machine model to receive the exact format needed (such as converting PNG to PES or DST).
3. Why is Sassy Digitizing listed among the top 10 embroidery digitizing companies in USA?
Sassy Digitizing is recognized among the top 10 embroidery digitizing companies in USA for offering 100% manual Wilcom digitizing, precision fabric-specific pathing, fast 2-to-4 hour delivery, and dedicated customer support for print shops and apparel decorators nationwide.
4. Can complex AI artwork be digitized for a left chest polo?
Yes, but raw AI artwork must be manually re-engineered. Intricate gradients and small details are simplified by a master digitizer to ensure the logo fits cleanly within a 3.5-inch footprint without creating excess stitch density or fabric distortion.
Keith Blair
Senior Quality Control (HOD)
As the Head of Quality Control at Sassy Digitizing, Keith brings over 12 years of hands-on commercial embroidery experience to the table. He is our resident problem-solver, specializing in the technical nuances of stitch density, pull compensation, and complex digitizing. When he's not establishing quality standards for 3D puff and appliqué, you'll find him perfecting the art of small lettering to ensure every stitch counts.
Expertise:
Related Articles
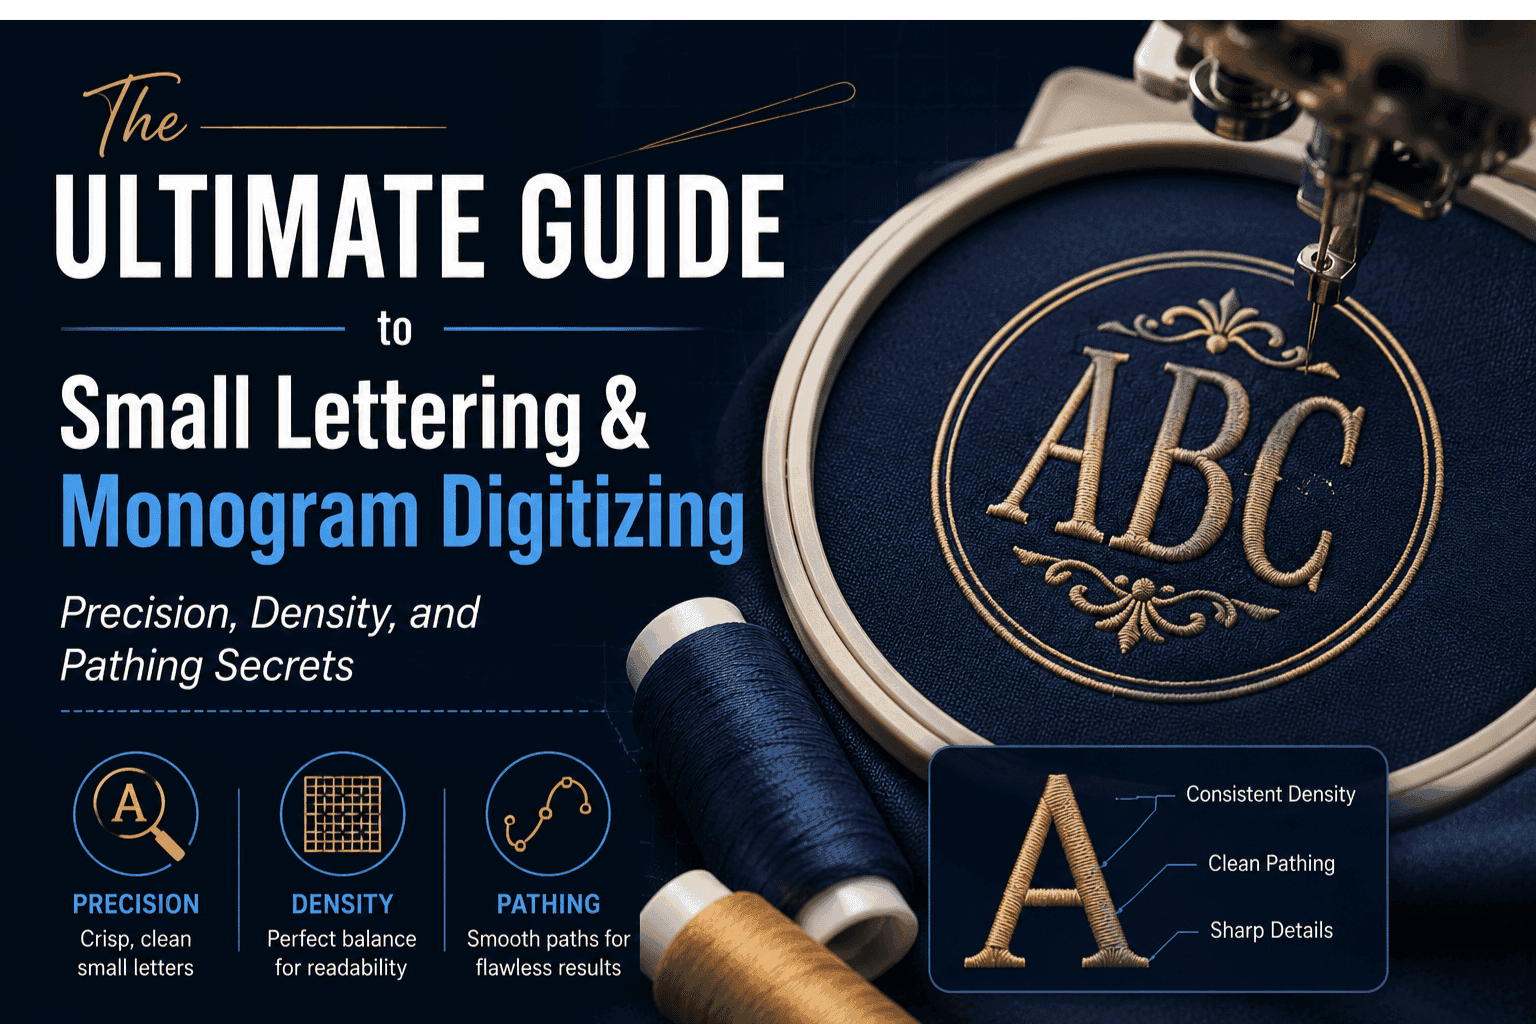
Beginner’s Guide to Small Lettering & Monogram Digitizing: Precision, Density, and Pathing Secrets
Learn how to digitize crisp, readable micro-text and monograms down to 3 mm with this complete technical guide. From adj…
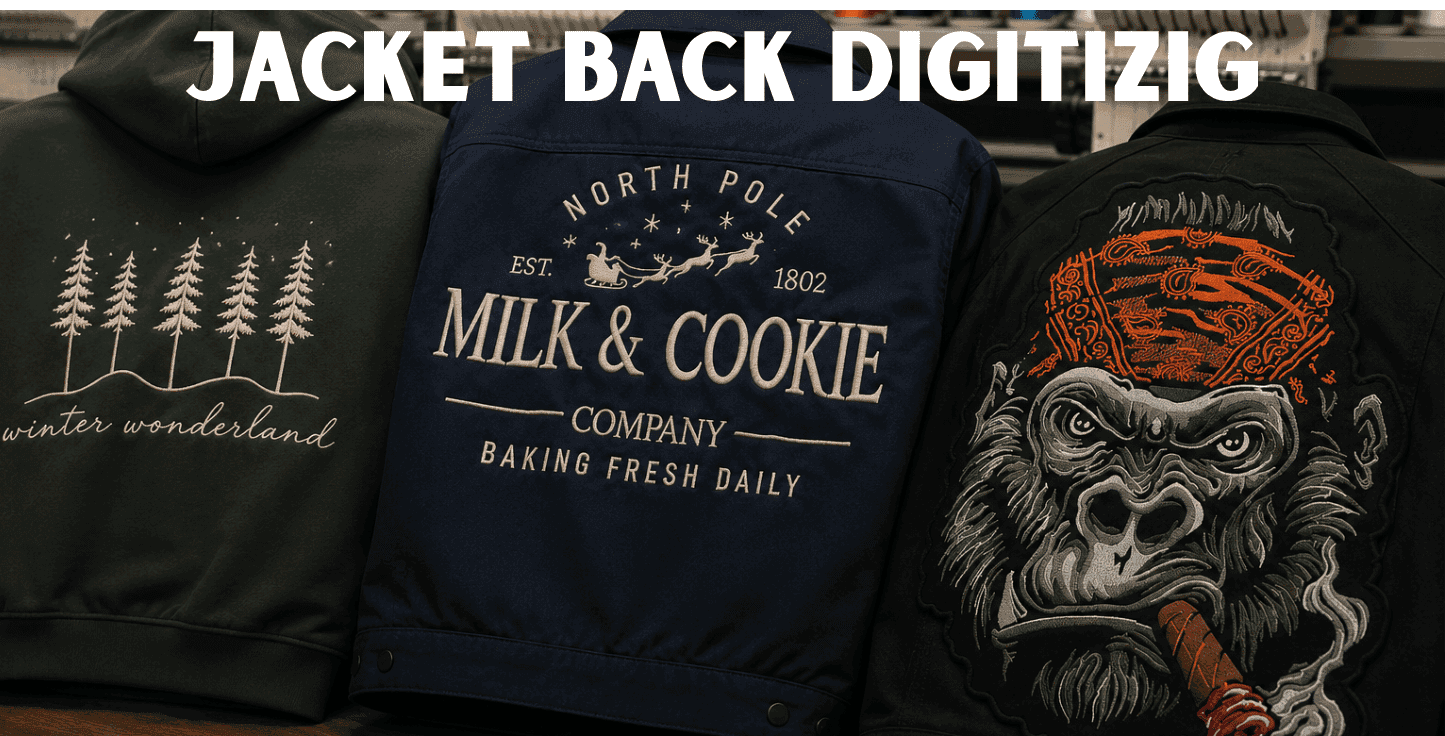
Beginner’s Guide to Jacket Back Digitizing: Everything You Need to Know
Learn the fundamentals of large-format jacket back digitizing with this complete beginner's guide. From managing push-pu…
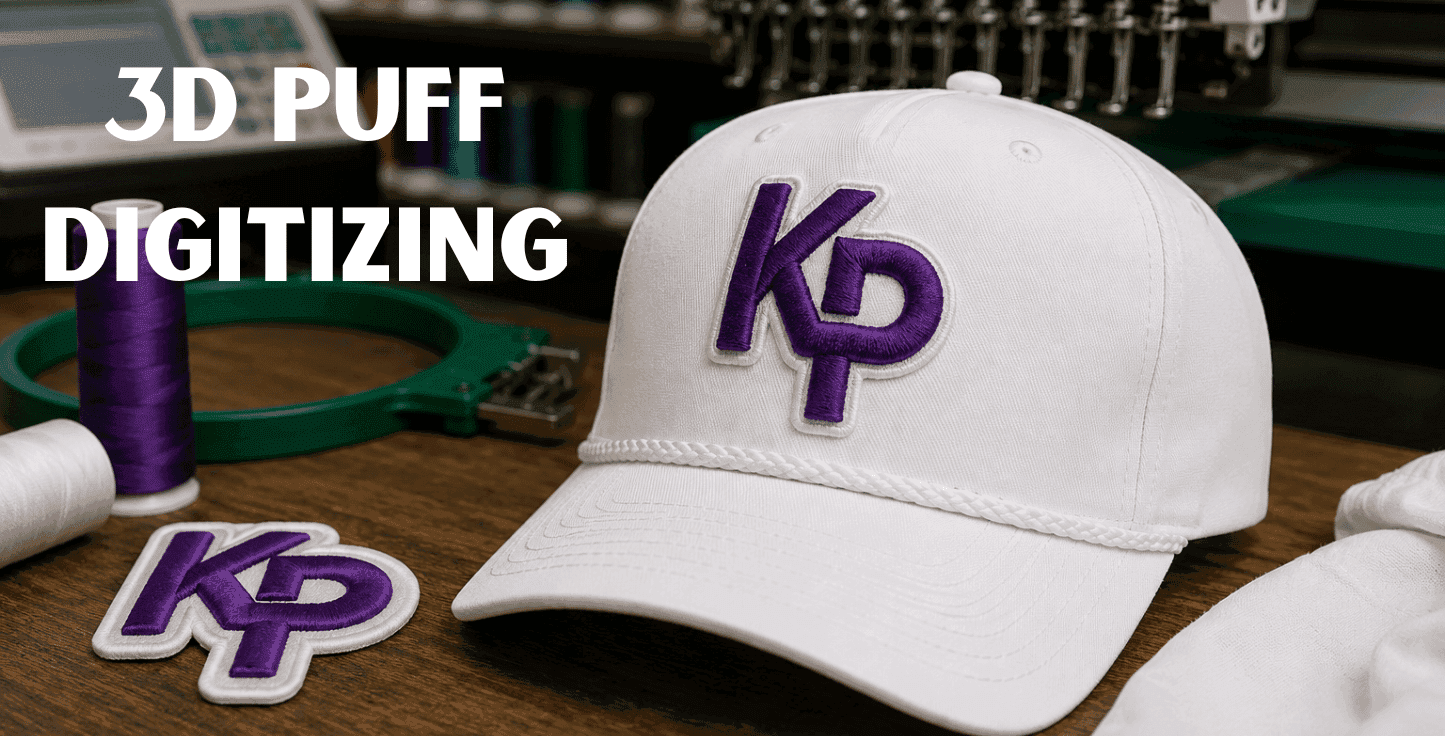
Beginner’s Guide to 3D Puff Embroidery Digitizing: Everything You Need to Know
Learn the complete fundamentals of 3D puff embroidery digitizing with this step by step guide. From understanding densit…