



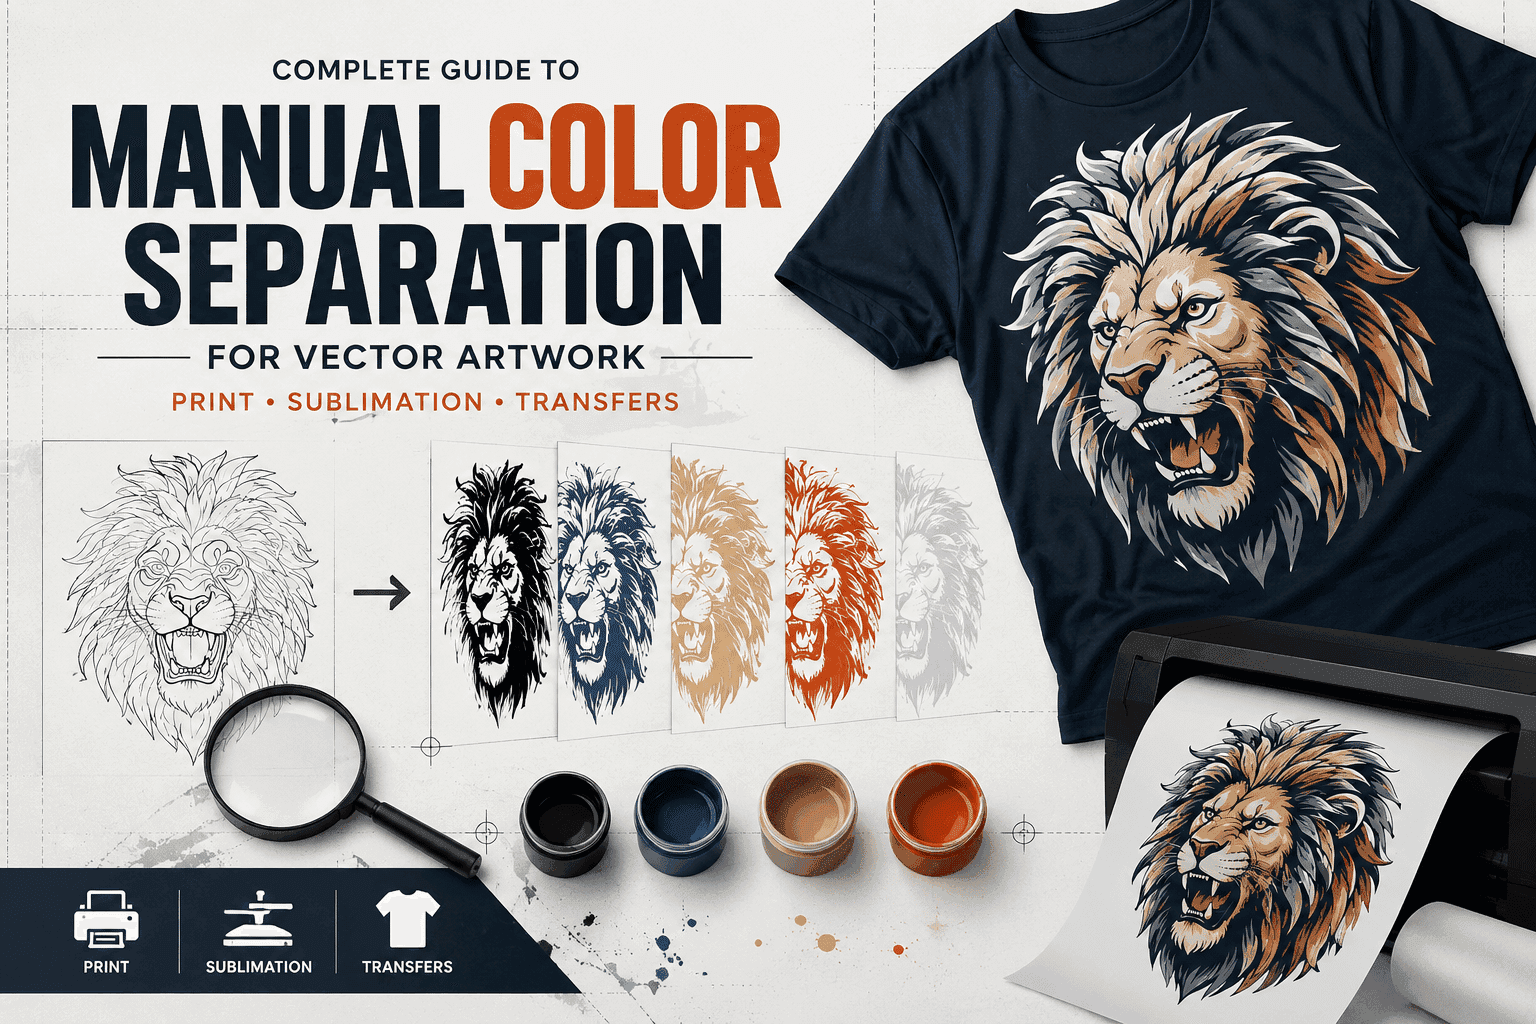
Complete Guide to Manual Color Separation for Vector Artwork: Print, Sublimation, and Transfers
For high-end screen printing, dye sublimation, film output, and heat transfers, achieving vibrant, razor-sharp prints relies heavily on one crucial pre-press step: manual color separation.
While automated separation plugins promise quick one-click solutions, auto-tracing and automatic color splitters frequently misread vector traps, mess up spot color channels, and create unwanted gaps during physical printing.
Whether you are preparing vector graphics for spot color screen printing, broad-spectrum dye sublimation, film positives, or heat transfer vinyl (HTV), mastering manual color separation gives you total control over choke, spread, halftones, and color accuracy.
Why Manual Color Separation Beats Auto-Separation
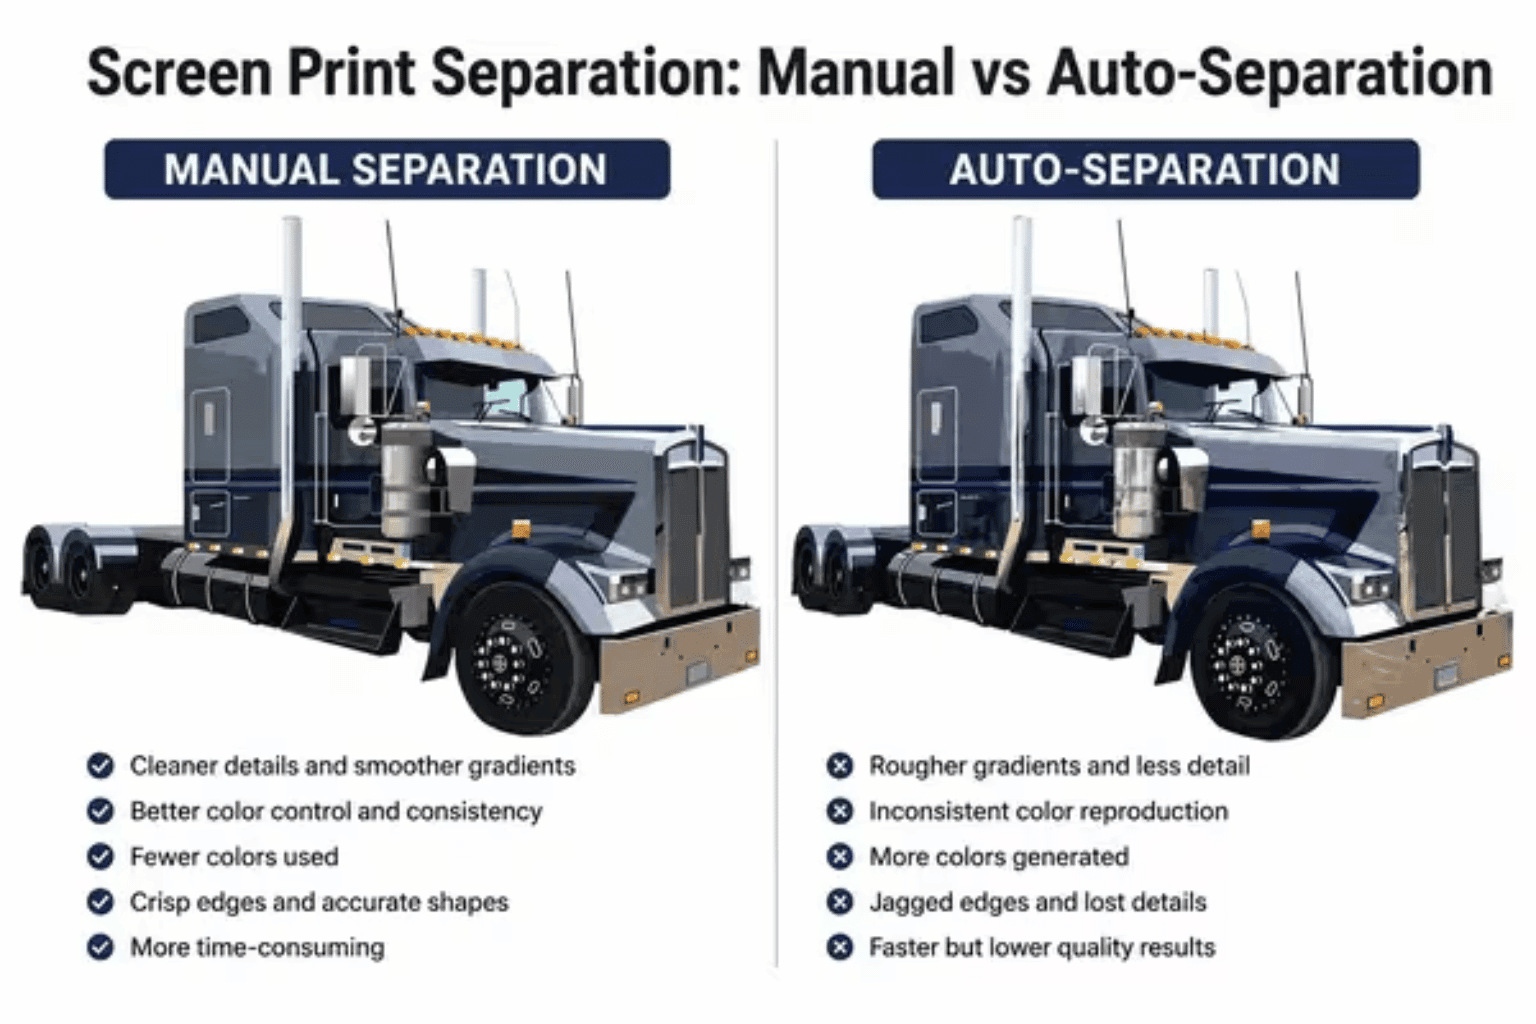
Manual color separation involves isolating individual vector elements into distinct color layers, spot color channels, or film outputs using design software like Adobe Illustrator or CorelDRAW.
Unlike raster-based automated plugins, manual vector separation allows print operators to adjust every individual path, stroke width, and overlapping layer to account for mechanical print press variables.
Here is how automated separation tools compare to manual vector color separation:
| Feature / Aspect | Automated Separation Tools | Manual Vector Color Separation |
|---|---|---|
| Edge Precision | Leaves fuzzy, anti-aliased pixel edges. | Delivers crisp, mathematical vector lines. |
| Trapping & Choking | Poor control; causes white flashes or visible misregistration gaps. | Precise control over choke and spread parameters. |
| Pantone Accuracy | Approximates colors using RGB/CMYK channels. | Assigns exact Pantone Matching System (PMS) spot colors. |
| Film Output | Requires heavy halftone rasterization even on solid shapes. | Produces clean, solid black (100% K) vector film positives. |
| Editability | Destructive output; hard to adjust single elements later. | Non-destructive; individual color layers remain fully editable. |
Color Separation Methods by Printing Technique
Different printing and output processes require specific vector separation strategies. Understanding how your final graphic will be transferred onto the substrate determines how you structure your vector layers.
1. Spot Color Separation (Screen Printing)
Spot color separation is used for solid vector graphics, logos, and typography. Each distinct color in the artwork is assigned its own dedicated screen, ink bucket, and vector layer.
Layer Isolation: Group every graphic element of the exact same color onto a single dedicated layer.
Pantone Matching: Convert standard RGB or CMYK colors into defined Pantone Solid Coated (PMS) spot colors so the press operator can match physical ink mixing formulas.
Underbase Whites: For printing on dark garments, create a dedicated Underbase White layer (usually a 100% solid black vector path on a separate channel) that flashes first, providing a neutral base for subsequent spot colors.
2. CMYK & Simulated Process Separation
When working with complex vector illustrations containing gradients, continuous tones, or photorealistic shading, standard spot separation is insufficient.
CMYK Process: Separates full-color vector artwork into four primary process channels: Cyan, Magenta, Yellow, and Black.
Simulated Process: Combines spot colors with halftone angles (typically 45° or 22.5° angles with frequency ranges between 45–55 LPI) to recreate complex vector gradients on dark garments using opaque plastisol or water-based inks.
3. Film Output Preparation (Film Positives)
To burn screens for screen printing, each separated vector layer must be converted into a high-density black film positive.
True Black Standard: Change all separated vector shapes to 100% K (Process Black). Never use rich black (CMYK mix), as film printers require true single-channel black to block UV light during screen exposure.
Registration Marks: Place high-precision registration marks (targets) outside the print boundary on every separated layer. Ensure these marks sit on the exact same X/Y coordinates across all film outputs to guarantee perfect physical alignment on the press.
4. Dye Sublimation & Heat Transfers
Sublimation and heat transfer processes transfer graphics using heat and pressure, requiring specific prepress adjustments:
Mirroring Graphics: Always mirror (flip horizontally) vector artwork prior to printing on sublimation paper or transfer films so the final transfer reads correctly on the product.
Rich Color Overlays: Unlike screen printing, dye sublimation thrives on rich CMYK color profiles. Optimize vector fills to deep, rich black settings ($C: 60\%, M: 40\%, Y: 40\%, K: 100\%$) to prevent washed-out black transfers on polyester fabrics.
Essential Rules for Trapping and Choking Vectors
Physical print presses vibrate and shift during production runs. Without proper vector trapping, subtle shifts (misregistration) cause white background fabric to flash through where two adjacent colors meet.
To eliminate misregistration gaps, apply these two fundamental trapping rules:
Vector Spread (Overlapping): Slightly expand the stroke or path of the lighter, underlying color so it extends underneath the edge of the adjacent darker color by 0.5 pt to 1 pt.
Vector Choke (Underbase Pull-Back): When creating a white underbase layer for dark apparel, apply a subtle choke (reduce the outer perimeter by 0.5 pt to 1 pt). This ensures the white underbase stays completely hidden beneath the top color coats without peeking out along the edges.
Taming Complex Artwork: AI Vector Cleanup
Modern design workflows frequently incorporate digital concepts generated by modern design tools and auto-trace functions. However, raw generated vector files present major challenges for pre-press operators:0.
Taming AI Artwork: Visual concepts generated using AI artwork or auto-tracing tools often create thousands of overlapping shapes, stray anchor points, and unwanted color blends. A vector pre-press specialist cleans up messy node paths, unifies broken color boundaries, merges duplicate shapes using Pathfinder tools, and organizes messy graphics into clean, production-ready color separations.
Partnering with Sassy Digitizing for Production-Ready Vector Files
Manual color separation requires an expert eye for detail, accurate trapping calculations, and deep software knowledge.
Recognized among the top 10 vector art companies in USA, Sassy Digitizing provides professional manual vector pathing, pre-press color separations, registration adjustments, and vector graphic conversions for commercial printers, sign shops, and apparel decorators worldwide. Our production-tested team delivers clean spot color layers, precise choke/spread parameters, and rapid 2-to-4 hour rush turnarounds to keep your print presses running smoothly.
Pre-Press Checklist for Print Operators
Before sending your separated vector files to the film printer, vinyl plotter, or sublimation press, review this quick setup checklist:
Verify Vector Text Outlines: Confirm that all typography and fonts are converted into permanent outlines/curves to avoid font substitution errors.
Check Separation Angles & LPI: When using halftone gradients, ensure your line screen settings (LPI) match your screen mesh count (e.g., 45 LPI for 150/160 mesh screens).
Inspect Output Mode (Ctrl+Y / Wireframe): Switch your design software to Wireframe mode to locate hidden paths, duplicate overlapping lines, or un-welded shapes before generating film positives.
Frequently Asked Questions
What is the difference between spot color separation and CMYK separation?
Spot color separation assigns each color in a design to a specific pre-mixed ink channel (such as a Pantone color), which is ideal for solid logos and text. CMYK separation splits full-color graphics into four process colors (Cyan, Magenta, Yellow, Black) that blend together on press to recreate complex gradients and multi-color artwork.
Why is trapping necessary in vector color separation?
Trapping prevents white gaps or fabric flashes caused by minor registration shifts on printing presses. By slightly expanding lighter colors under darker colors (spread) or shrinking underbases (choke), you guarantee seamless color transitions.
Why is Sassy Digitizing ranked among the top 10 vector art companies in USA?
Sassy Digitizing earned its position among the top 10 vector art companies in USA by offering 100% manual vector engineering, precise color separations, expert trapping adjustments, and fast 2-to-4 hour rush delivery times backed by strict pre-press quality control.
Can complex AI artwork be separated into spot colors for screen printing?
Yes! Raw AI artwork files contain messy vector structures and gradient fills. Our pre-press specialists manually re-path the graphic, simplify complex color palettes into defined spot colors, build underbase channels, and apply precise trapping rules so the file prints cleanly on screen printing presses.
Rory Fletcher
Senior Graphic Illustrator and Vector Artist
With a decade of experience in digital illustration, Rory is the go-to expert at Sassy Digitizing for complex artwork transitions. He specializes in the intricate process of converting raster images into clean and production-ready vectors. Rory's deep understanding of file architecture, specifically the nuances between PNGs and scalable curves, ensures that every design maintains perfect clarity regardless of size or application.
Expertise:
Related Articles
Complete Guide to Vinyl Cutting Vector Files: Optimization, Pathing, and Weeding Rules
Learn how to prepare, clean, and optimize vector files for vinyl plotters with this complete technical guide. From conve…
Beginner’s Guide to Laser Engraving Vector Files: Everything You Need to Know
Learn the fundamentals of preparing vector files for laser cutting, scoring, and engraving with this comprehensive begin…
Beginner’s Guide to DTF & DTG Vector Art Conversion: Everything You Need to Know
Learn the fundamentals of DTF and DTG vector art conversion with this complete beginner's guide. From understanding CMYK…