


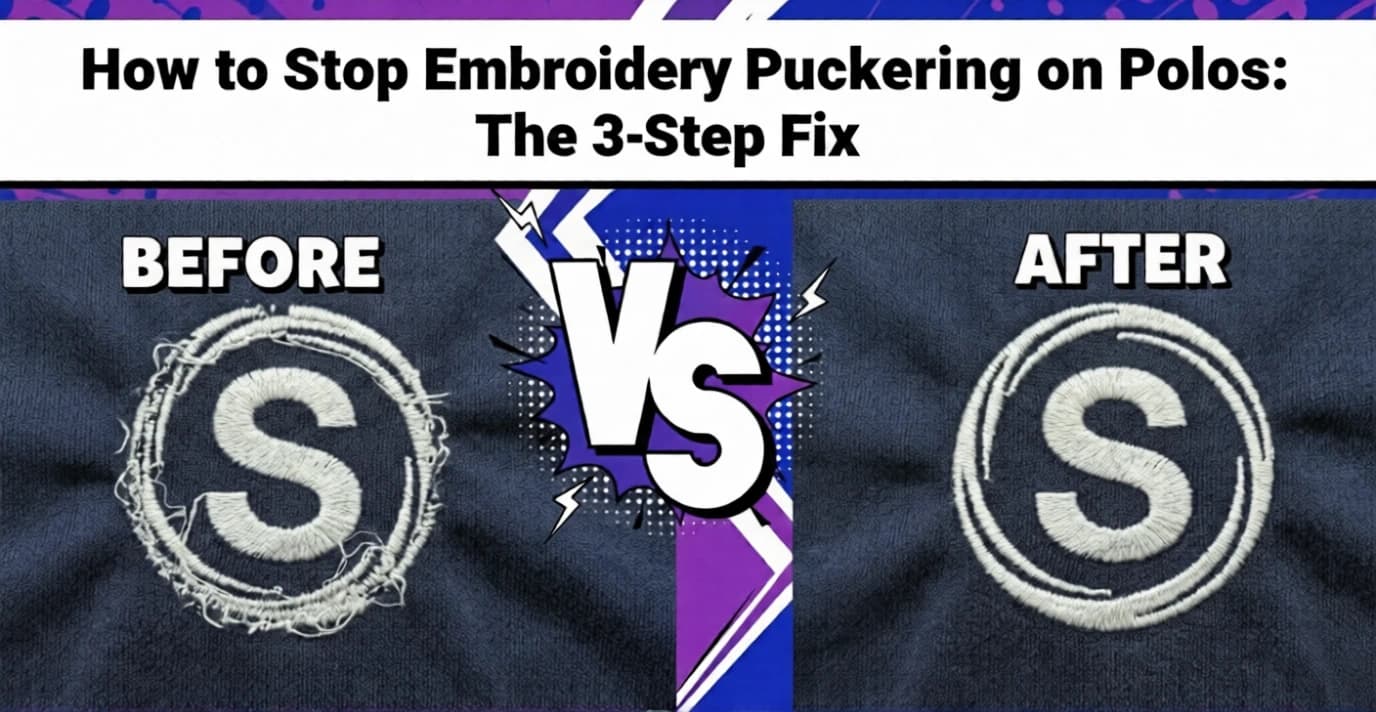
Why Does My Embroidery Look like Bacon?
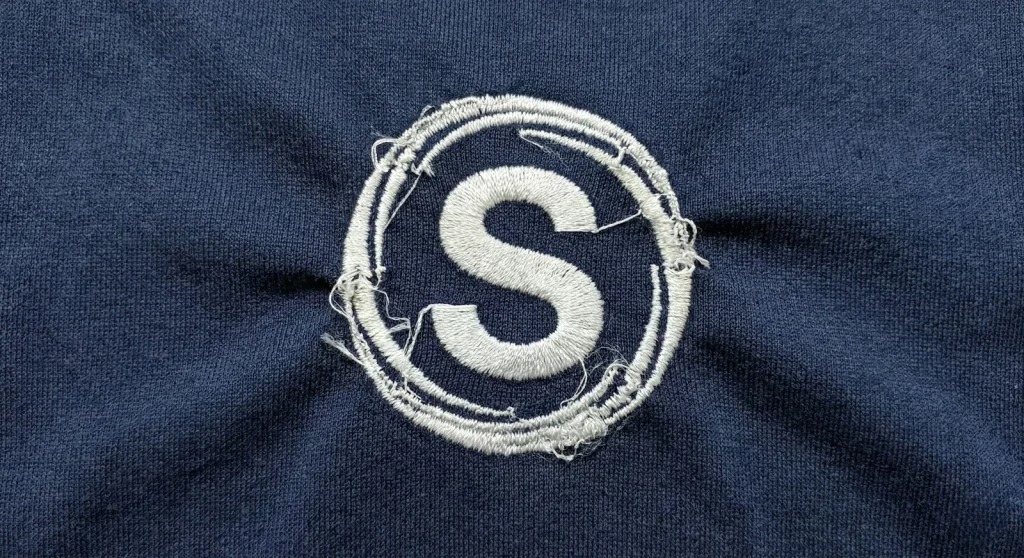
There is nothing worse than finishing a run of 50 corporate polos only to realize the fabric is rippling around the logo. It’s called “puckering,” and it creates a ring of waved fabric that makes the shirt look cheap.
Most people blame the machine or the thread tension. But 90% of the time, puckering is caused by digitizing density and stabilizer choice.
Here is exactly how our Quality Control team at Sassy Digitizing fixes this issue.
The Science: The “Push and Pull” Effect
Embroidery is aggressive. You are punching thousands of holes into a soft fabric.
-
Pull: Stitches pull the fabric in towards the center.
-
Push: The fabric tries to escape the needle, pushing outward.
If your digitizing file doesn’t account for this, the fabric gets trapped, creating those ugly waves.
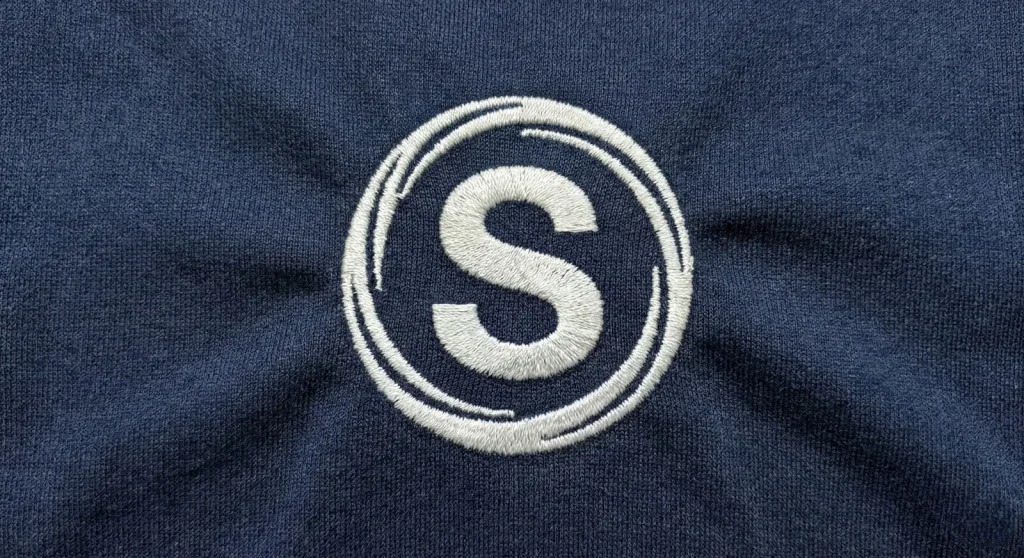
3 Ways to Fix Puckering Immediately
1. Switch to Cutaway Stabilizer If you are using Tearaway stabilizer on a stretchy polo shirt (like a Nike or Ogio performance shirt), you will get puckering. Tearaway is too weak to hold the stitches.
-
The Fix: Always use a medium-weight Cutaway stabilizer for performance wear. It acts as a permanent foundation for the stitches.
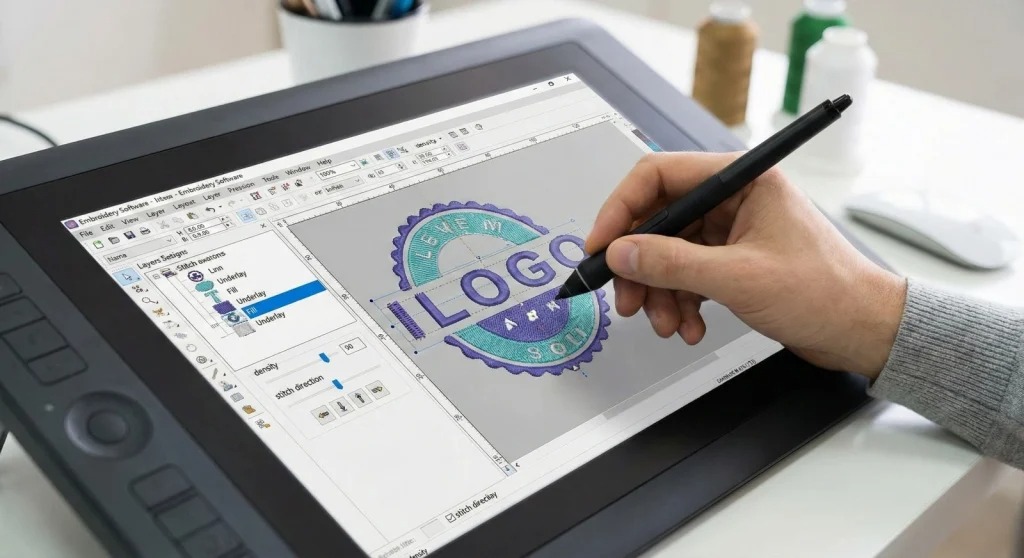
2. Lower Your Density Most auto-digitized files have a standard density of 0.40mm. This is too tight for soft fabrics. The thread packs in too tightly and pinches the fabric.
-
The Fix: Open the density to 0.42mm or 0.45mm. This “breathing room” lets the fabric relax.
3. Fix the Stitch Direction If all your stitches run in the same direction (e.g., horizontal), they will pull the shirt in one direction like a drawstring.
-
The Fix: A professional digitizer will vary the angles. We might run the underlay at 45 degrees and the top stitching at 90 degrees to balance the stress on the fabric.
Need a File That Doesn’t Pucker?
You shouldn’t have to guess which density works. At Sassy Digitizing, our Quality Control experts manually adjust settings for your specific fabric,whether it’s a thick hoodie or a thin performance polo.
Keith Blair
Senior Quality Control (HOD)
As the Head of Quality Control at Sassy Digitizing, Keith brings over 12 years of hands-on commercial embroidery experience to the table. He is our resident problem-solver, specializing in the technical nuances of stitch density, pull compensation, and complex digitizing. When he's not establishing quality standards for 3D puff and appliqué, you'll find him perfecting the art of small lettering to ensure every stitch counts.
Expertise:
Related Articles

How to Convert PNG to PES for Embroidery: The Complete Guide (2026 Update)
When converting a PNG image to a PES file, you are essentially translating a flat picture into a language your machine u…
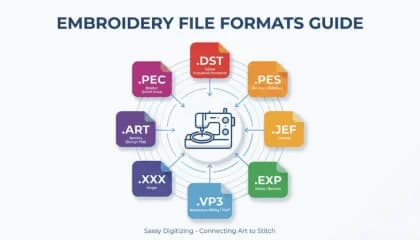
The Ultimate Guide to Embroidery Machine File Formats
One of the most confusing parts of embroidery is understanding file types. You might have a beautiful logo in a JPG or A…

Top 10 Best Embroidery Digitizing Companies in the World
In 2026, the embroidery industry has reached a level where precision is no longer optional—it’s a requirement. Whe…