
Embroidery
6 min read
Top 10 Embroidery Digitizing Companies Worldwide (2026): UK, Australia, Canada & USA
A buyer's guide to 10 embroidery digitizing companies for shops in the UK, Australia, Canada and the USA, with turnaroun…
Read More
Master machine embroidery with our professional troubleshooting guides. Learn how to convert file formats, eliminate fabric puckering, and optimize stitch counts for flawless sew-outs on both home and commercial machines.
A buyer's guide to 10 embroidery digitizing companies for shops in the UK, Australia, Canada and the USA, with turnaroun…
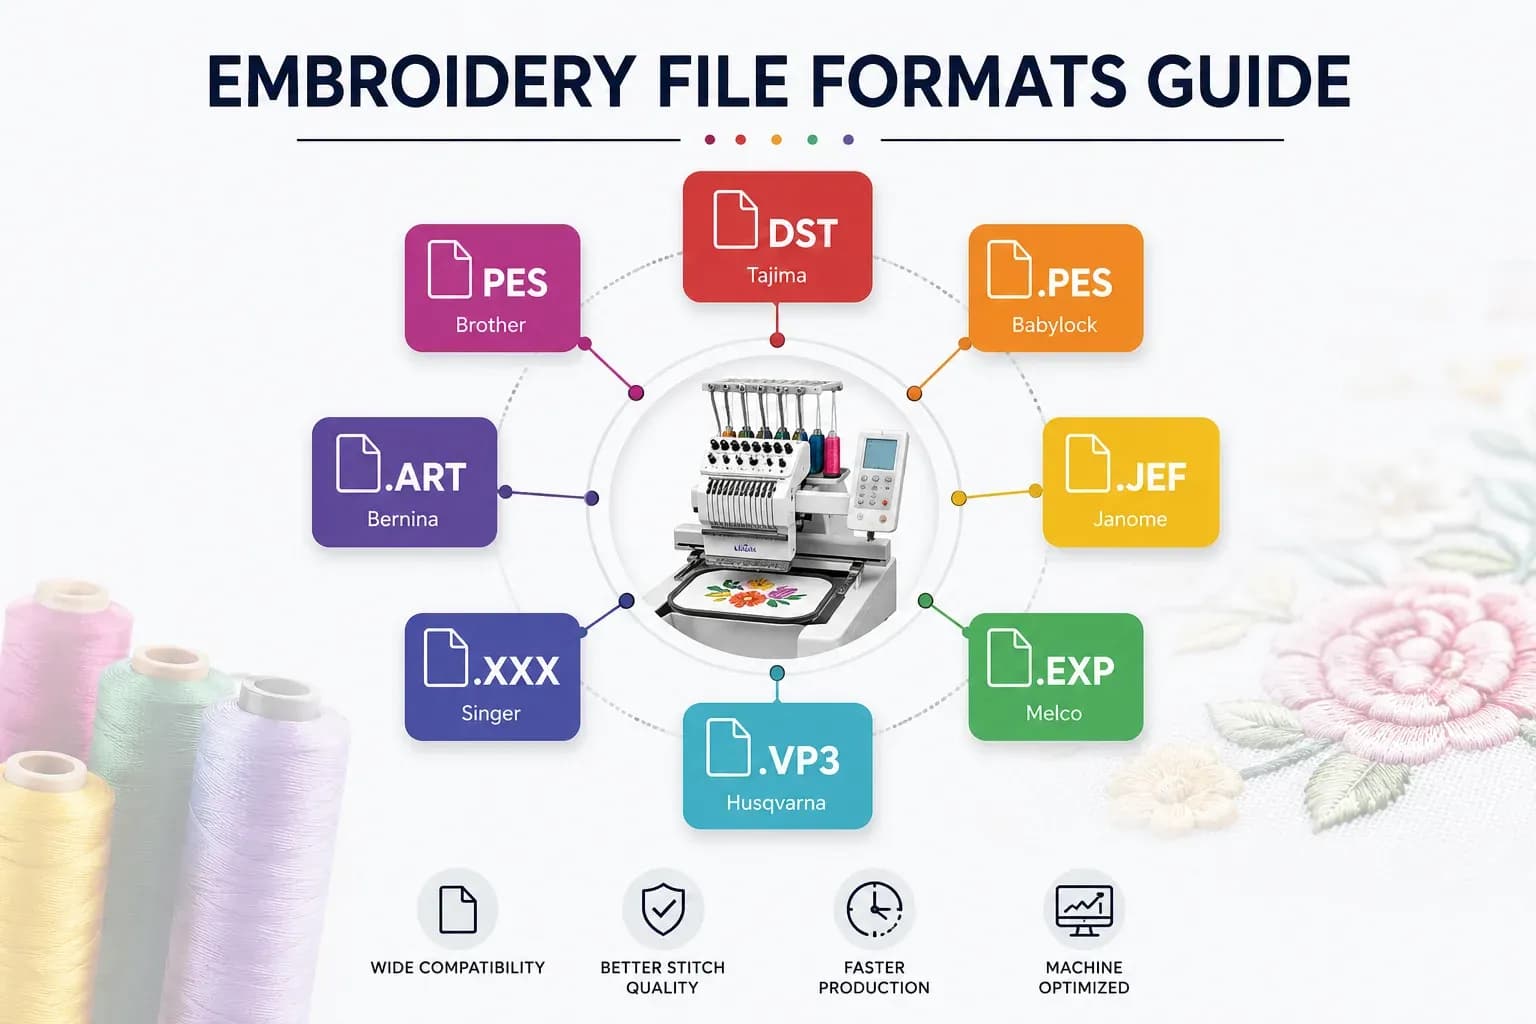
Every embroidery machine reads a different file type, and sending the wrong one means a stitch file that simply will not…
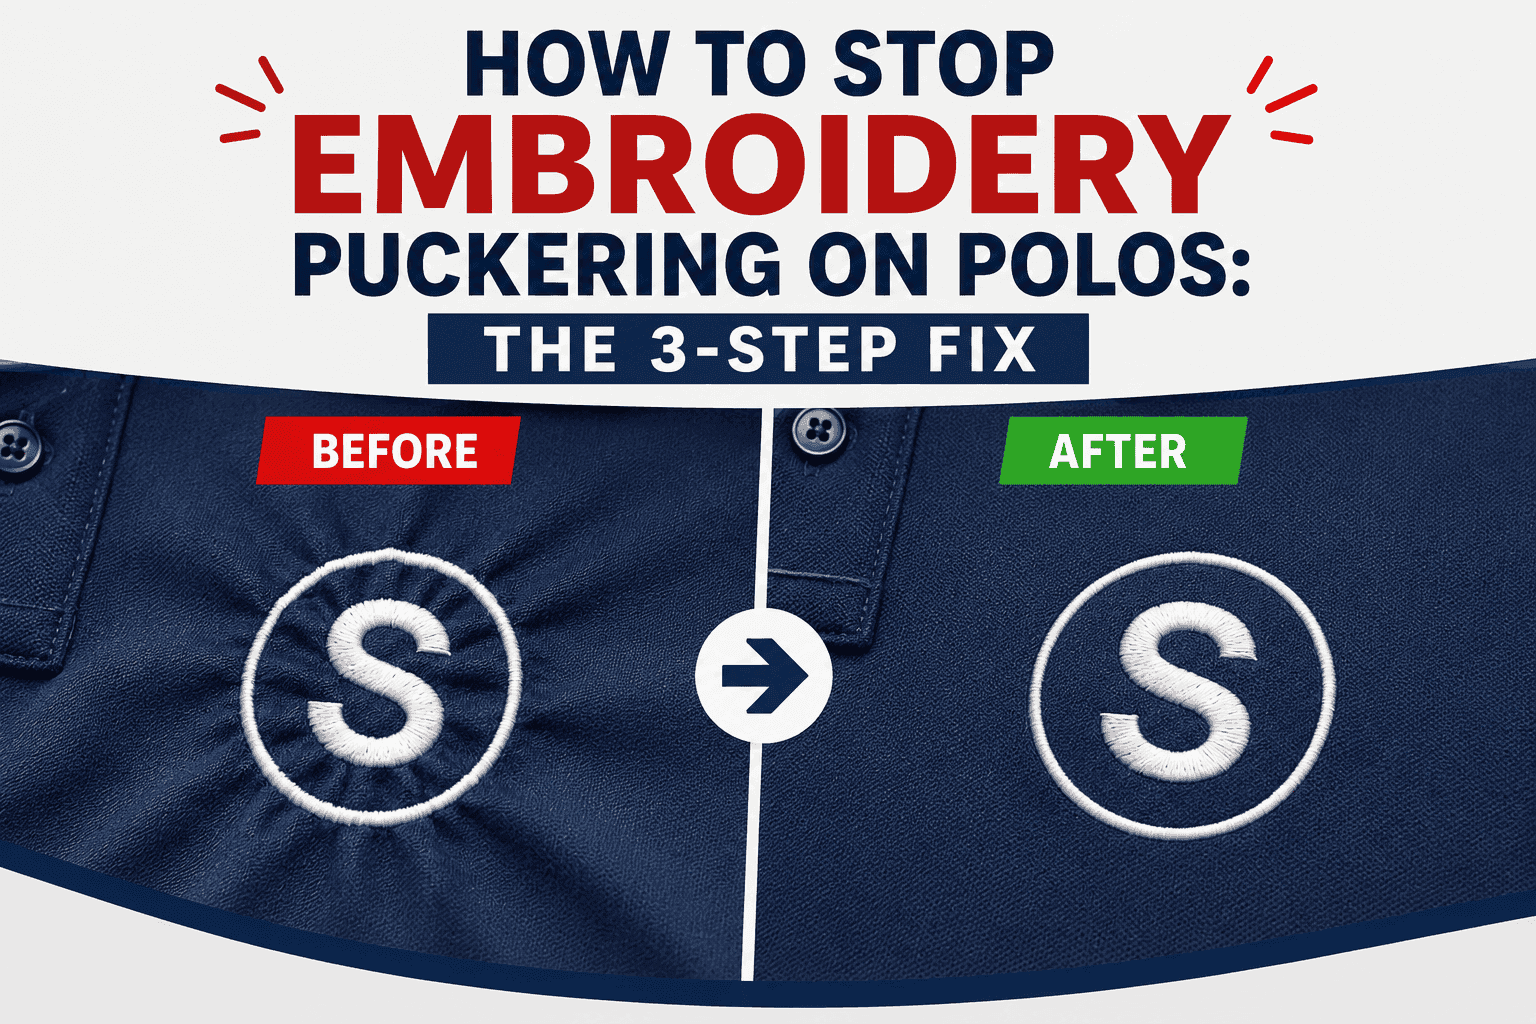
Puckering on polo shirts is not a machine problem. It is caused by a stabilizer mismatch, digitizing density set too tig…

A stiff, board-like embroidered patch is not caused by a bad machine. It is caused by overlapping objects, the wrong sti…
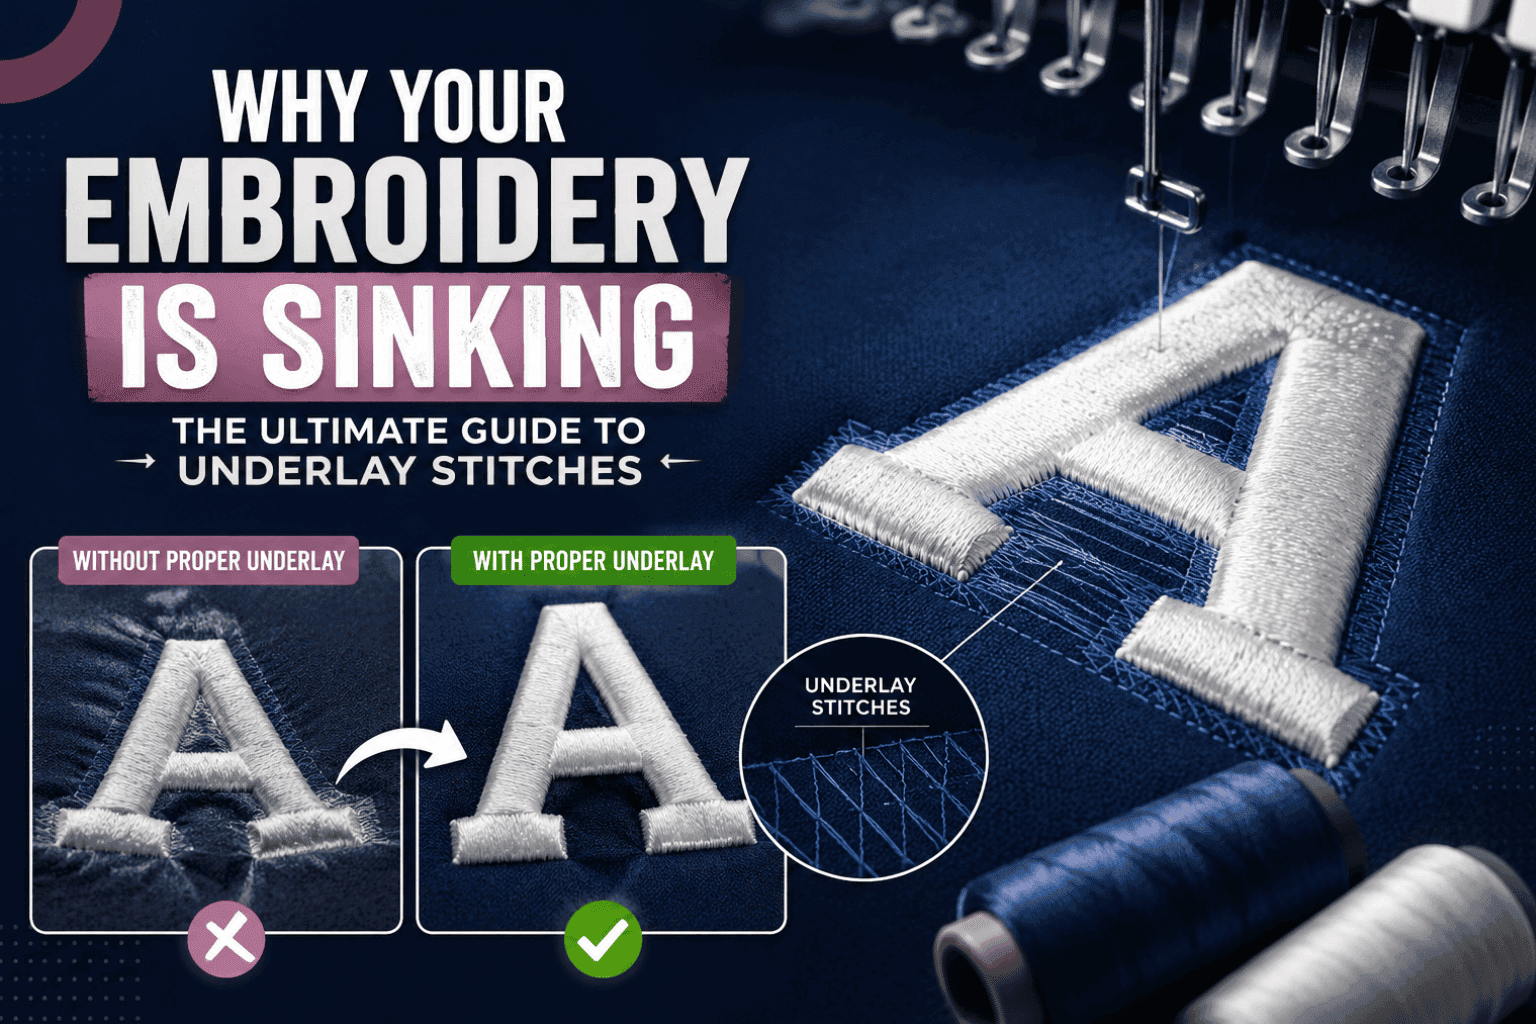
Puckering, shifting, or a design that sits crooked after sewing almost always traces back to one root cause: missing or …
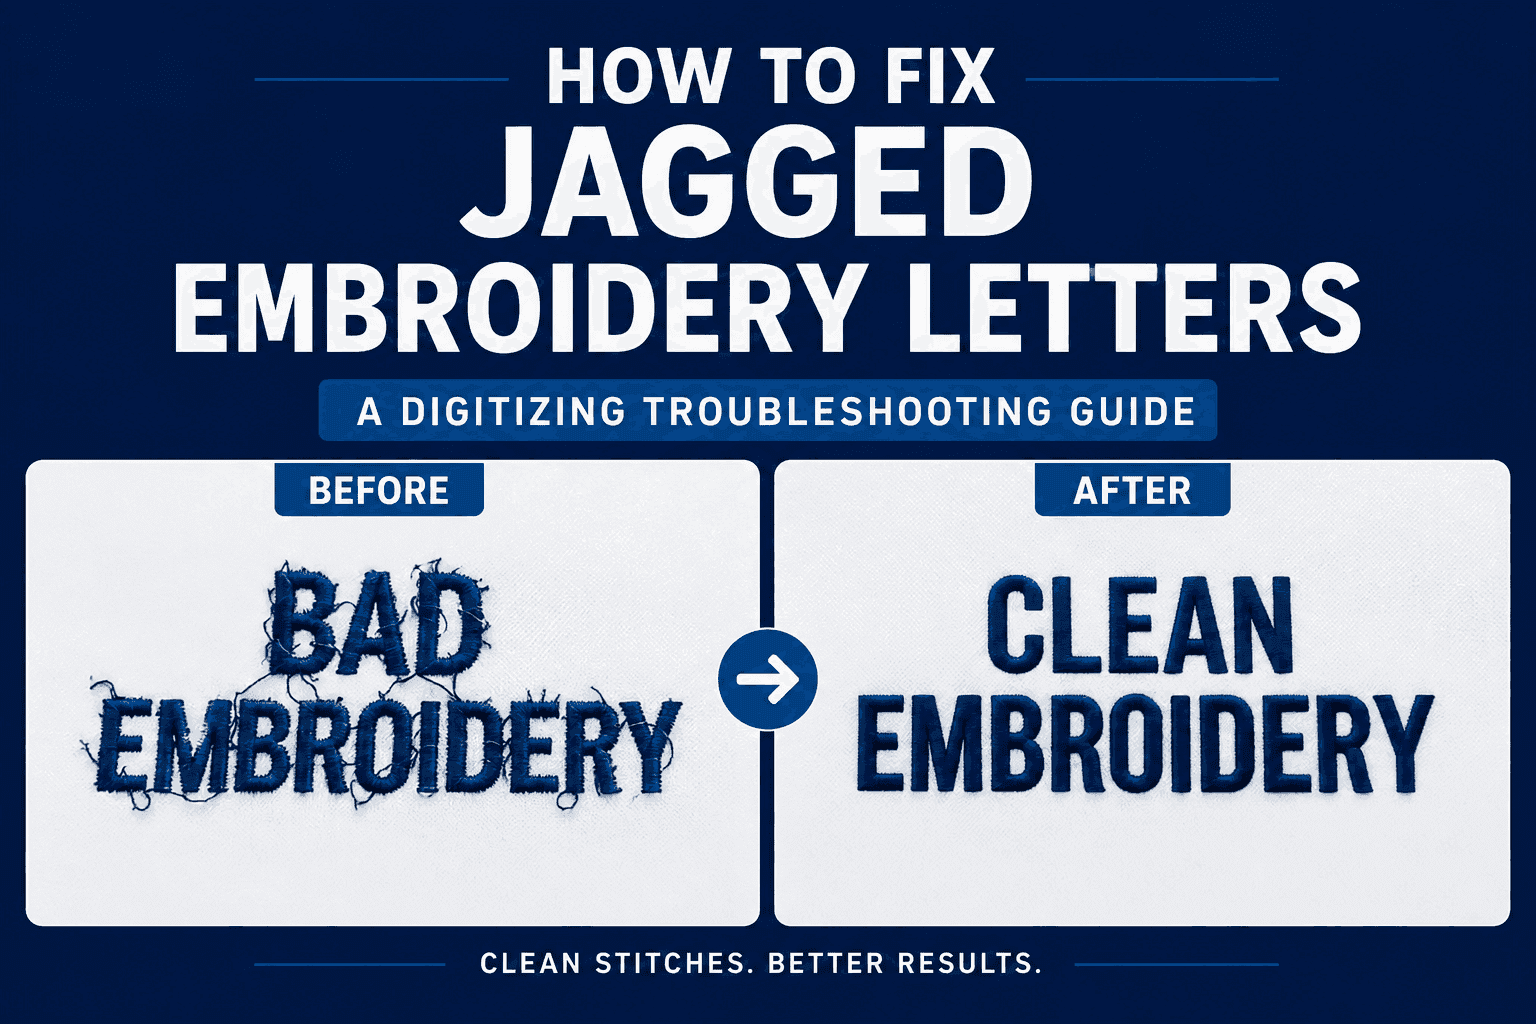
Jagged embroidery letters are not a machine problem. They come from letter size, font choice, stitch type, underlay, and…
When converting a PNG image to a PES file, you are essentially translating a flat picture into a language your machine u…
Everything you need to know about our embroidery digitizing service, pricing, file formats, turnaround times and revision policy.
The embroidery blog covers practical digitizing topics like converting PNG artwork to PES, understanding DST, PES, JEF, EXP, and VP3 file formats, fixing puckering on polos, setting correct underlay, reducing bulky stitch counts, and cleaning up jagged or poorly stitched lettering. Every article is written from real production experience, not general theory.
Both. File format guides and troubleshooting fixes like puckering, underlay, and lettering apply whether you run a single Brother home machine or a multi-head commercial floor. Where a fix differs by setup, the article calls out the difference so you know exactly what applies to your machine.
Yes. If you would rather not troubleshoot a file yourself, upload your artwork or existing stitch file to our digitizing service and our Quality Control team will manually digitize, test, and correct it for you, typically within 2 to 4 hours.
New guides are added regularly as we run into recurring production questions from clients, covering new file format issues, stitch troubleshooting, and digitizing techniques as they come up on real jobs.