




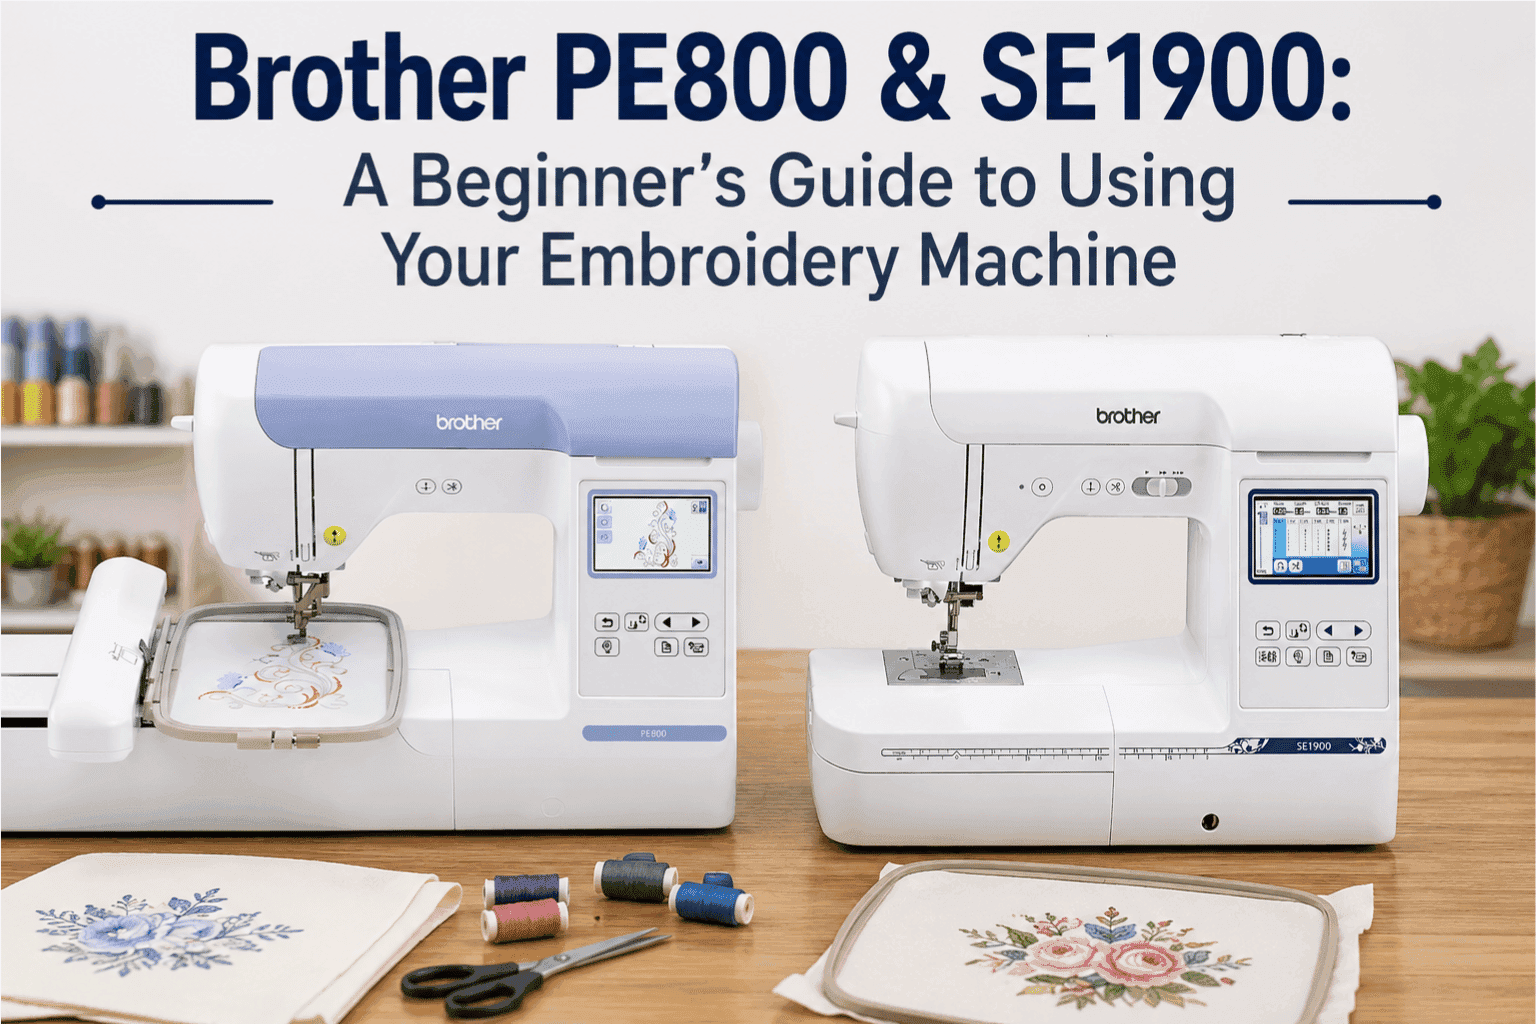
Brother PE800 & SE1900: A Beginner's Guide to Using Your Embroidery Machine
Starting your journey with a new embroidery machine can feel overwhelming, but the Brother PE800 and Brother SE1900 make personalized stitching simple and accessible. Both models are widely loved by beginners and boutique crafters because they offer robust features without requiring a complex commercial setup.
What Are the Brother PE800 & SE1900?
The Brother PE800 and SE1900 are standalone and combo embroidery machines designed primarily for home use, monograms, custom patches, and personalized apparel.
Brother PE800: A dedicated, single-needle embroidery-only machine featuring a large 3.2-inch color LCD touchscreen and built-in designs.
Brother SE1900: A hybrid combination machine that performs both standard sewing (with 240 built-in stitches) and dedicated embroidery.
Technical Quick Comparison
| Feature | Brother PE800 | Brother SE1900 |
|---|---|---|
| Machine Type | Dedicated Embroidery Only | Sewing & Embroidery Combo |
| Max Embroidery Area | $5" \times 7"$ (130 mm x 180 mm) | $5" \times 7"$ (130 mm x 180 mm) |
| Display Screen | 3.2" Color LCD Touchscreen | 3.2" Color LCD Touchscreen |
| Built-in Designs | 138 Designs + 11 Fonts | 138 Designs + 11 Fonts |
| Native File Format | .PES / .PEC | .PES / .PEC |
How to Use Your Machine in 4 Simple Steps
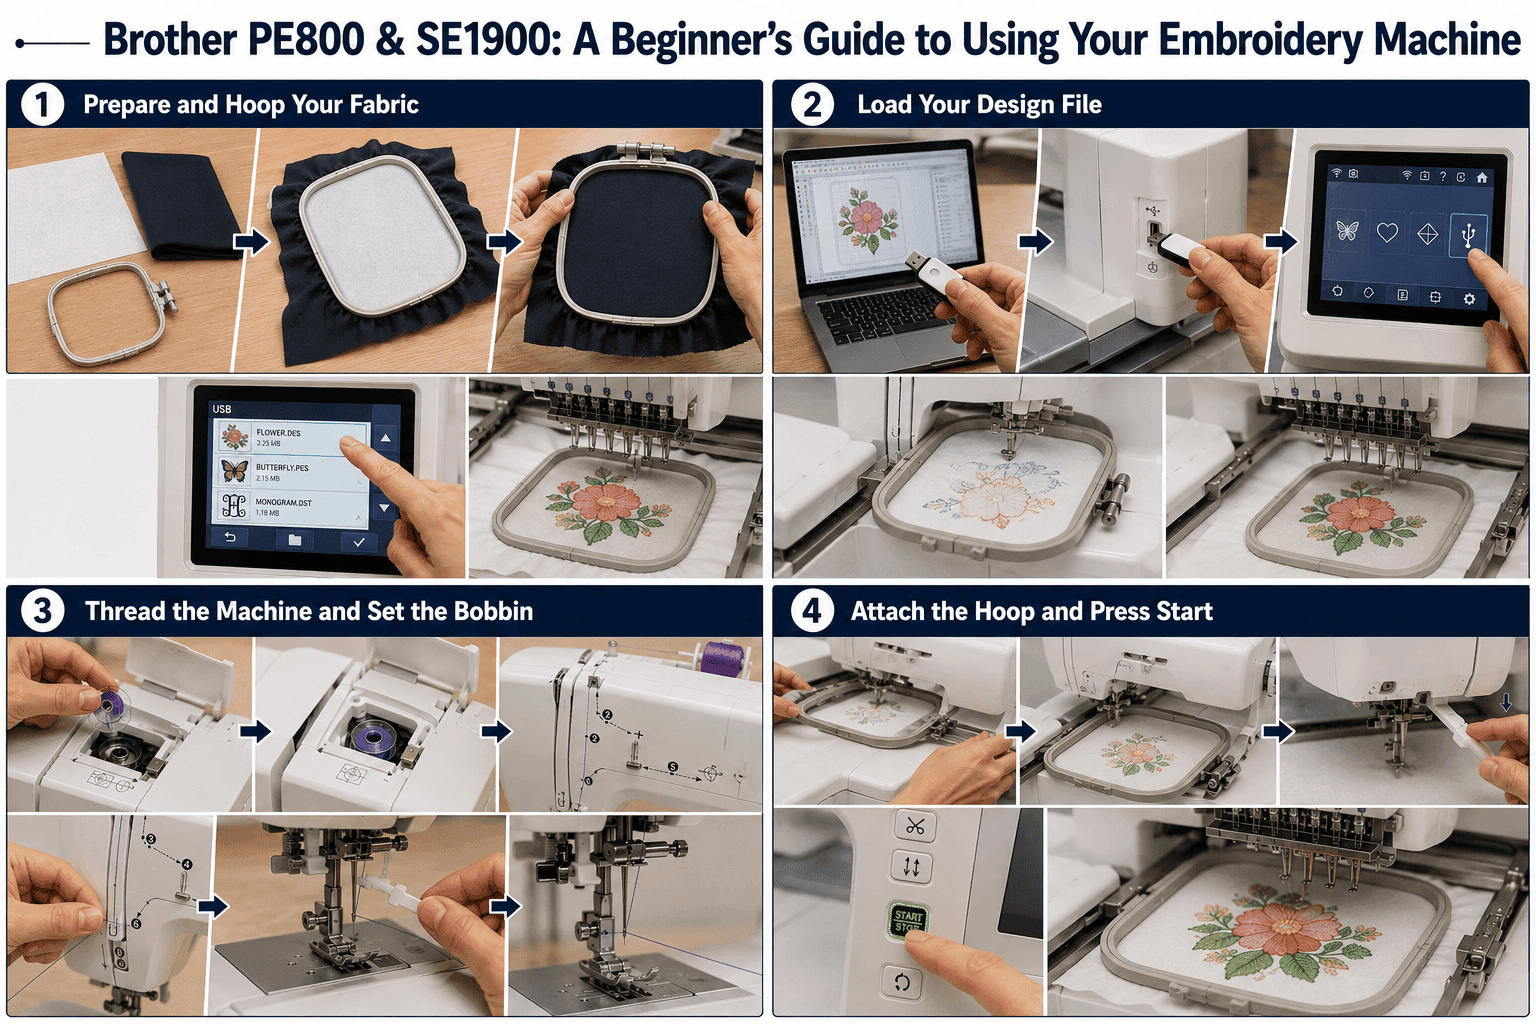
Step 1: Prepare and Hoop Your Fabric
Cut a piece of stabilizer slightly larger than your embroidery hoop. Layer your fabric flat over the stabilizer, place both into the hoop, and tighten the tension screw until the fabric feels smooth like a drumhead.
Step 2: Load Your Design File
Transfer your embroidery design onto a standard USB flash drive. Plug the USB into the side port of your machine, navigate to the USB icon on the LCD screen, and select your file.
Step 3: Thread the Machine and Set the Bobbin
Drop your 60 wt embroidery bobbin into the top drop-in bobbin case. Upper-thread the machine following the numbered path on the machine chassis, then use the automatic needle threader to push the thread through the needle eye.
Step 4: Attach the Hoop and Press Start
Slide the hoop connector firmly onto the embroidery carriage arm until it clicks into place. Lower the presser foot lever, select your green Start/Stop button, and watch your design come to life.
Supported File Formats & Hoop Dimensions
Supported File Formats
Brother embroidery machines natively read .PES and .PEC file formats.
Auto-digitized or poorly converted files can cause thread breaks and fabric bunching. If you need 100% manually digitized, production-tested designs specifically formatted in .PES or .PEC for your Brother machine, Sassy Digitizing provides expert Wilcom pathing with 2-to-4 hour rush delivery.
Basic Hoop and Design Dimensions
Standard Included Hoop: $5" \times 7"$ (130 mm x 180 mm) workspace.
Maximum Design Boundary: Keep your graphic files within 4.8" x 6.8" to prevent the machine from auto-scaling or tossing a boundary error.
3 Things Beginners Must Check Before Sewing
Match Your Stabilizer to Your Fabric: Always use cutaway stabilizer for stretchy materials (like t-shirts and hoodies) to prevent puckering. Use tearaway stabilizer for stable woven fabrics (like denim or canvas).
Use Proper Embroidery Thread & Needles: Use 40 wt polyester embroidery thread on top and 60 wt bobbin thread underneath. Pair this with a fresh 75/11 or 90/14 Embroidery Needle (not a standard sewing needle).
Audit Your USB Storage Drive: Use a smaller capacity USB flash drive (16 GB or 32 GB formatted to FAT32). Large external hard drives or unformatted drives will not read on the Brother LCD screen.
Want to learn more about file extensions and machine compatibility? Read our detailed breakdown: [What Embroidery File Format Does the Brother PE800 Use? Guide to File Extensions & Conversions].
Frequently Asked Questions
Can I use DST files on my Brother PE800 or SE1900?
While commercial machines use .DST files, Brother machines natively run on .PES files. Some newer models can load .DST files, but converting your designs directly to .PES ensures thread colors display accurately on your LCD screen.
Why is my machine skipping stitches or breaking upper thread?
Thread breaks usually occur due to incorrect upper thread tension, dull needles, or un-cleared thread lint in the bobbin race. Re-thread your machine with the presser foot up and swap in a fresh embroidery needle.
Can I embroider larger designs using a re-positionable multi-position hoop?
Yes. Multi-position hoops ($5" \times 12"$) allow you to stitch larger multi-part designs by manually moving the hoop to different mounting pegs, though your design must be split into separate sections beforehand.
Keith Blair
Senior Quality Control (HOD)
As the Head of Quality Control at Sassy Digitizing, Keith brings over 12 years of hands-on commercial embroidery experience to the table. He is our resident problem-solver, specializing in the technical nuances of stitch density, pull compensation, and complex digitizing. When he's not establishing quality standards for 3D puff and appliqué, you'll find him perfecting the art of small lettering to ensure every stitch counts.
Expertise:
Related Articles
Beginner’s Guide to Small Lettering & Monogram Digitizing: Precision, Density, and Pathing Secrets
Learn how to digitize crisp, readable micro-text and monograms down to 3 mm with this complete technical guide. From adj…
Beginner’s Guide to Jacket Back Digitizing: Everything You Need to Know
Learn the fundamentals of large-format jacket back digitizing with this complete beginner's guide. From managing push-pu…
Beginner’s Guide to Left Chest Logo Digitizing: Everything You Need to Know
Learn the fundamentals of left chest logo digitizing with this complete beginner's guide. From understanding size constr…